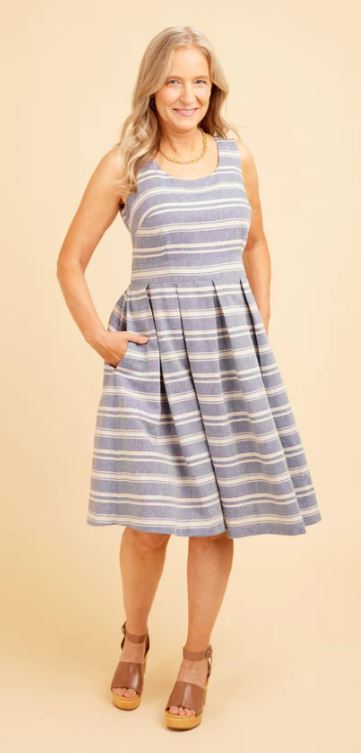
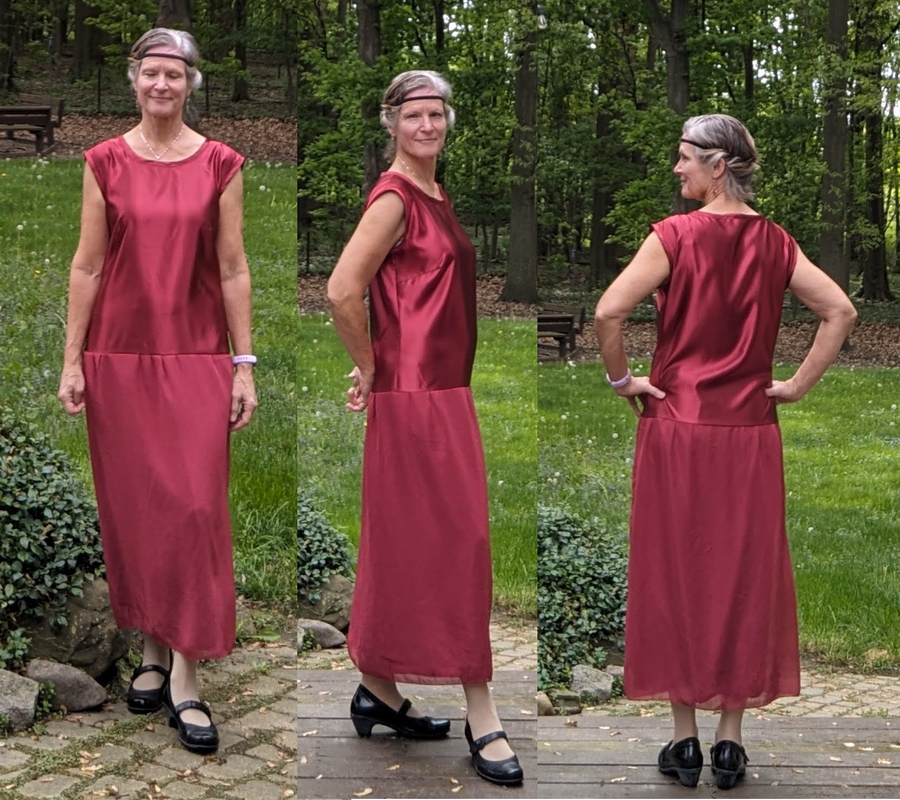
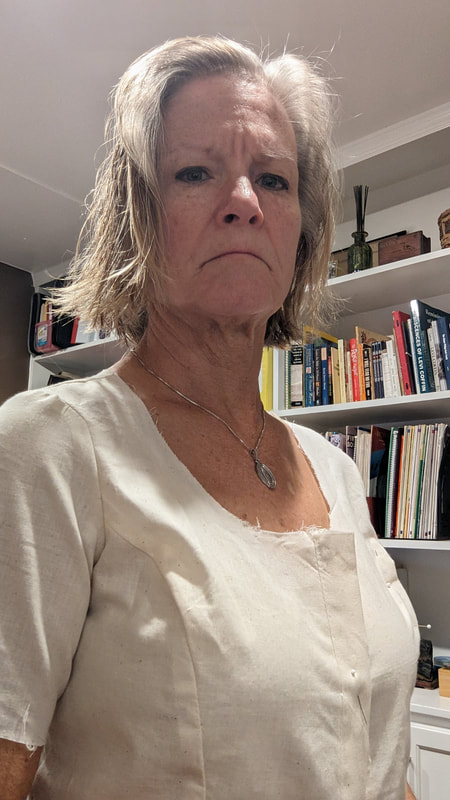
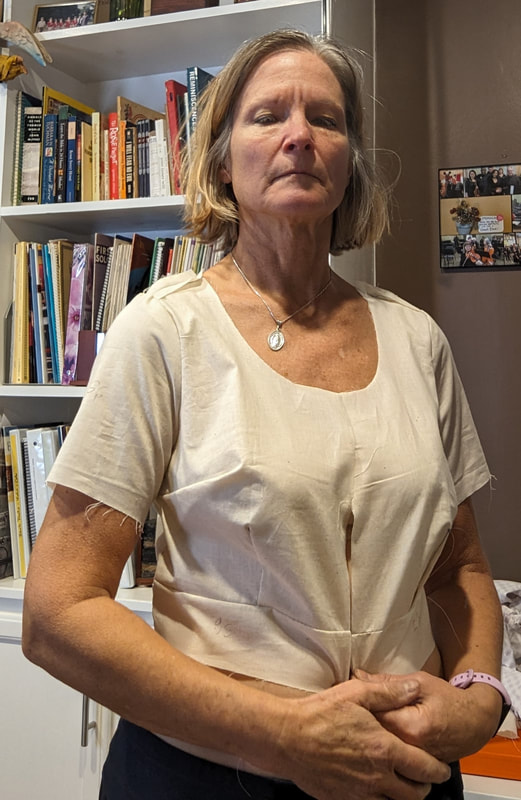
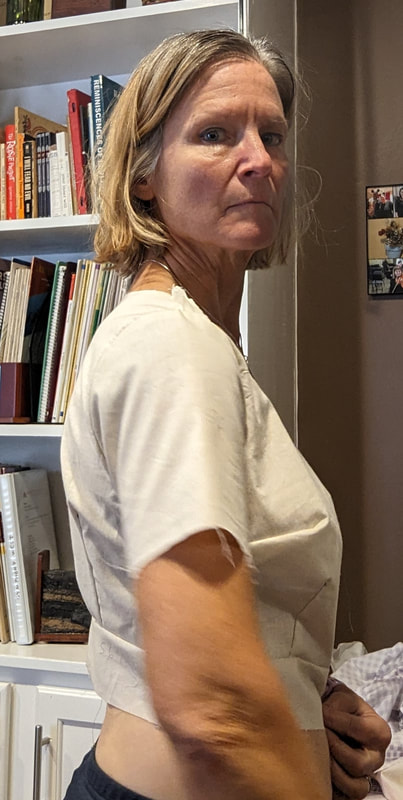
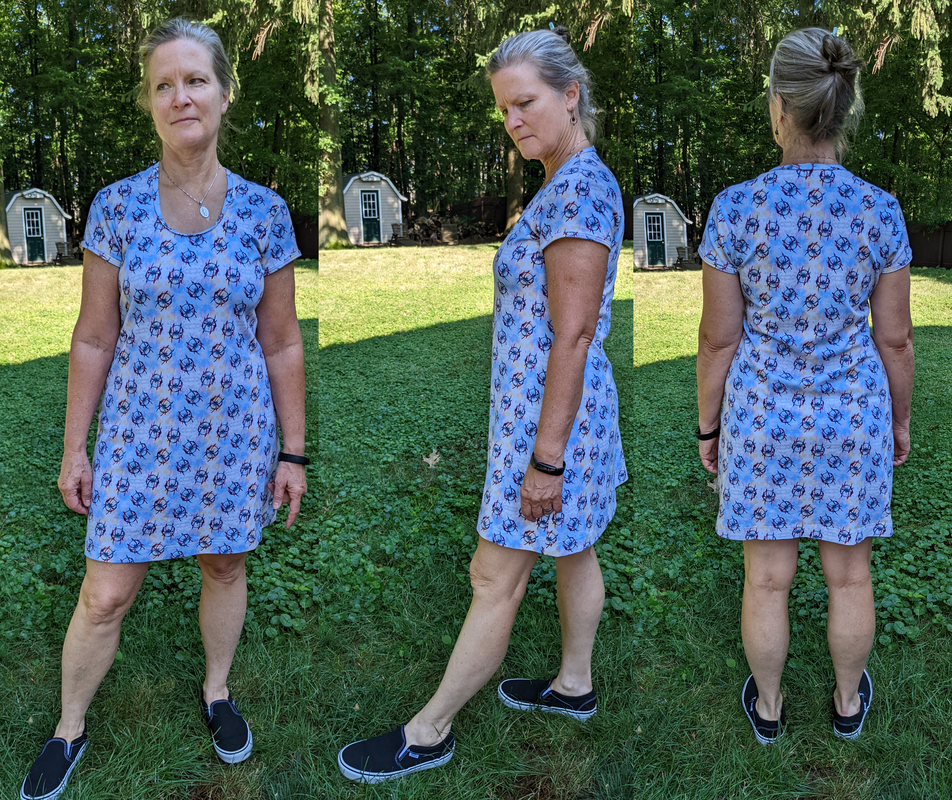
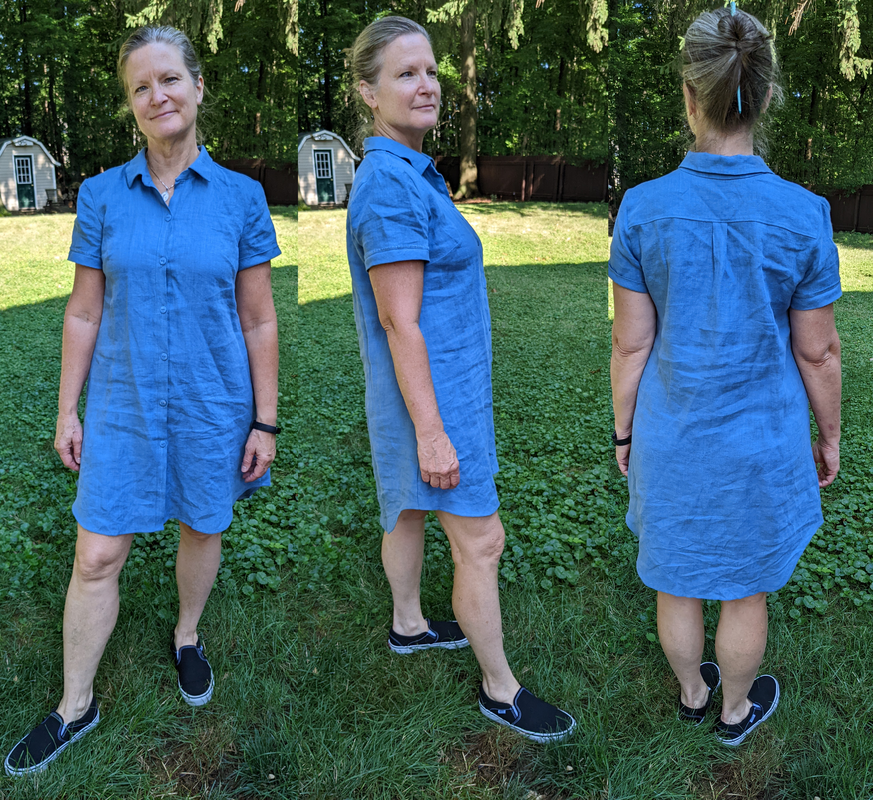
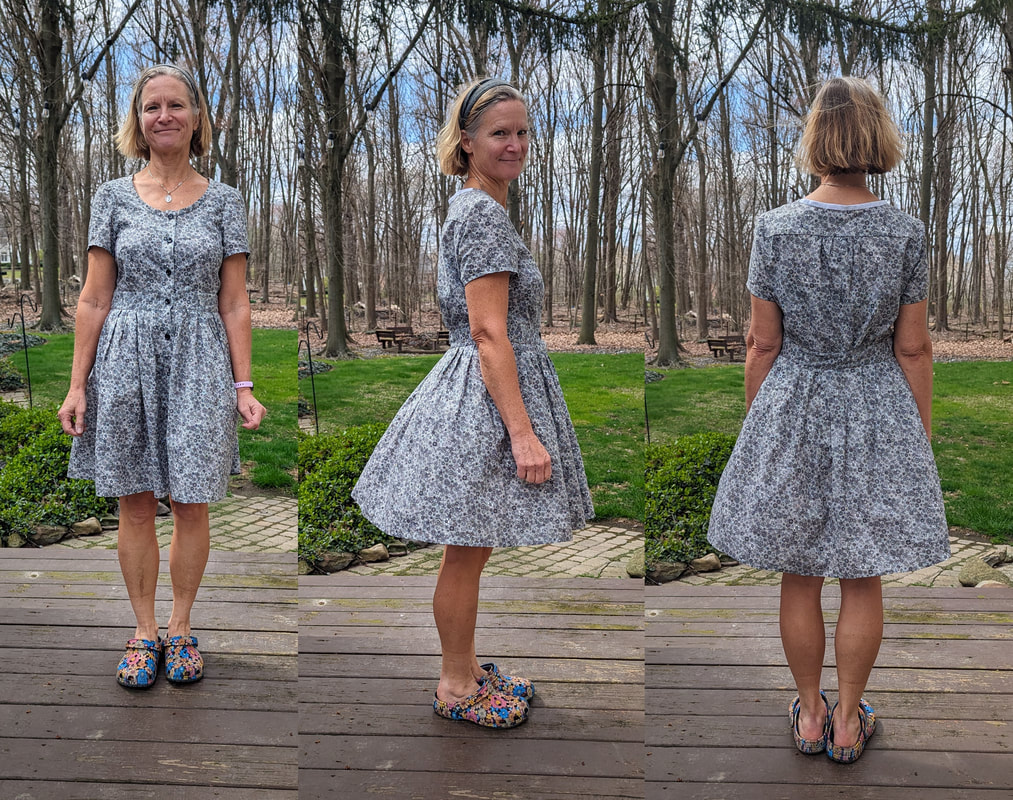
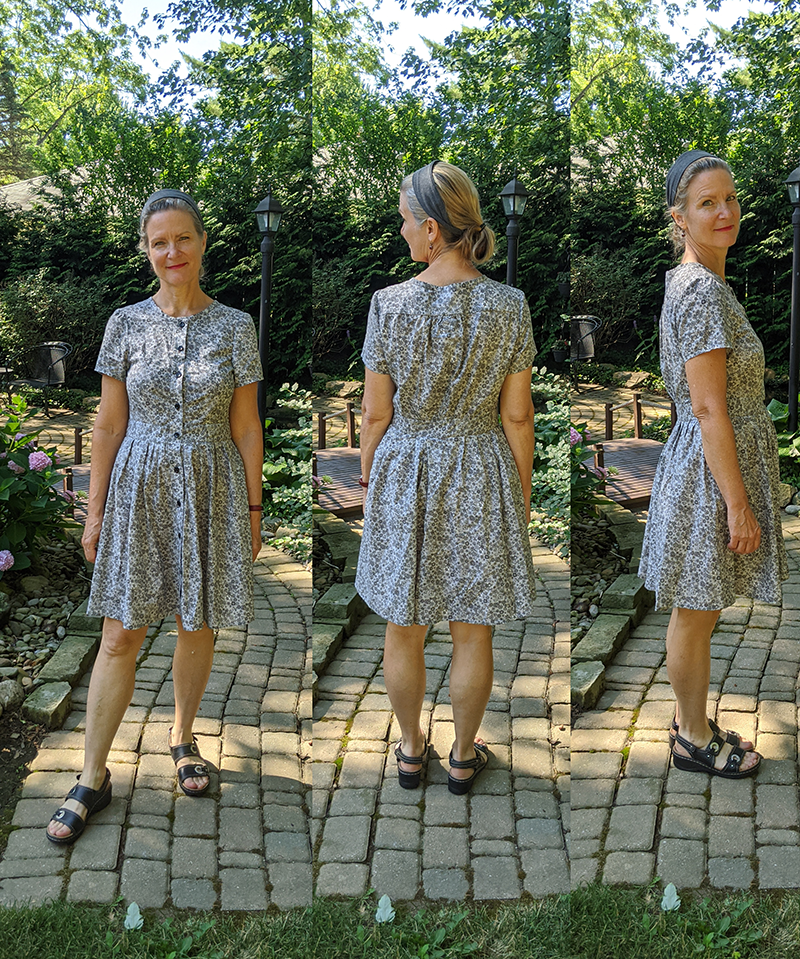
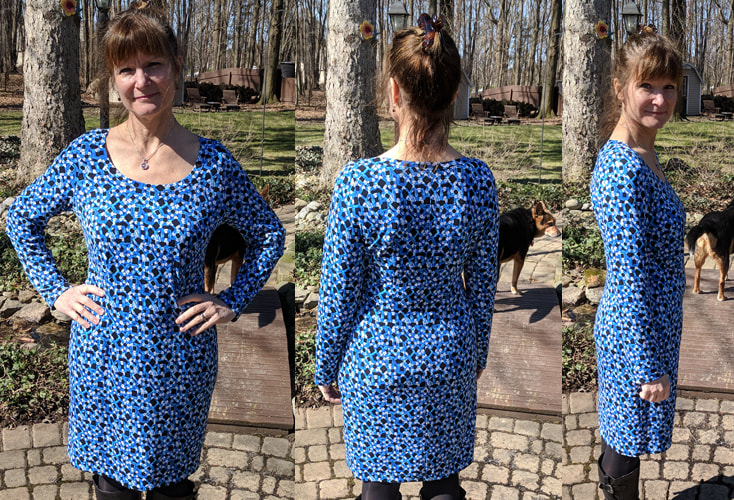
O.M.G. I did it. I completed an actual Upton in real fabric (a lawn).

I lost count but looking at this pile, it was at least 10 muslins.

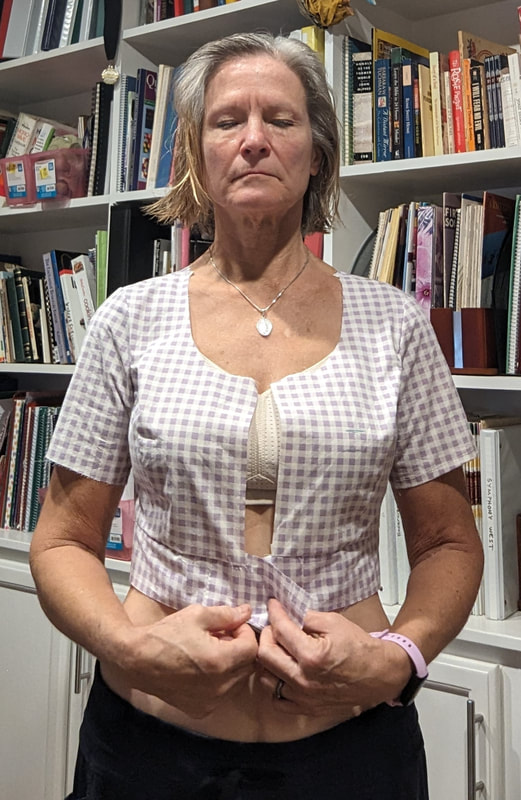
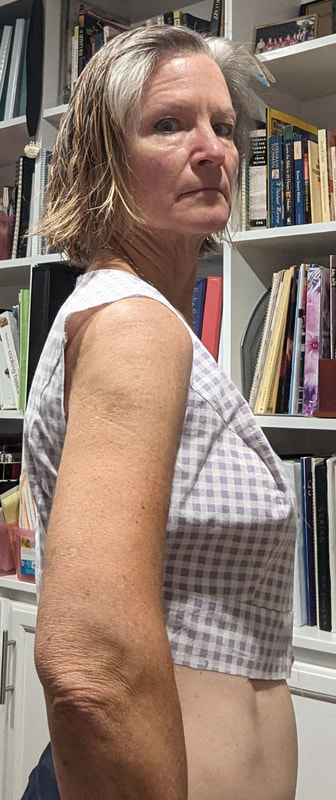
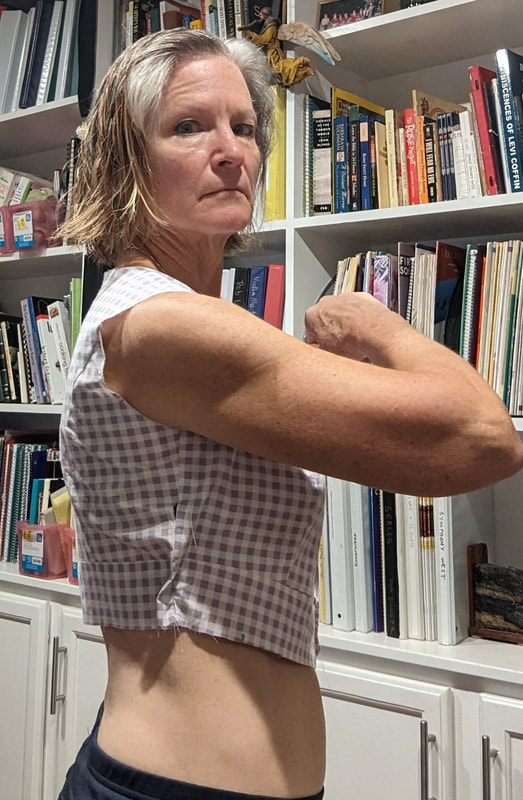
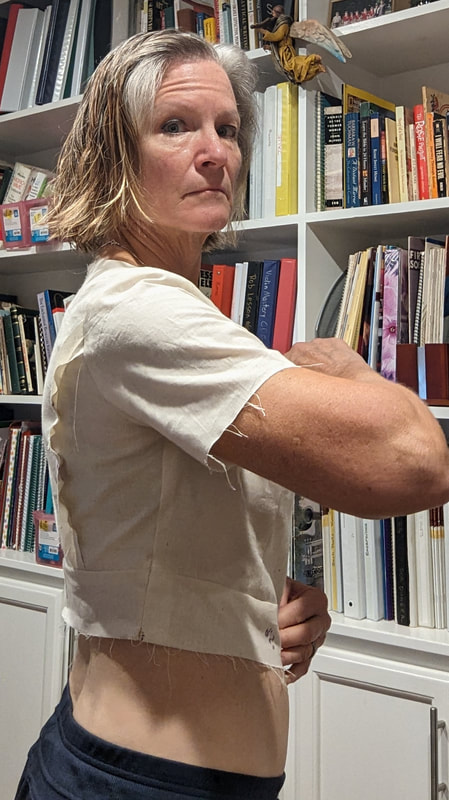
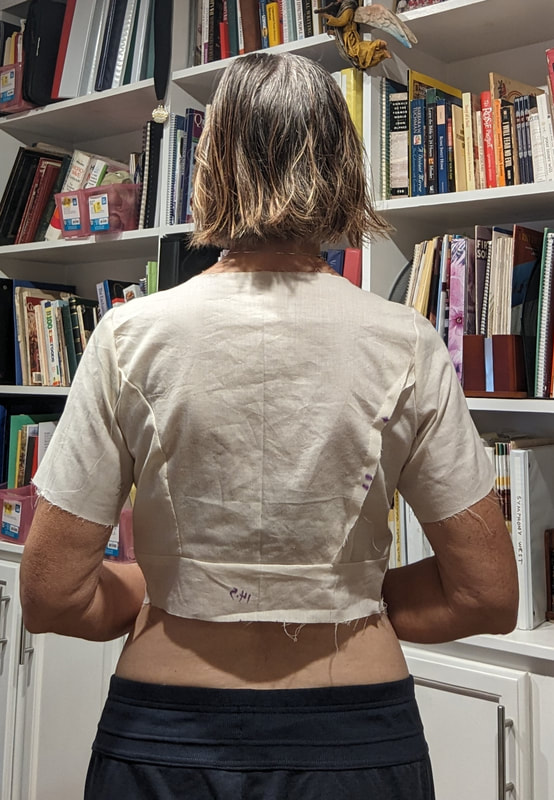
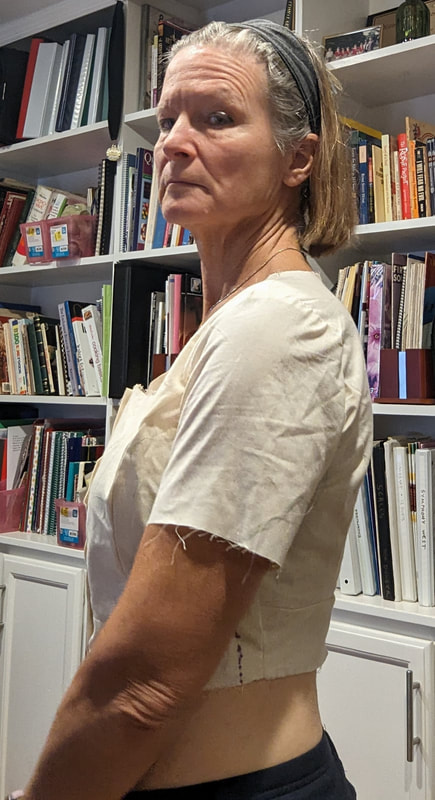
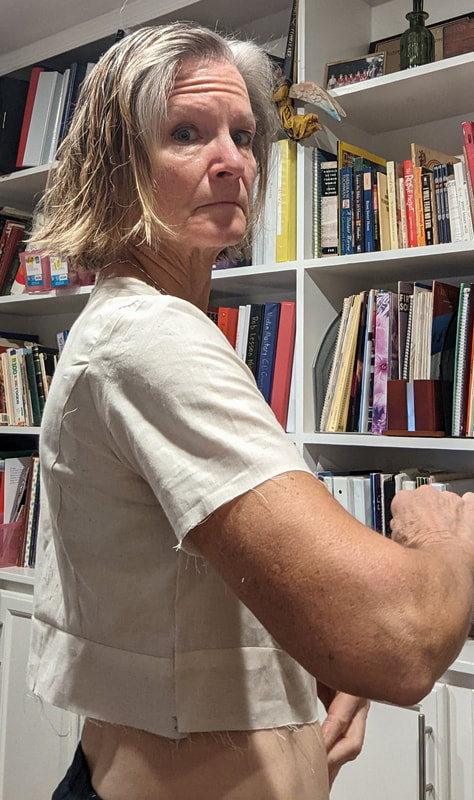
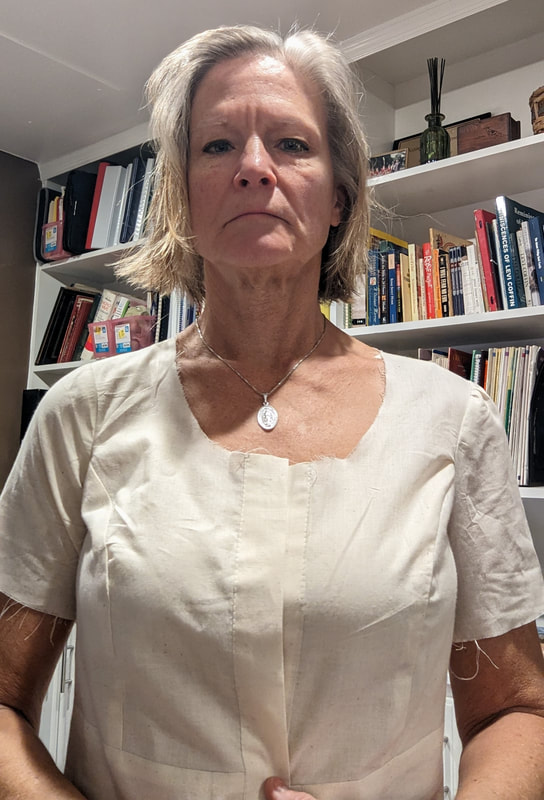
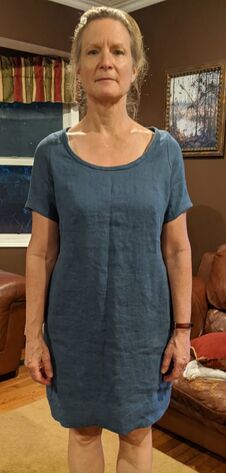
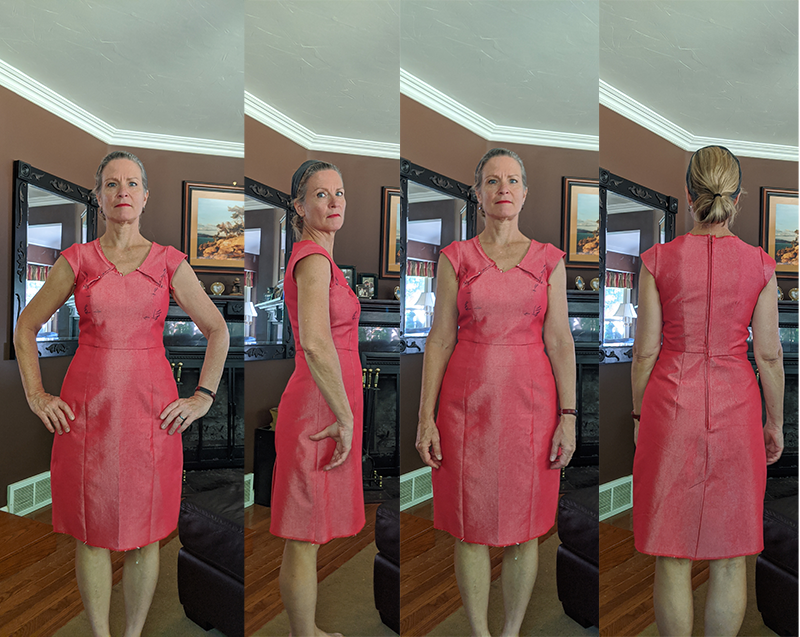
This post documents the first set of muslin making, which mostly was trying to figure out which base size to start with and a few major adjustments (lower bust point, lengthen torso, and do forward shoulder adjustment). I went with a size 4 and a C/D bust. I also lost track of all the changes I made, but here are those I remember:
- Graded to a 6 at the waist and hips
- Lowered BP 1 inch
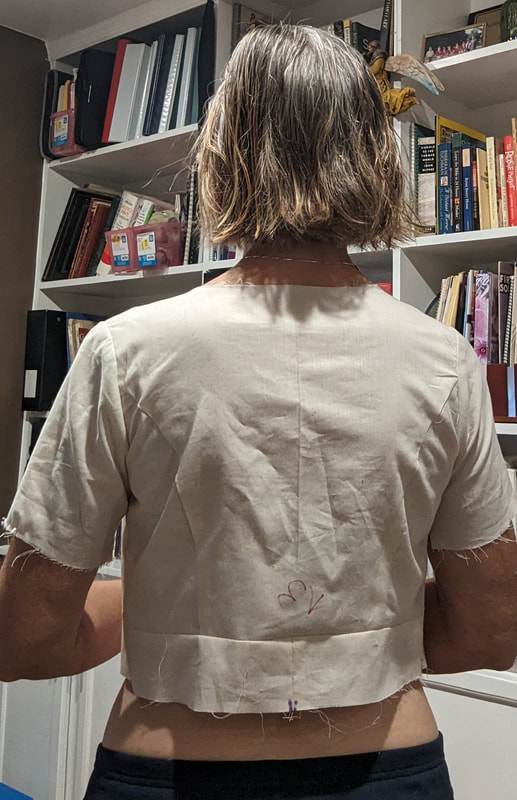
- Lengthened torso 1 inch
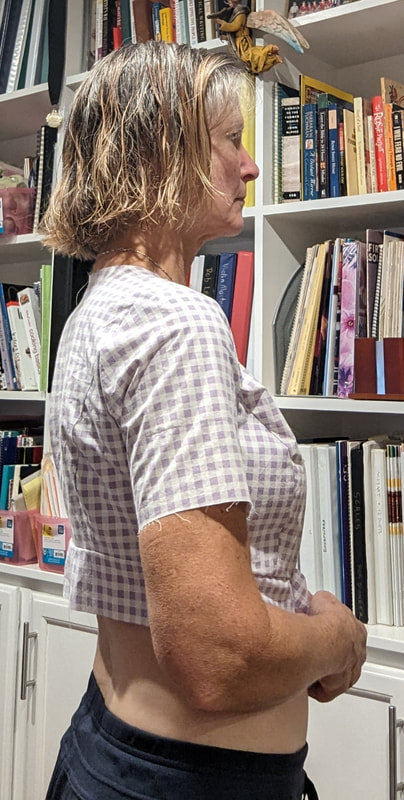
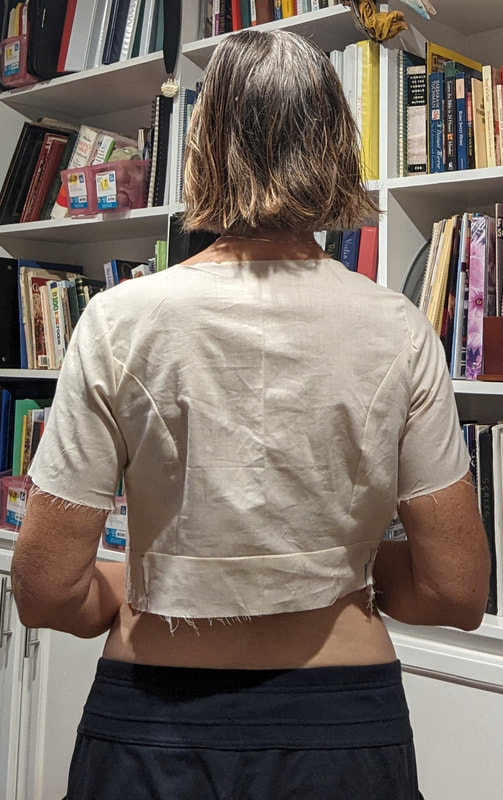
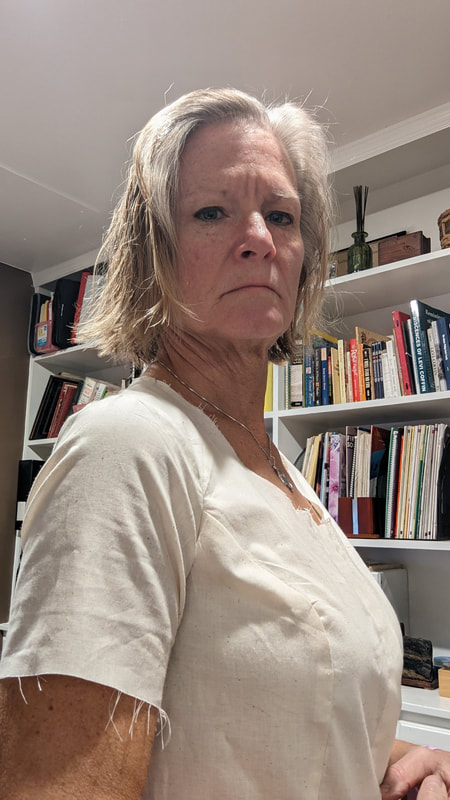
- Made a forward shoulder adjustment
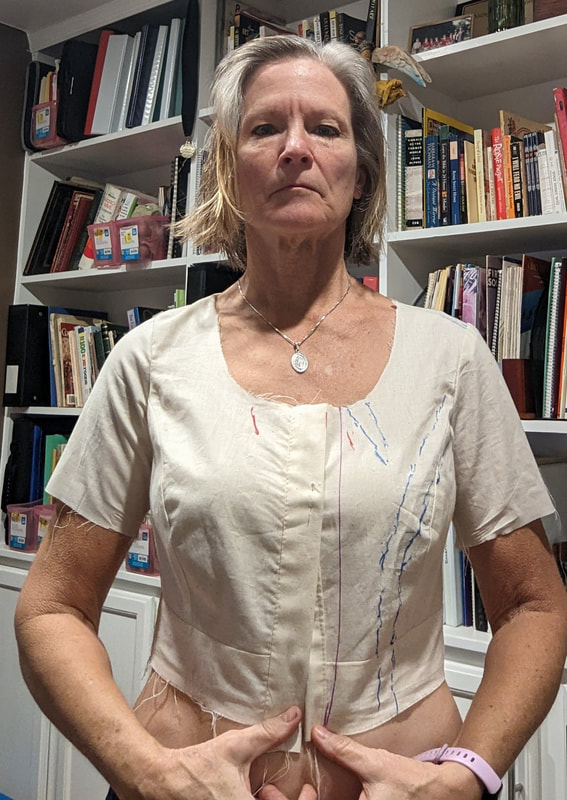
- Scooped out curve on princess seam above and below bust point
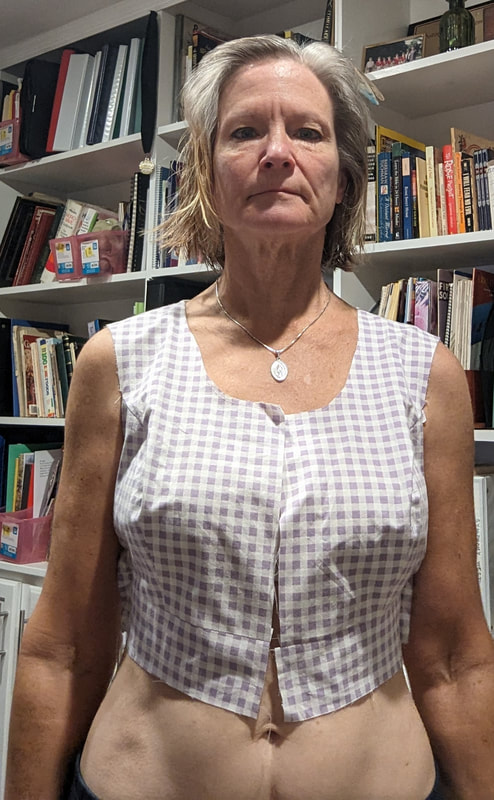
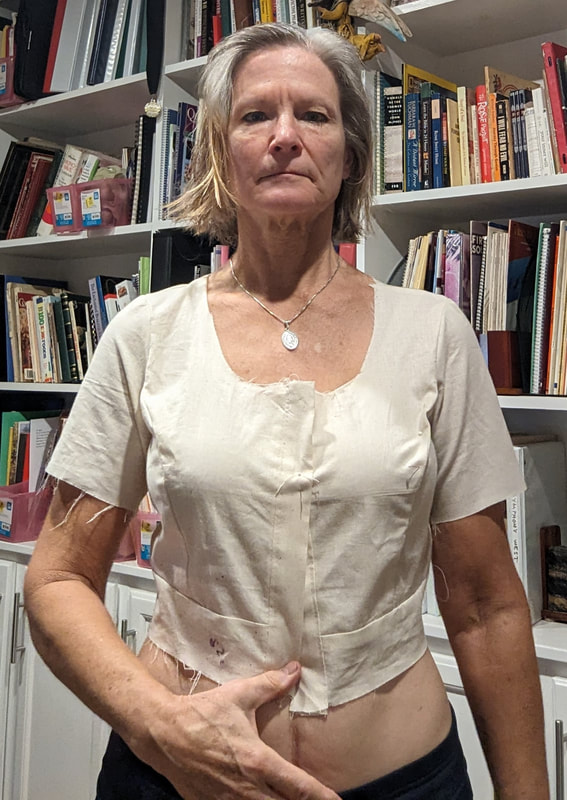
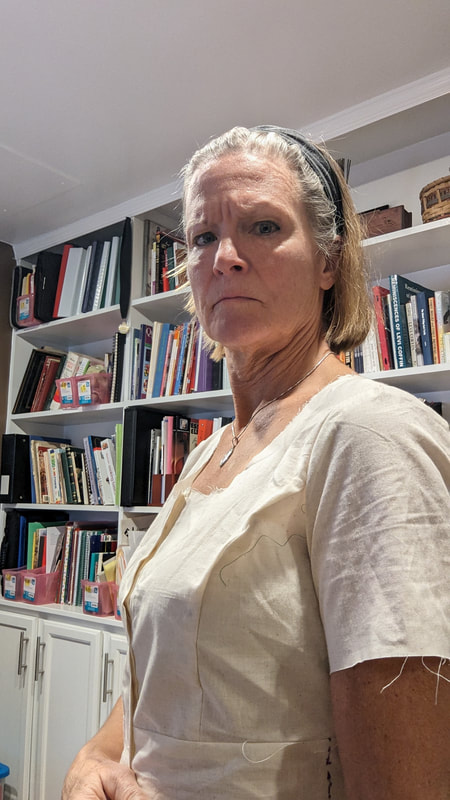
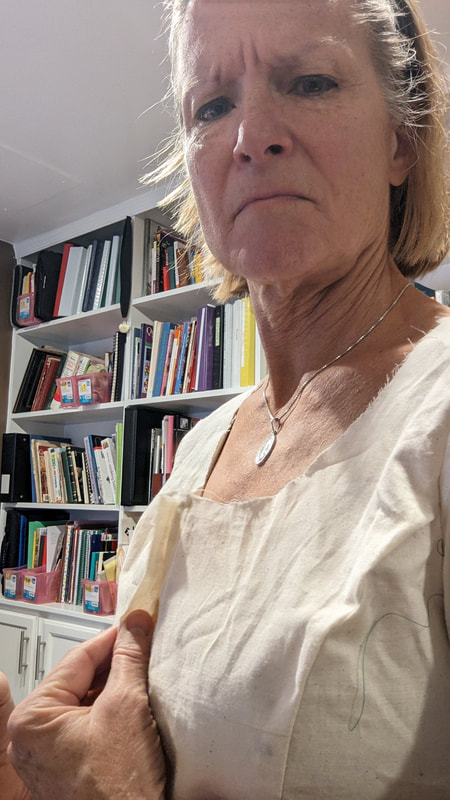
- Took darts out of neckline to reduce gaping, 1/4" on each side, tapering to nothing toward bust
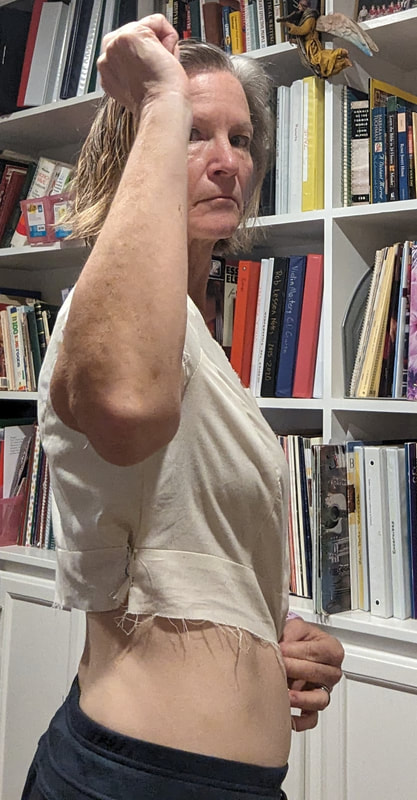
- Lowered armpit 1/2" and lengthened sleeve curve correspondingly
- Shortened skirt. A lot. A total of maybe 4–5 inches
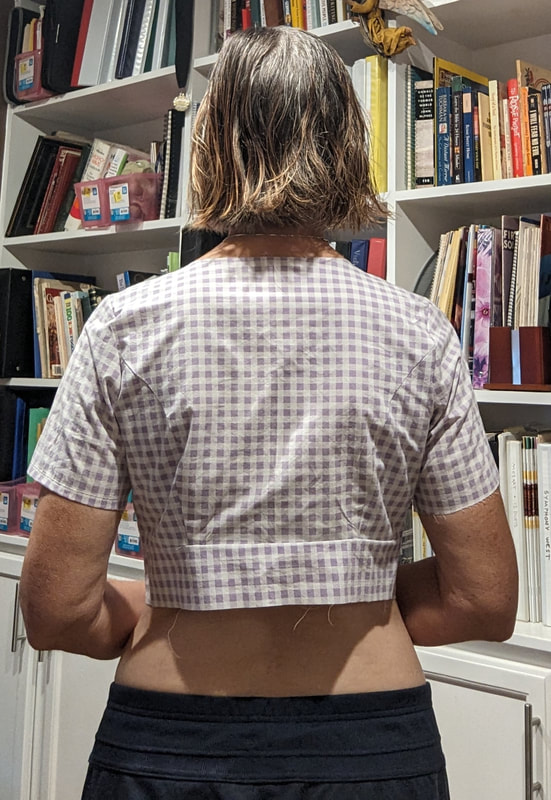
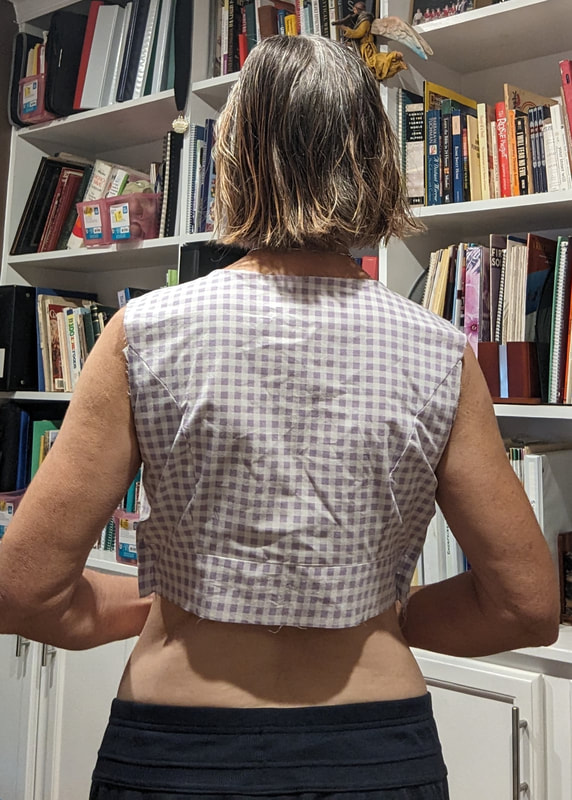
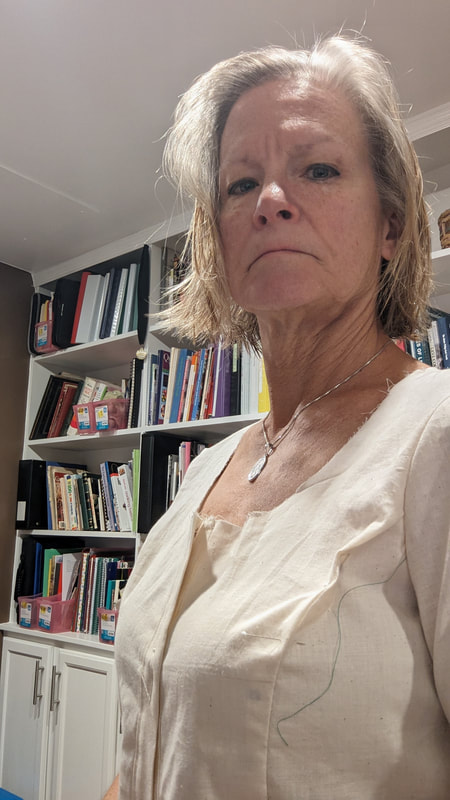
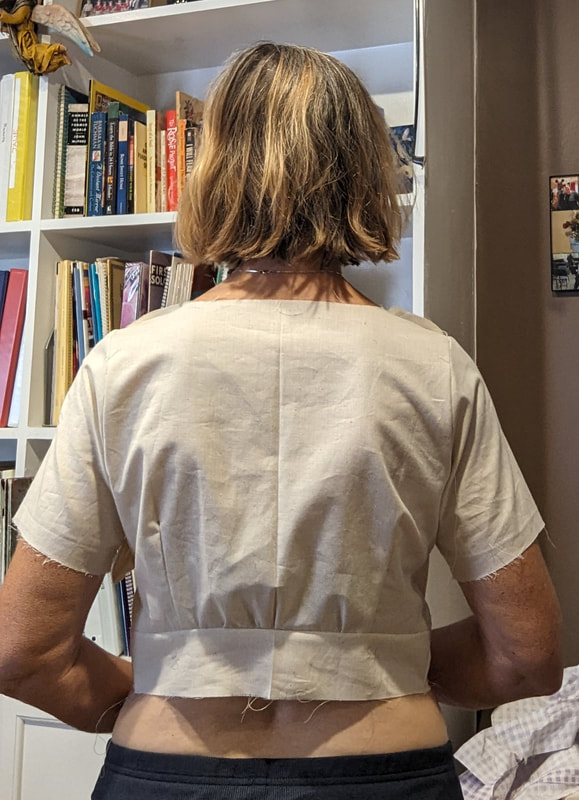
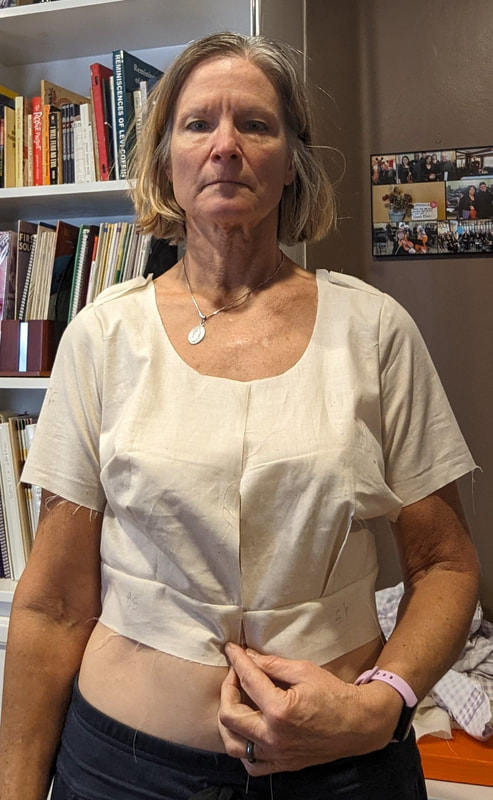
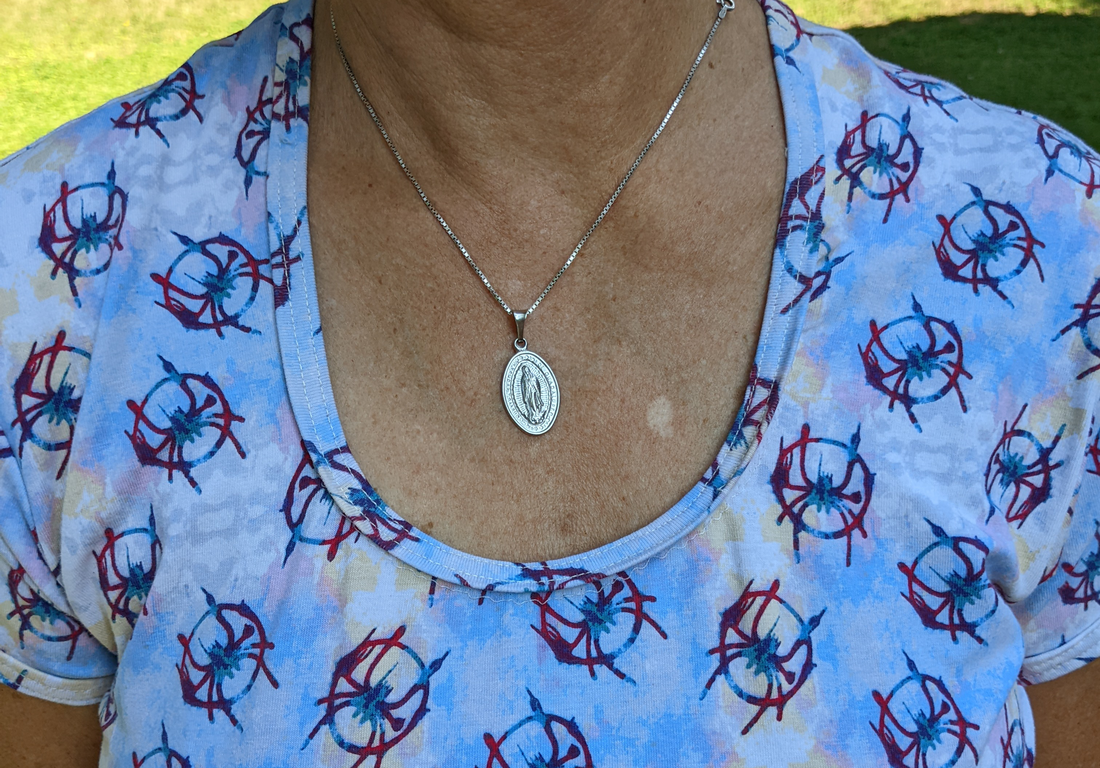
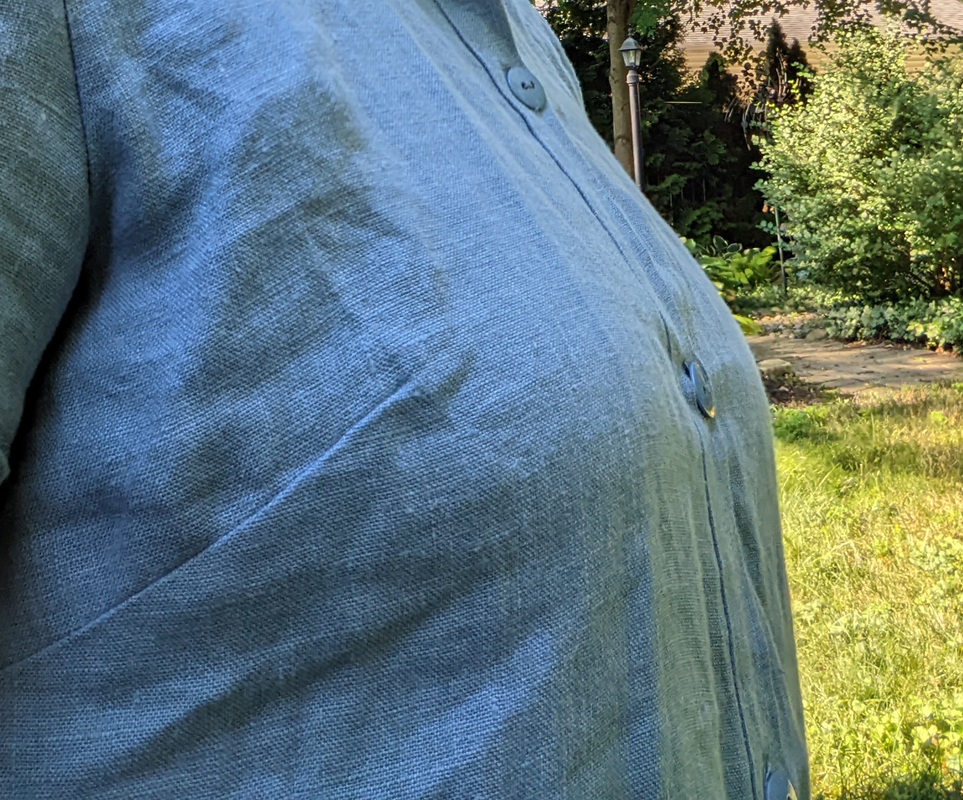
- Changed closure from a back zipper to a button front (Cut back on fold instead of front. Cut front along center front and added seam allowance. Added a placket.)
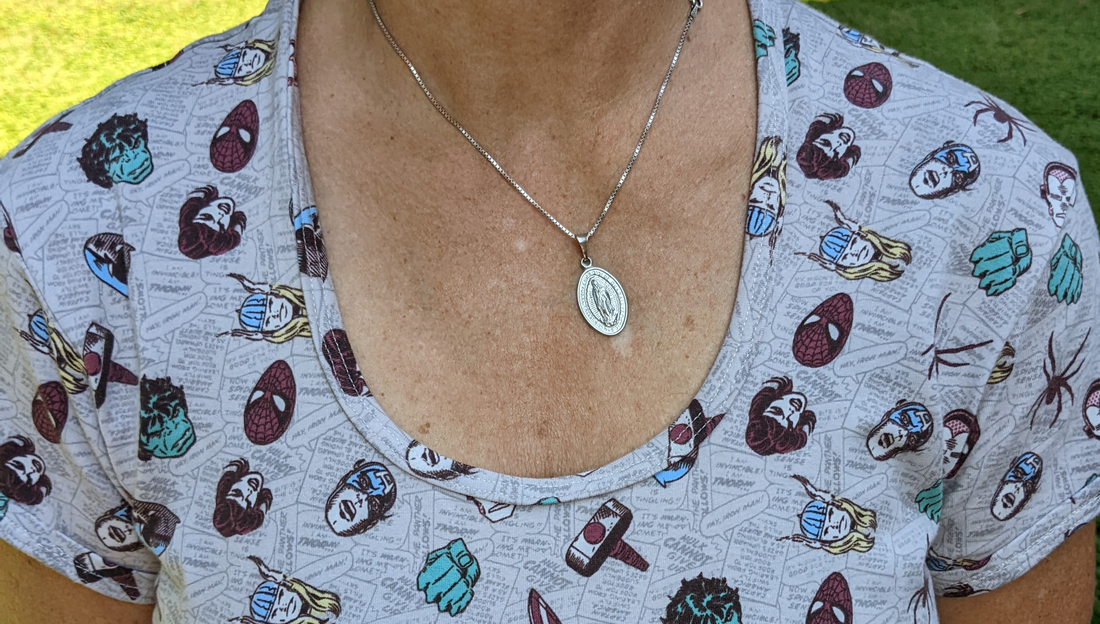
- Finally, I made bias binding and used it on the neckline
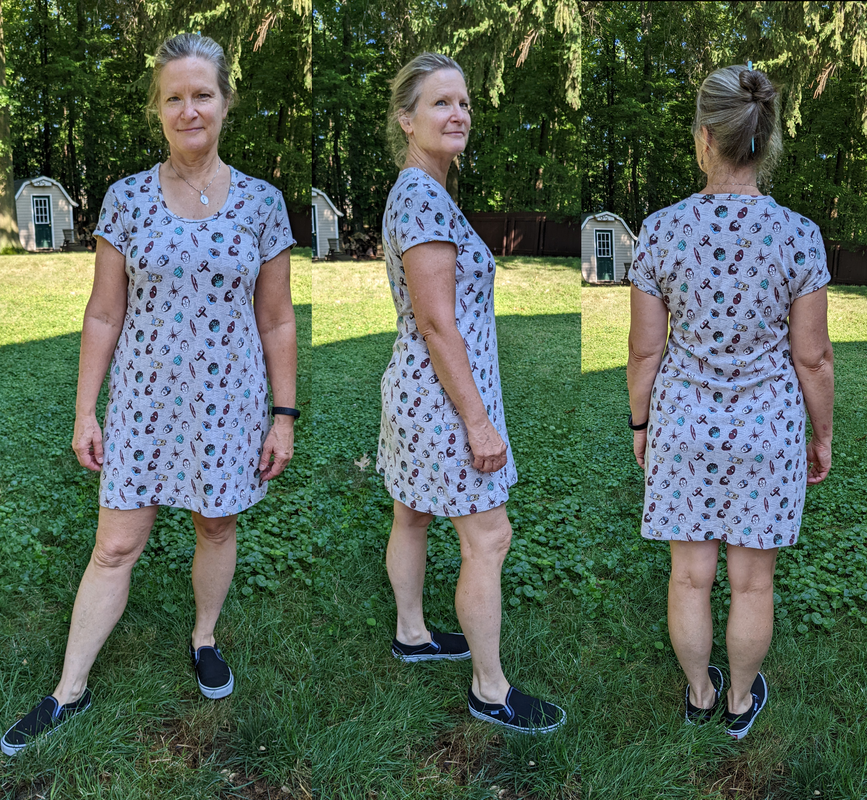
Oh yeah. I did add the pockets but could have kicked myself after. I don't really need pockets and I think they might disturb the fall of the skirt. Also, I didn't put notches on the pattern where they were supposed to go and I put the a little too low.
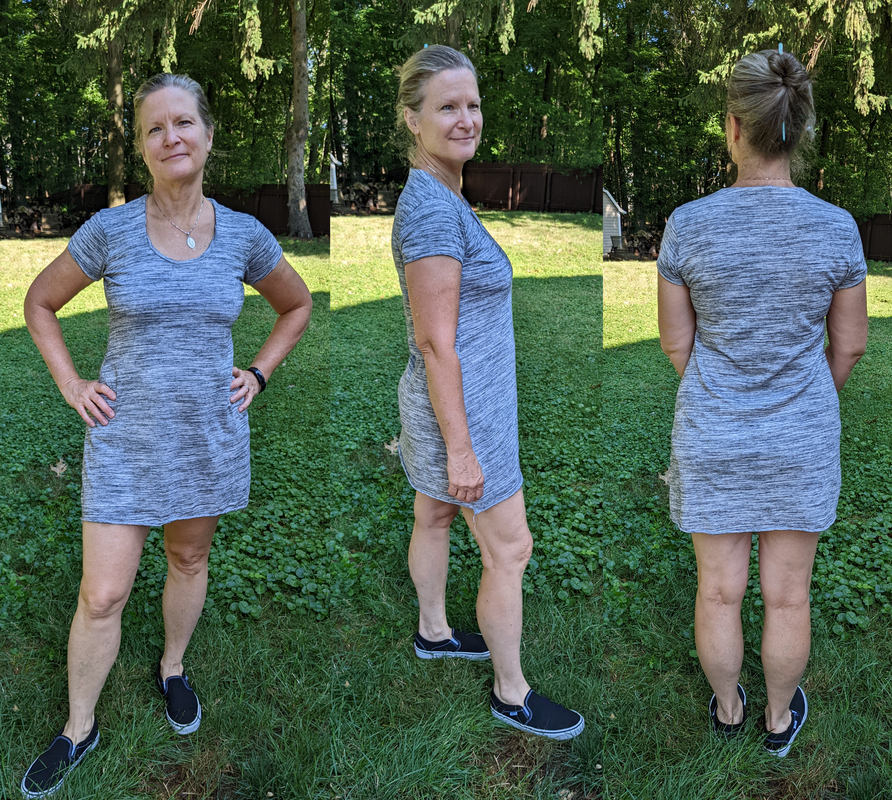
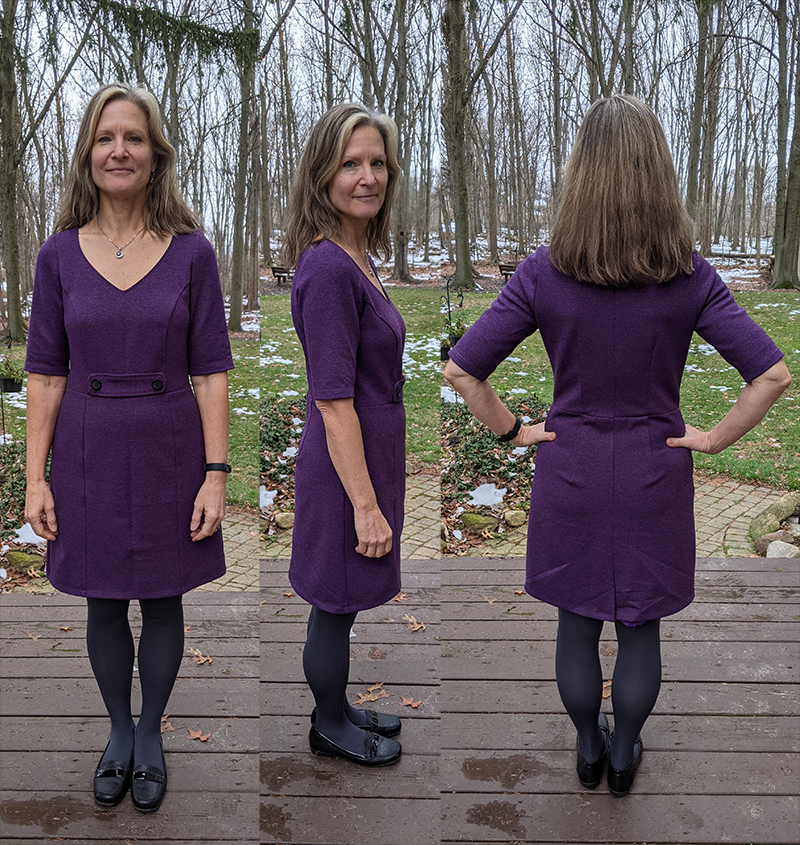
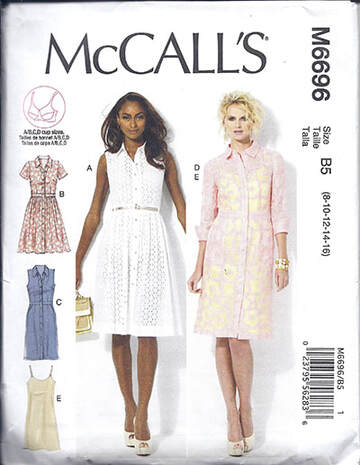
Still this is super comfortable and I'm pretty pleased. I'm not sure I like the box pleats. The next one I make (I bought the fabric at the same time I bought the fabric for this version) might get regular pleats like on the McCalls shirtdress I made that this Upton is supposed to be an improvement on. It is, with the possible exception of the pleats.
Still this is super comfortable and I'm pretty pleased. I'm not sure I like the box pleats. The next one I make (I bought the fabric at the same time I bought the fabric for this version) might get regular pleats like on the McCalls shirtdress I made that this Upton is supposed to be an improvement on. It is, with the possible exception of the pleats.

Oh, I almost forgot. I discovered a couple new things about my machine. First, OMG it's so easy to sew buttons on with it.
However, I had to lower the feed dogs to do it—that's how it's done on my Pfaff—but I forgot that the stupid things get stuck when put down. So, I found a single YouTube where a guy explained how to fix it on a machine similar to mine (the predecessor, I suppose), and I managed to fix mine using his information even though my machine is not constructed the same. They updated the guts but still made a feed dog mechanism that sucks.
Finally, my buttonhole function is going haywire. I sewed about 5 buttonholes, and it started screwing up, jamming and bunching thread. Then I noticed only 1 of the buttonholes I'd sewn was correct. I had to take them all out and research alternatives. I found a good YouTube that showed a system that worked for me.
- Mark the buttonhole placement (a vertical line through the middle and a top and bottom line that can be seen when the presser foot is down)
- The basic idea is to sew a wide zigzag at the top of the hole (5 stitches), a narrow zigzag along the right and left sides, and another wide zigzag at the bottom (another 5 stitches).
- The settings I used for WIDE were: length, 0.8, width 6.0 and NARROW: length 0.8, width 2.5. Worked like a charm and without the anxiety of that stupid automatic buttonhole.
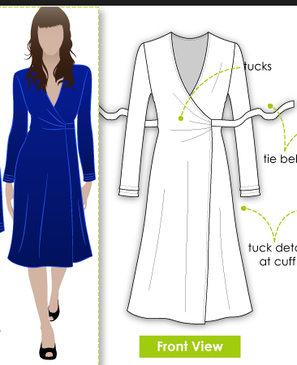
The Upton fitting directions say to sew up the WHOLE dress for each muslin. Thank goodness I was reading Sarah Veblen's fitting book while I was working on this dress. She says no to sleeves and skirt, just fit the bodice first. I also found her HBL or horizontal balance lines very helpful with the second set of muslins. But I learned how to adjust the princess line by watching this really helpful video where she explains how a princess seam is just a version of a darted bodice and how to get a good line for your body.


 RSS Feed