Reusserland
  • Links
  • Sewing
  • Music
  • Travels
  • The River House
  • Top Secret

Doll Clothes: Queen Elizabeth I

1/16/2024

0 Comments

 
Who does this? It's nuts.
Picture
This was an insane project. I didn't want to do it when I was asked, but I couldn't say no. I figured I'd back out later. But then I got into it. It was a LOT OF WORK, but I did have fun. No, I don't ever want to do it again, but I am glad I did it.

So maybe it was Thanksgiving 2023? Eating dinner at my MIL's. My BIL's girlfriend mentioned this American Girl doll she had been given as a child. Said she had wanted to get rid of it, but then had a brilliant idea to put her in a Queen Elizabeth outfit. My BIL volunteered my services. My husband said I'd be thrilled. I was thinking: WTF? And that was even before I realized she didn't mean Elizabeth II but Elizabeth I, which is significantly more difficult. But I couldn't reveal my true thoughts and only said "sure."

A month or two later I had some time and figured I could at least take a look at it. I started researching clothes of the period and Elizabeth I's clothing in particular. I initially thought I'd pattern everything myself, which would have been a Disaster of Epic Proportions, but then I had an epiphany that people might actually make patterns for dolls that I could at least use to get the basics. Lo and behold there are actually patterns for Tudor doll clothes. Amazing.

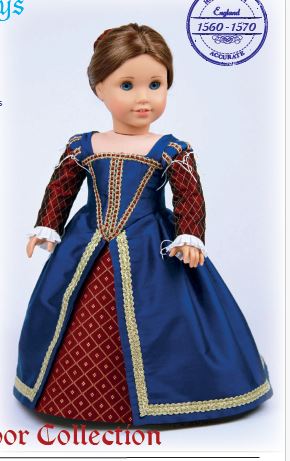
I decided on the Lettice Knollys pattern by Swish and Swirl. I didn't know what "Lettice Knollys" meant at all but later learned who she was. It's pretty funny--according to Wikipedia, she was the wife of the only man whom Elizabeth I ever really loved. 
Picture
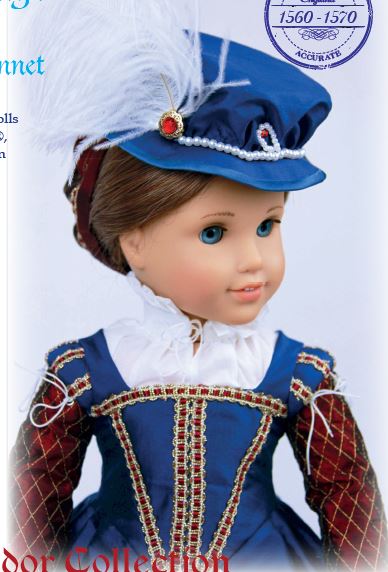
This pattern had the gown and the underskirt. But I wanted to have the partlet too (ruff and shirt), so I needed to buy another pattern for the partlet and it came also with the bonnet and snood patterns; it's by the same company. So now I'm all into it.
Picture
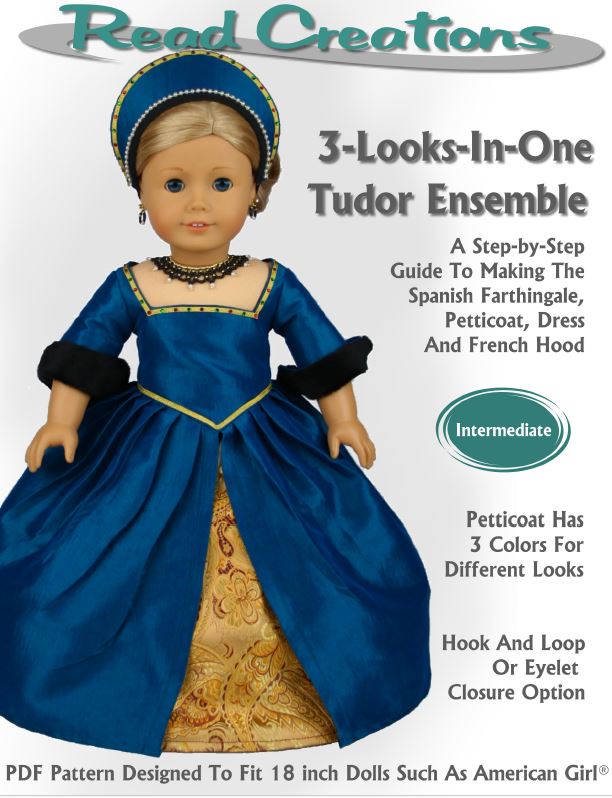
As I was making the first outfit—oh yes, I ended up making two total ensembles—I was thinking that the bonnet was nice and all, but Elizabeth I is pictured more often with a crown sort of headdress. So then I went looking for a French hood that I would adapt into a crown and found this pattern by Read Creations for a "Tudor ensemble." It had the pattern for the hood and also a farthingale and that was too tempting to pass up. It also has a pattern for a gown that looks simpler to sew than the one I had already started—less fancy I suppose, but totally sufficient to create the right impression. Oh well, next life. It also had the petticoat pattern but it does it with three different fabrics so you can just rotate the petticoat around and get a different look. Clever, and a lot simpler than making two whole ensembles to get variety.
Picture
I also made a bum roll. I got the pattern from a video on YouTube. They were working from a Tudor patternmaking book that was referenced in many videos by people who recreate that period clothing for normal human-sized people. I copied from a shot of the bum-roll pattern and because it was on graph paper I could size it for the doll. See? Insane.

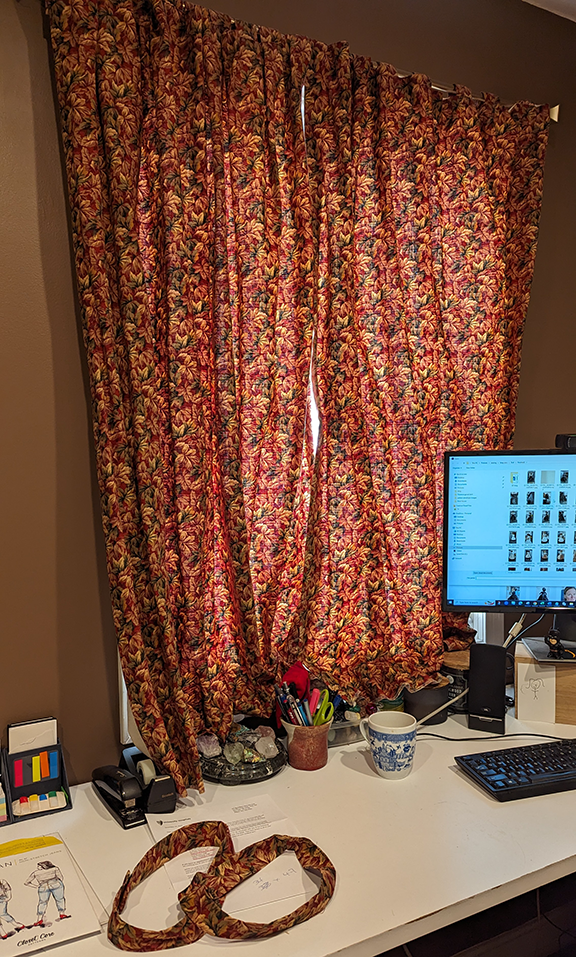
Truthfully, that's not why I ended up making two outfits. The real reason is that I first tried to make the gown and petticoat using fabrics I had. I had some remnants from curtains with nice upholstery fabric that I could use for the petticoat and sleeves, and some lining fabric of the right color I thought I could use for the gown. 
​
Picture
But then I thought better of it and headed to Joann's. MISTAKE. I got the satin I wanted for the gown to go with the curtain fabric, but then I got mesmerized by all the fabric and trim choices Joann's had on hand, and the idea of a black and silver gown was born.

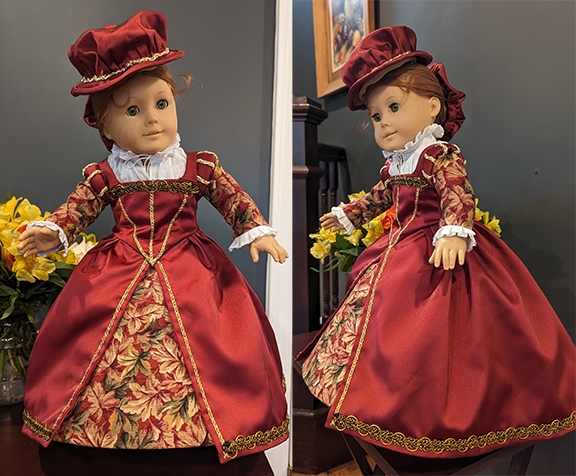
Here is the first outfit made with what I (mostly) had on hand. Trim was all new of course. I don't have that stuff sitting in my stash.
Picture
Here are some views of the other gown.
And some close-ups and other views of both gowns and underpinnings. 

Notes about Issues I Ran Into

  • Gown. The sleeves on the gowns are tight. They just baaaarely fit.
  • Snoods. The snoods would not stay on the head without additional technology. The pattern includes a loop of string on the inside through which you'd thread a bobby pin to secure the snood to the hair. I put in 2, and it wasn't useful. I had to open the band and thread through elastic. 
Picture
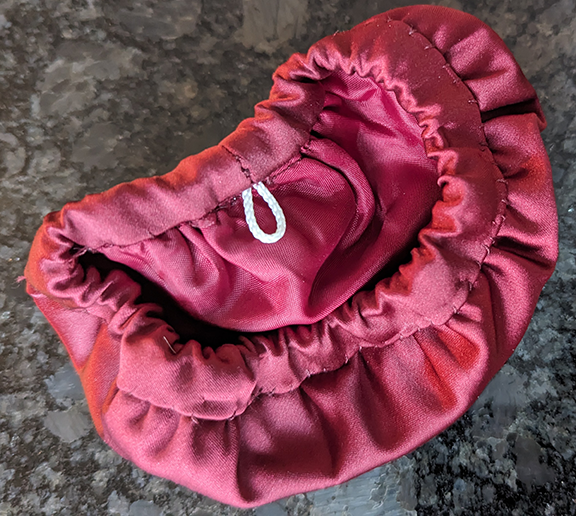
  • ​Farthingale. My fault for not checking before sewing up the farthingale, but it was too long for the gowns. To shorten it, I rolled the top band down double and reinserted the elastic. It looks a wee bit wonky, but so it goes.
  • Bonnet. My fault again, but you're supposed to sew a piece of twill tape around the inside seam to hide the seam and give the hat some structure. I didn't have 1/2" twill tape, but I had 1/2" twill trim. It did seem a bit flimsy, but I figured it would be okay. It's not. It's pretty droopy. So it goes. 
  • Lattice Pattern. I made the lattice pattern on the black petticoat, sleeves, and snood using metallic thread. I had trouble at first using regular weight bobbin thread and regular tension on the machine. I searched YouTube for help and learned to use very lightweight bobbin thread and looser tension and then it went smoothly. I did one very important thing differently than was indicated in the instructions. The pattern has separate pieces for the snood, petticoat front (a triangle shape), and the individual sleeves, each with their own lines for the lattice which you're supposed to follow. That means you cut out the pieces, and then sew the lattice on. That seemed pretty stupid to me. The instructions even warn you you're going to have smaller pieces once the lattice is sewn on, plus what a chore to work on the tiny pieces. I sewed rectangles of lattice and then cut the pieces out.
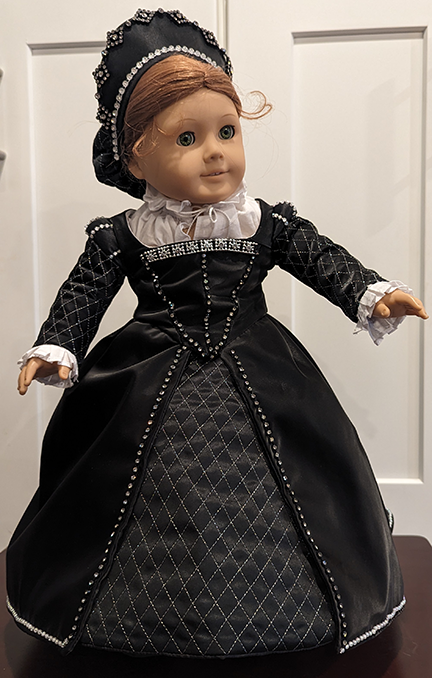
One thing that's funny about these patterns is that the gown and petticoats are LINED. Not only that, but the bodice is lined with cotton, like the doll is a real person and needs to wear cotton on her torso. Anywho.
One final thing. Look at these teeny tiny sleeve rolls!
0 Comments

All Nighter with Calvin's Hobbes

12/12/2022

0 Comments

 
Picture
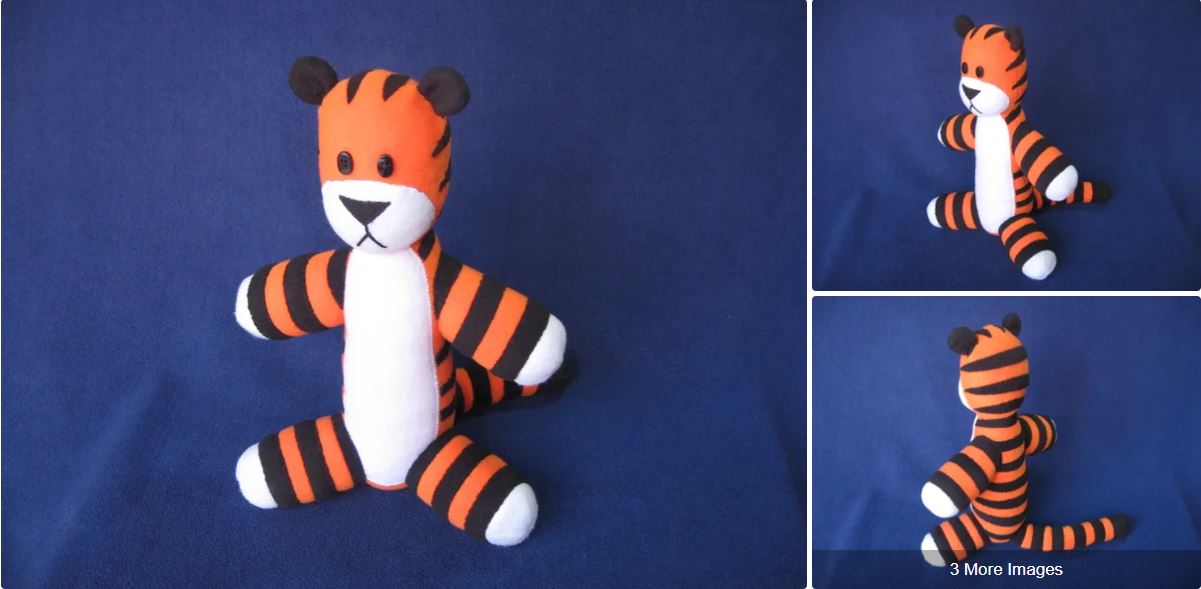
Photo and pattern by Seamster on Instructables at https://www.instructables.com/Stuffed-Hobbes-with-pattern/
​
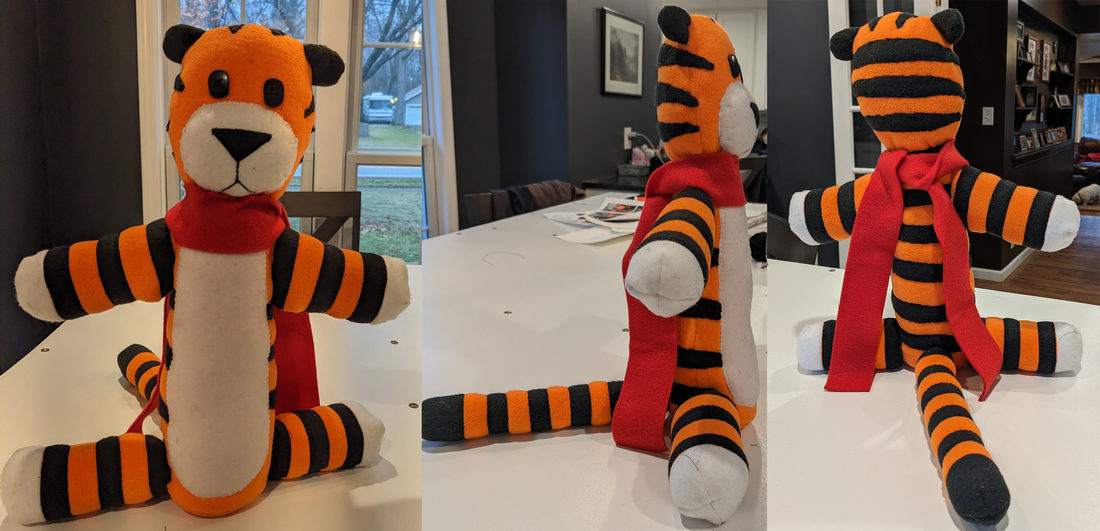
My son "commissioned" me to make a toy Hobbes as a gift for a friend of his. He sent me a photo of a crocheted Hobbes, but I don't know how to crochet. I said I could probably sew one. I thought I could find a pattern for a tiger and then adapt it as necessary, but instead I found a pattern for exactly what I needed, and it was FREE on Instructables!

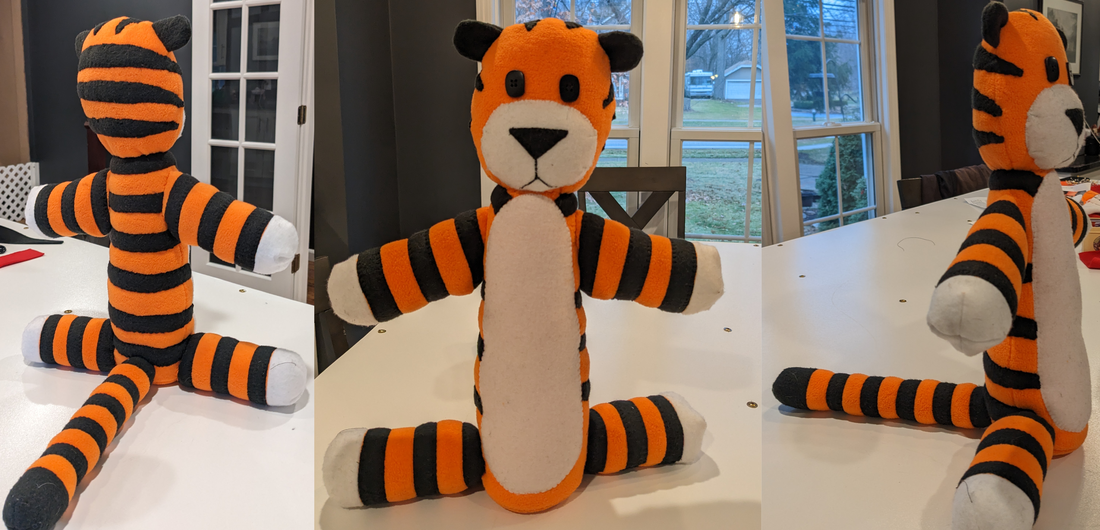
It is a very nice pattern and was straightforward to put together. However, the creator, "Seamster," sewed all of his stripes on BY HAND except for the tail. While it does make for perfect stripe placement, it's insane and, ideally, one would figure out a way to machine sew ALL of the stripes on. For reals. I machined sewed the stripes on the tail and the arms and legs. I used a stich on my machine that looks like a whipstitch (#47 for future reference). I even found it worth unpicking the seams of the arms and legs to put the stripes on this way, which I had to do since I was following the pattern and only realized how easy it would be to machine sew after the appendages were sewn into their little sausage shapes. I should have unpicked the body, too, probably. It was a royal PIA to sew the remaining stripes on by hand and took for.ev.ah. I was up all night. 
Picture
One disappointing consequence of sewing the stripes on the arms before the arms were attached to the body is that I didn't realize the top-most (shoulder) stripe was uniquely shaped; it's not a straight 3/4-inch stripe like the others on the arms, legs, and tail. It's curved so that the black covers all the orange up to the shoulder seam. I have a bit of orange. I looks fine but I do like the full coverage better. STILL, one could work out all of the stripe placements ahead of time and mark these on the pattern pieces so that the machine could do all the sewing work. I won't blame Seamster though because he did the most important work on the pattern and very generously shared his work with the world.

I didn't get the legs to come off the body in a way I wanted or liked. I didn't have time to start over though since I was rushing to get it done before my son returned to his house.

My husband ground down the buttons into the oval shape as Seamster did on his tiger.

I made my Hobbes a red scarf as suggested and shown by Seamster. Apparently, this is one of Hobbes's outfits.
Picture
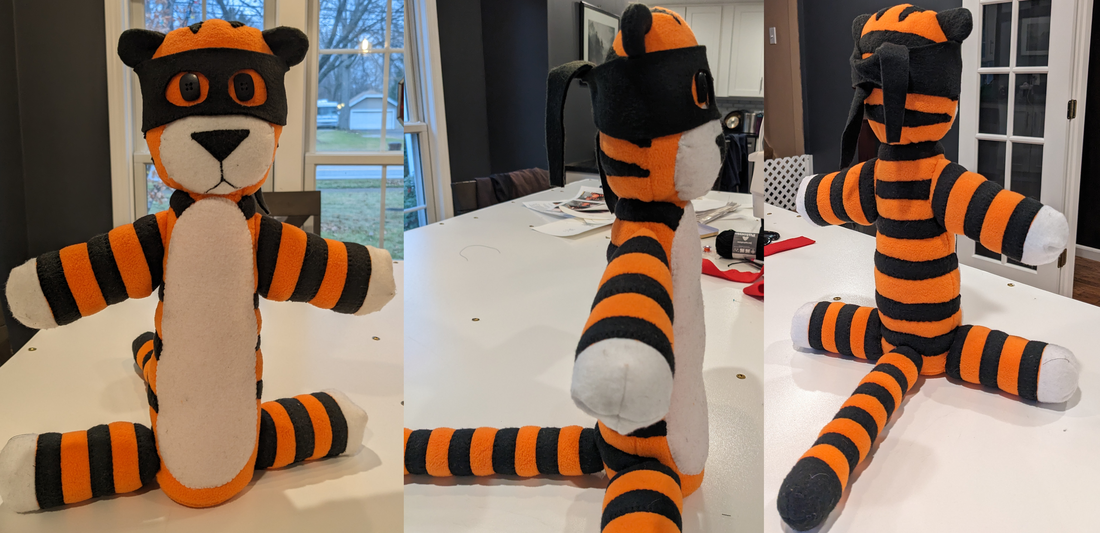
I also made a mask as suggested and shown by Seamster. Again, another of Hobbes's props.
Picture
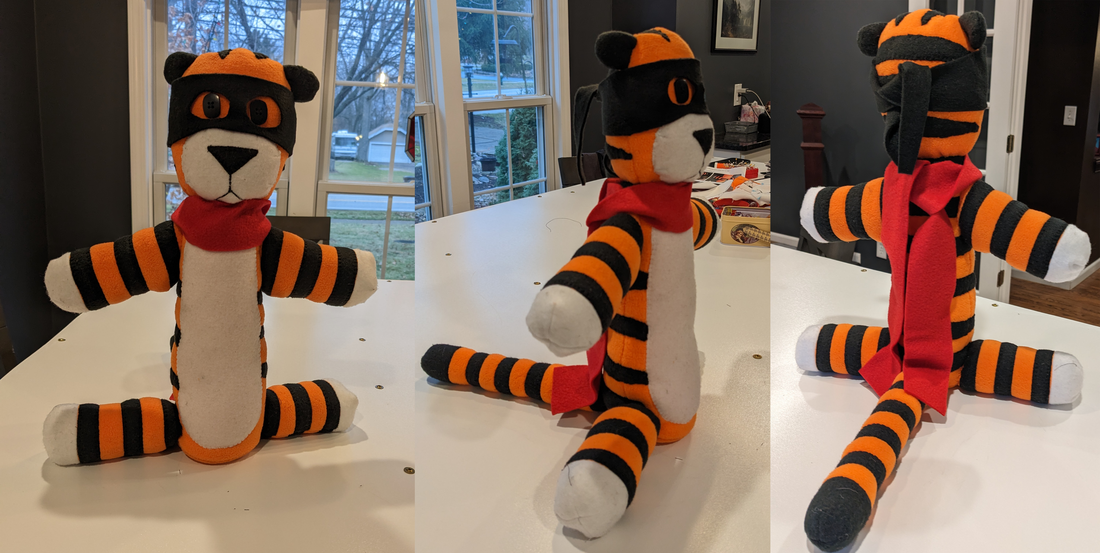
Here's a photo with both the mask and scarf. Seamster also made a nice tie and a pennant, but I didn't have time.
Picture
0 Comments

Bunnicula Plushie

1/7/2017

1 Comment

 
Picture
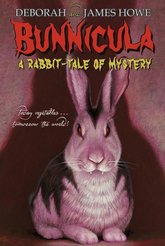
I cannot remember why I decided to make this plushie for my daughter. Maybe we were talking about books she loved in childhood, maybe her prodigious vegetable-eating habits got us talking on the subject of Bunnicula, or maybe it was something else. I know I saw a trailer for a Bunnicula series that has been made, but I think this plushie project predates the series. I made this plushie about a year and a half ago.

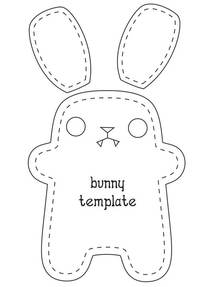
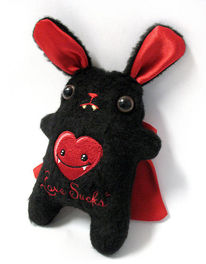
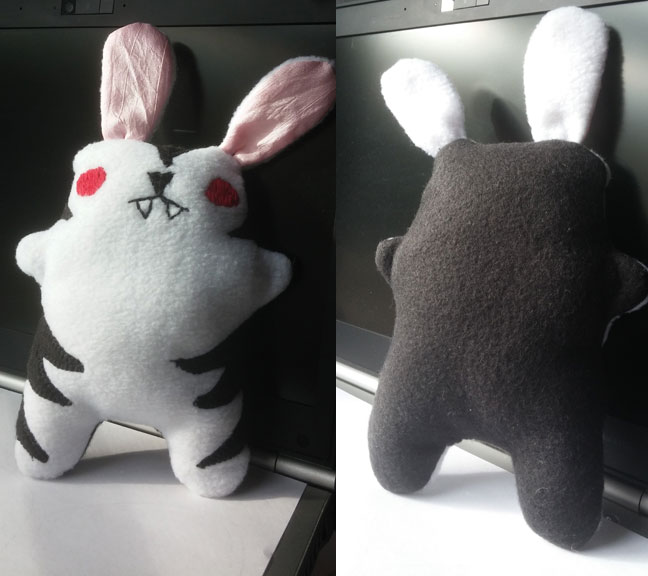
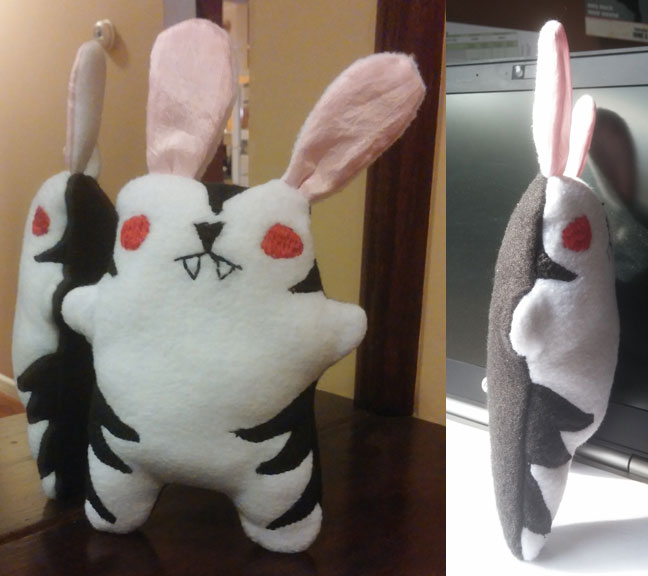
I searched online—isn't it hysterical and fabulous that I could find a FREE pattern for a vampire bunny plushie online??? I thought this was super cute. I found it on Instructables.com (not sure where originally, but yesterday when I was searching again for the source of the pattern). It is not Bunnicula per se, so I had to modify the design so it looked like him (her?).
Picture
Picture
I didn't have the eye button things—plus would I ever find glowing red ones if I looked for them?—so I just embroidered the eyes, which I like.

I think it turned out great! My daughter loved it.
Picture
Picture
1 Comment

Captain America Plushie

1/7/2017

0 Comments

 
Picture
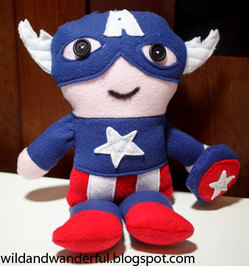
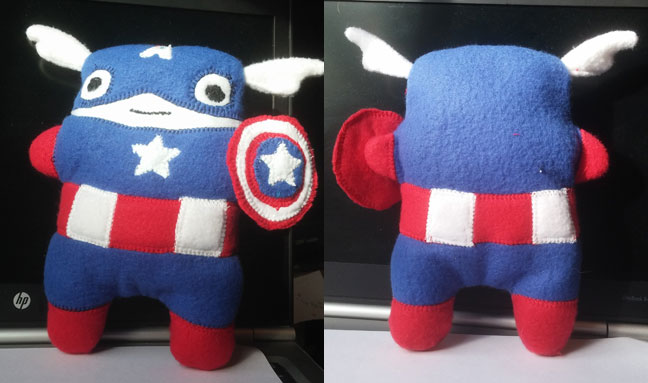
After making the Bunnicula plushie for my daughter, I wanted to make one for my son. He has a Batman plushie and possibly an Ironman plushie, and his next favorite superhero is Captain America (or was at the time). I searched online and found this great free pattern and tutorial from Katy at Wild and Wanderful.

I wanted the shape of the doll and head to be more like the Bunnicula plushie, so I just adapted the basic Bunnicula pattern using Katy's pattern for the details of Captain America's outfit.

I think it turned out super cute and my son says he likes it.
Picture
0 Comments

    Author

    I am a wife and mother. I am retired: yay! 

    Archives

    April 2025
    March 2025
    January 2025
    November 2024
    August 2024
    July 2024
    June 2024
    May 2024
    April 2024
    March 2024
    January 2024
    December 2023
    September 2023
    February 2023
    January 2023
    December 2022
    November 2022
    October 2022
    September 2022
    August 2022
    July 2022
    November 2021
    October 2021
    March 2021
    January 2021
    December 2020
    September 2020
    July 2020
    June 2020
    May 2020
    January 2020
    December 2019
    October 2019
    September 2019
    January 2019
    July 2018
    May 2018
    March 2018
    February 2018
    January 2017
    March 2016
    April 2013
    March 2013

    Categories

    All
    Bags
    Costumes
    Dresses
    Home Decor
    Outdoor
    Pants
    PJs
    Quilts
    Skirts
    Stuffed Animals
    Tools
    Tops
    Toys

    RSS Feed

Proudly powered by Weebly