I want a damn shirtdress that fits me and is styled to my liking, i.e., round neck, collarless, and button front. My "fixed" McCall's 6696 is better than it was (and wearable, I suppose), but still the back is too roomy, and I want it to be perfect.
So I went on the hunt for a good pattern.
I got a Kitty Shirtdress by Sew over It patterns. It has a princess-seam option, which I really like, and other options for collars and skirts. Still, I dreamed of not having to alter the pattern, and here I'd have to remove the collar, adjust the neckline, and figure out how to add sleeves to the princess-seam bodice. Oh, plus only one cup size. I wasn't feeling the FBA. I chickened out.
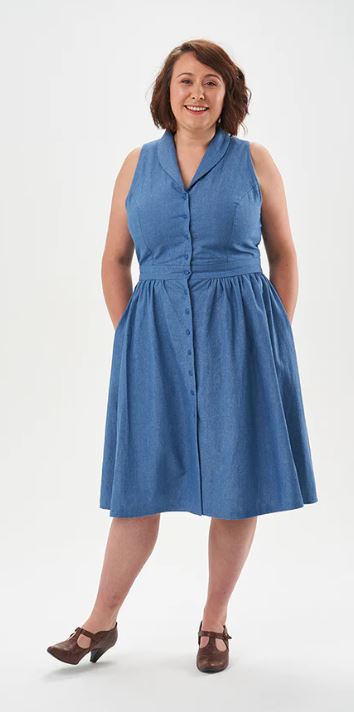 | 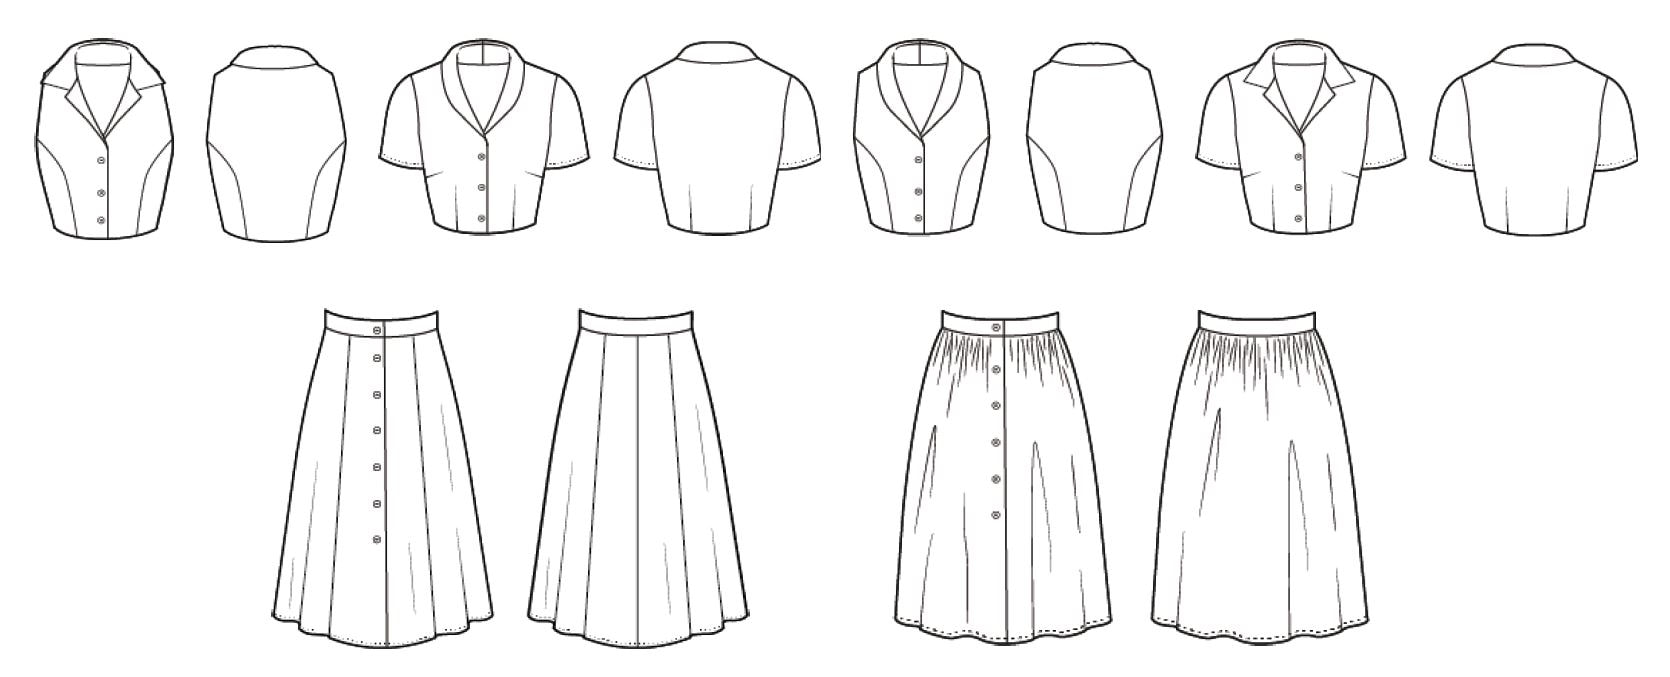 |
Then I saw the Upton by Cashmerette. I was under the impression that Cashmerette patterns might be drafted for shapes closer to mine, which, I learned after lots of muslin-making, turned out to be not true. But with the expansion pack, you get a lot of options for darts or princess seams, sleeves, and skirt. Plus, different cup sizes!
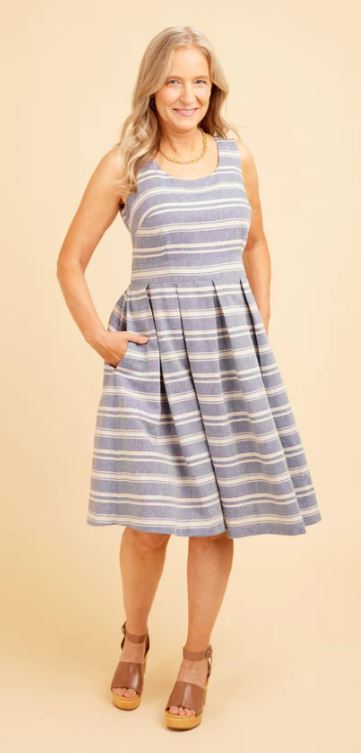 | 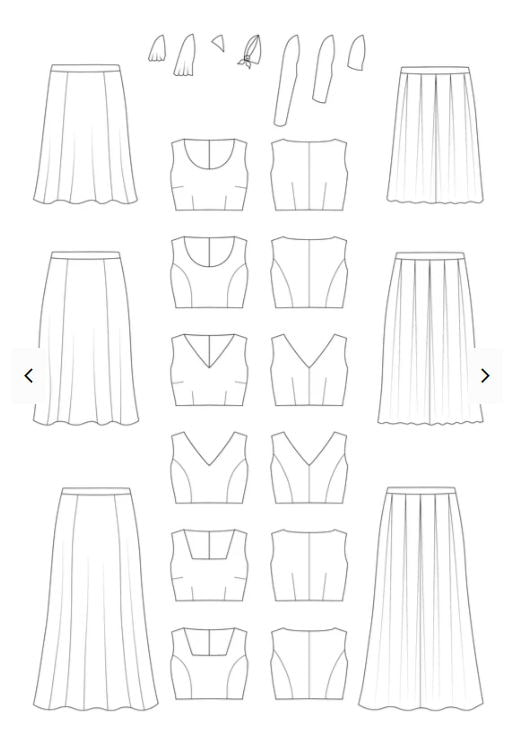 |
So I decided to sew up the Upton.
Sidenote
Back to the dress
I knew I'd have to close up the back and cut the front open to add plackets and buttons, but I didn't think that would be too big a deal.
I don't know what my problem is, but fuck, 5 muslins and I'm still not ready to cut into good fabric.
One thing is I have not been super careful keeping track of things. The first muslin was pretty close, so I guess I was sure if I made a couple tweaks, I'd be there. But no, 5 muslins later and I'm not 100% which mockups are which versions, especially what size sleeves I stuck in each one. Ooopsie.
Sidenote
- The first major problem was printing the PDF. I have been going to Office Max/Depot a block away and they were doing a nice job for an affordable price. No more. They won't use their blueprint printer on patterns, only their poster printer. $30 a page. C'mon. Just say you won't do it anymore. Don't put customers through that bullshit.
So I tried FedEx. They have a DIY blueprint printer, and I used it. It was much cheaper than Office Max/Depot, but still expensive. I don't want to admit how much I paid, but it was a LOT for 6 or 7 sheets.
From now on it's PDF Plotting.com. I just ordered the Kitty pattern printed--$2.45 a page. Now we're talking.
Back to the dress
I knew I'd have to close up the back and cut the front open to add plackets and buttons, but I didn't think that would be too big a deal.
I don't know what my problem is, but fuck, 5 muslins and I'm still not ready to cut into good fabric.
One thing is I have not been super careful keeping track of things. The first muslin was pretty close, so I guess I was sure if I made a couple tweaks, I'd be there. But no, 5 muslins later and I'm not 100% which mockups are which versions, especially what size sleeves I stuck in each one. Ooopsie.
1. Cup C/D, Size 4
This was supposed to grade to size 6 at waist and hips, but I think I forgot. Also, I might have cut out size 6 sleeves.
FIT: Princess seam way to the left and right of boobs (toward side seams). Extra fabric above boob, too tight across bust. Shoulders tight. Back waistline too high.
FIT: Princess seam way to the left and right of boobs (toward side seams). Extra fabric above boob, too tight across bust. Shoulders tight. Back waistline too high.
2. Cup E/F, Size 4 to 8
Not sure of sleeve size. Might be a 2, as instructed.
Fit: Seems to have more comfortable torso fit, but there is more extra fabric on princess seam, and that seam is still on the outside of the boobs rather than along them. Shoulders still tight. Extra loose around front neckline. Back waistline too high.
Fit: Seems to have more comfortable torso fit, but there is more extra fabric on princess seam, and that seam is still on the outside of the boobs rather than along them. Shoulders still tight. Extra loose around front neckline. Back waistline too high.
3. C/D, Size 4 with vertical adjustments
I lowered the bust point 1 inch and also lengthened the torso 3/4 inch.
Fit: Princess curve better fits breast shape, but it is still too far out on the outside. Shoulders are tight. Neckline is loose. Back waistline is too high.
Fit: Princess curve better fits breast shape, but it is still too far out on the outside. Shoulders are tight. Neckline is loose. Back waistline is too high.
4. E/F, Size 2 to 8 with vertical adjustments
I lowered the bust point 1 inch and also lengthened the torso 3/4 inch.
Fit: Best so far but too much fabric around princess seam, and much too loose at front neckline.
Fit: Best so far but too much fabric around princess seam, and much too loose at front neckline.
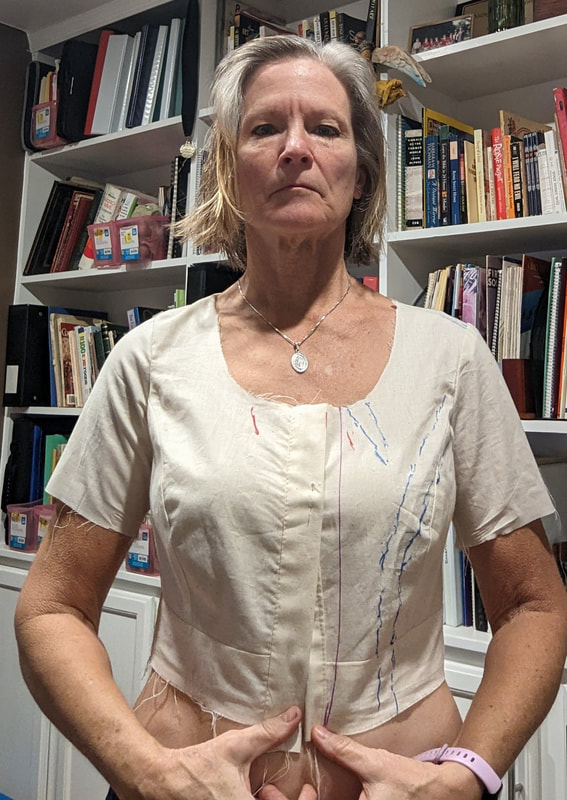
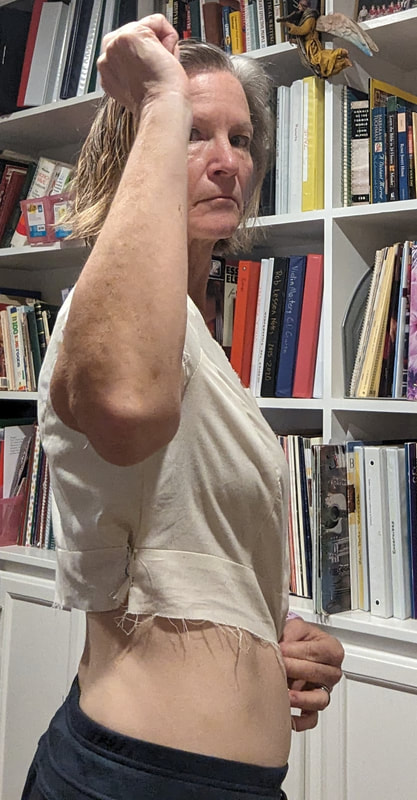
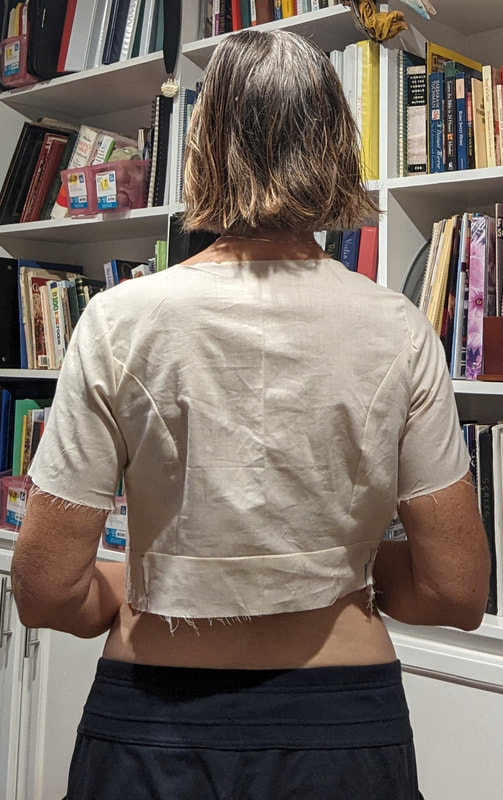
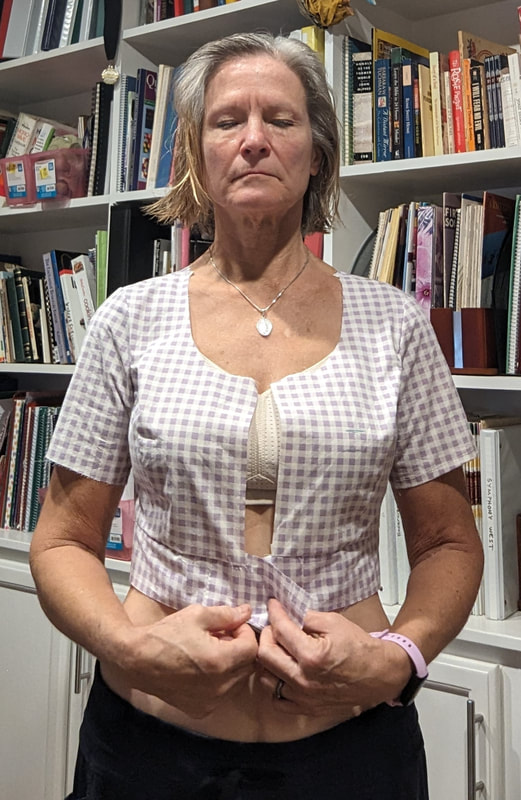
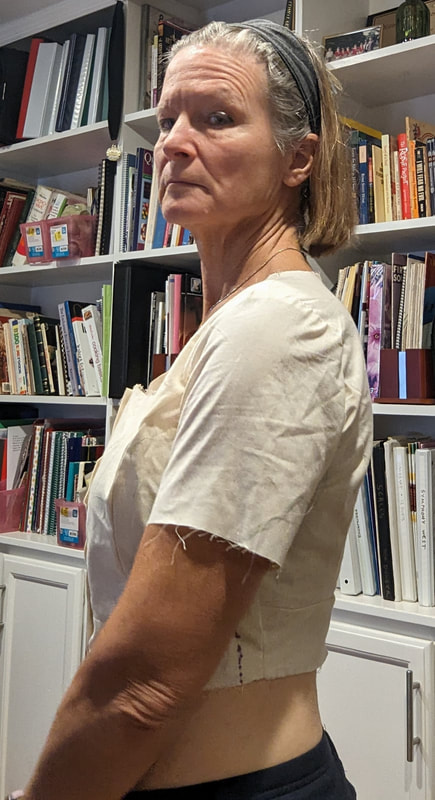
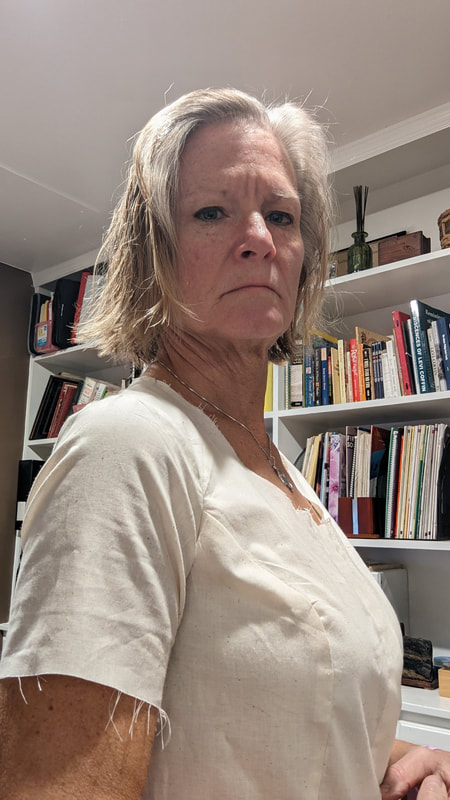
5. E/F, Size 2 to 8, with adjustments and CF subtraction
In addition to lowering the bust point, I increased the length on the torso to 1 full inch. The major change here was that I took out width from center front seam. I think it was 2 full inches. It might have been 1. To add back in the missing width at the waist and hips, I added it to the side seams so the CF stayed on grain. The point of this change was to remove all the neckline gaping and bring the bust curve closer to the bust. It worked! Unfortunately, it also screwed up everything else. The armholes are way too tight and the back is too tight (how?)
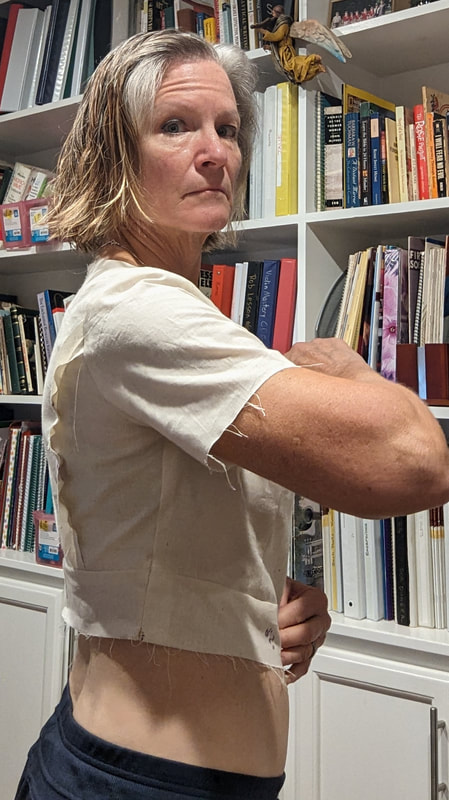
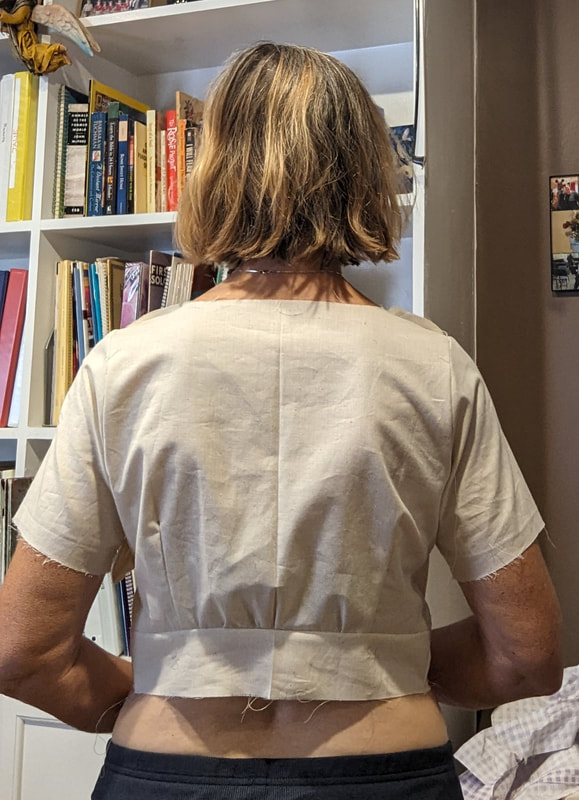
Fit: The princess seam goes mostly where it should along breast. It is too tight across the back, shoulders, armscye, and now chest again. The back waistline still too high.
Fit: The princess seam goes mostly where it should along breast. It is too tight across the back, shoulders, armscye, and now chest again. The back waistline still too high.
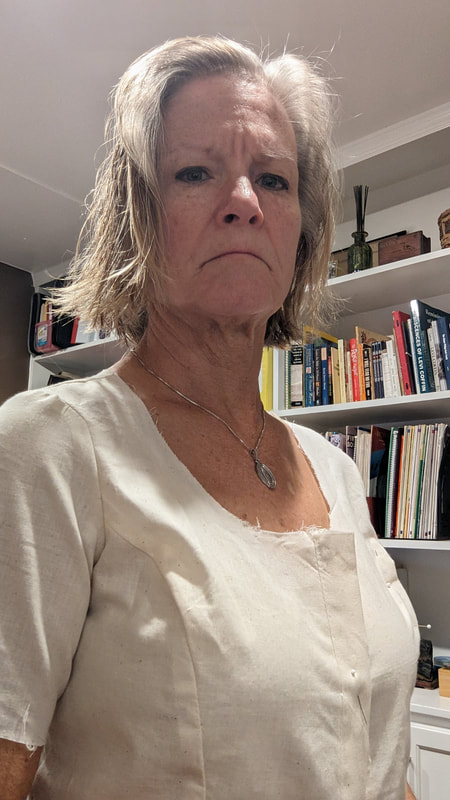
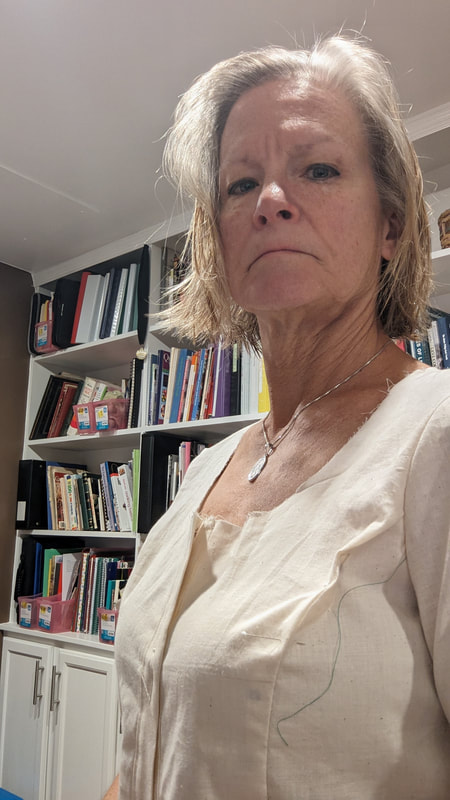
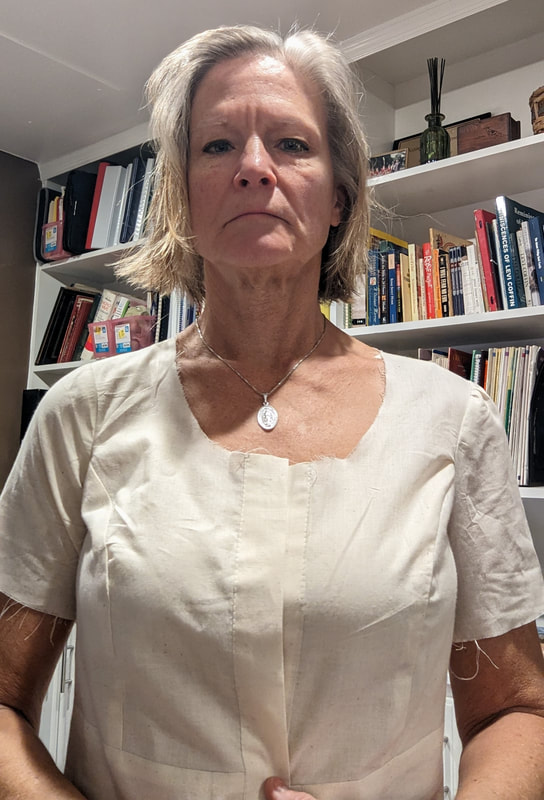
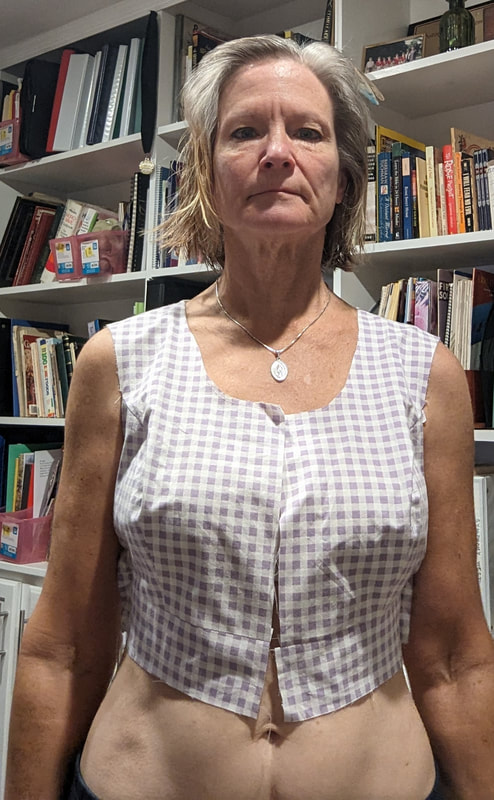
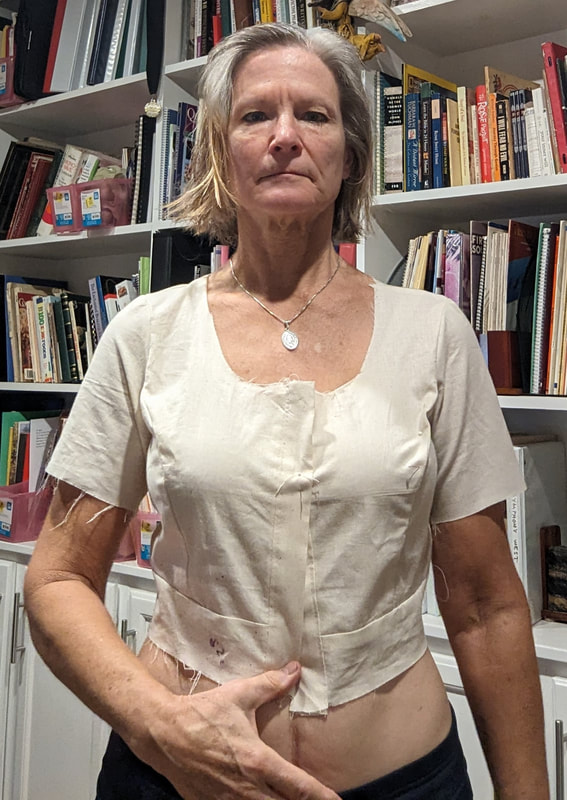
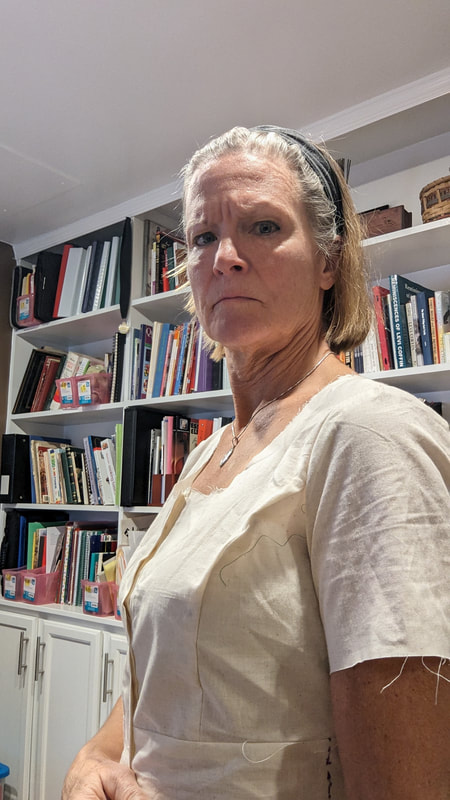
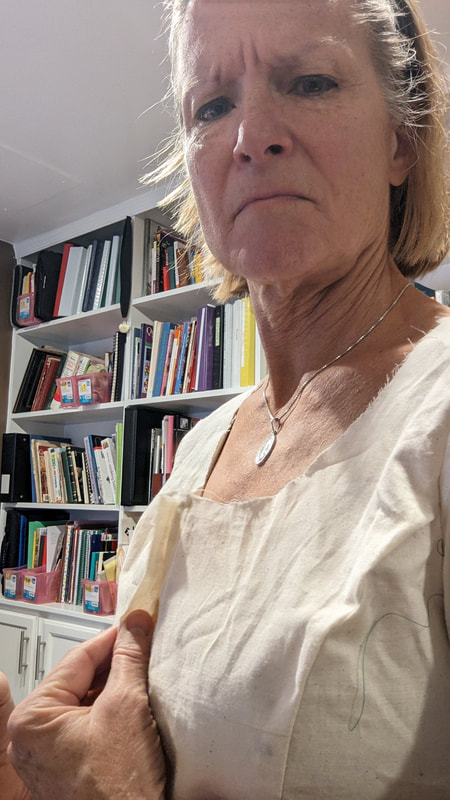
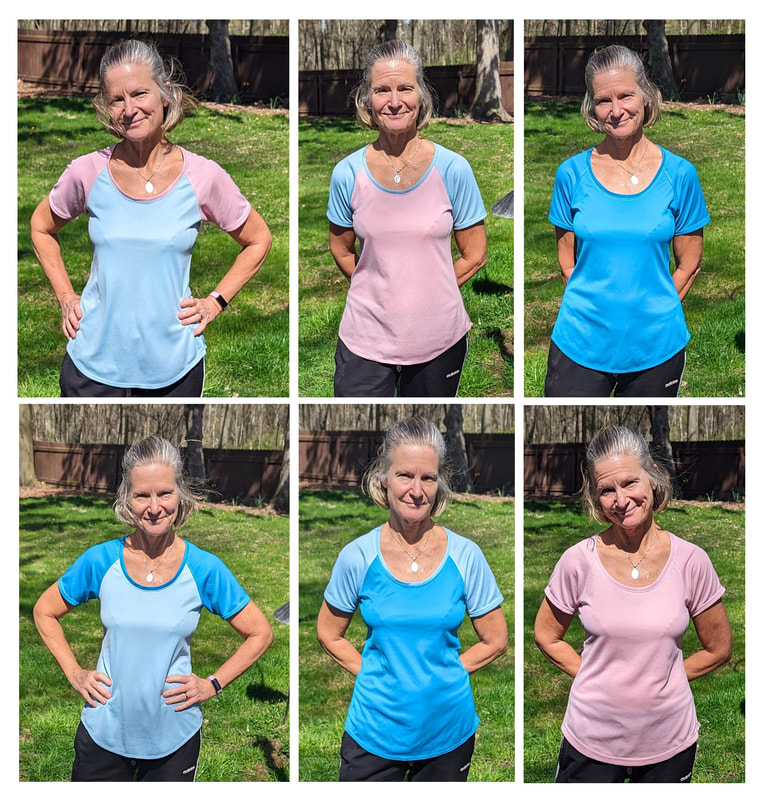
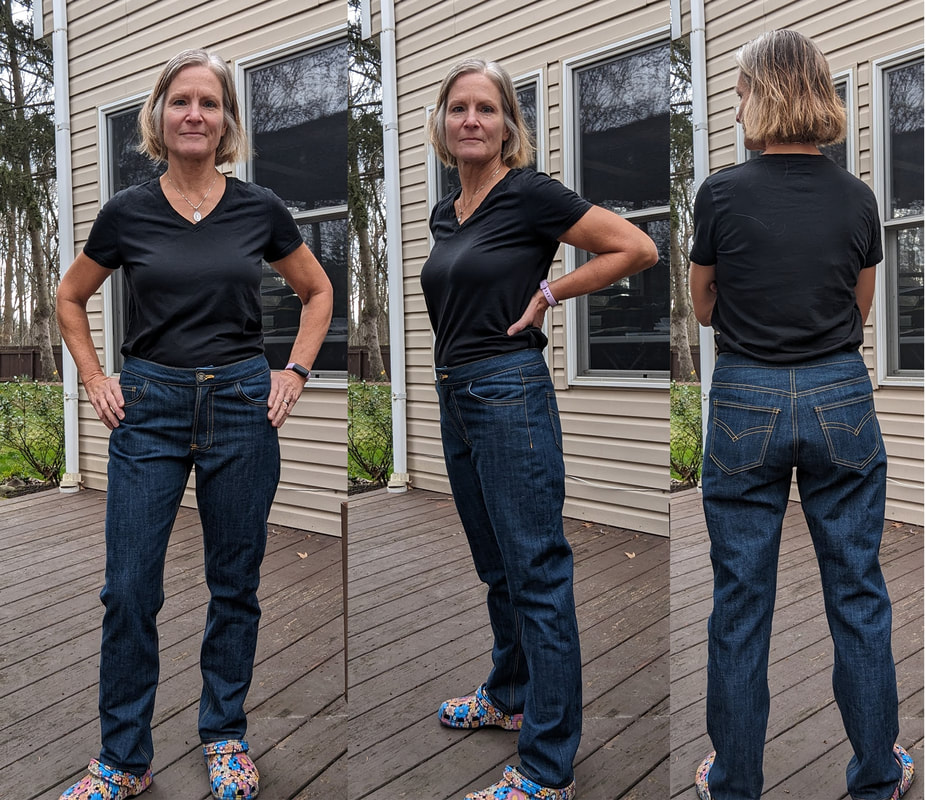
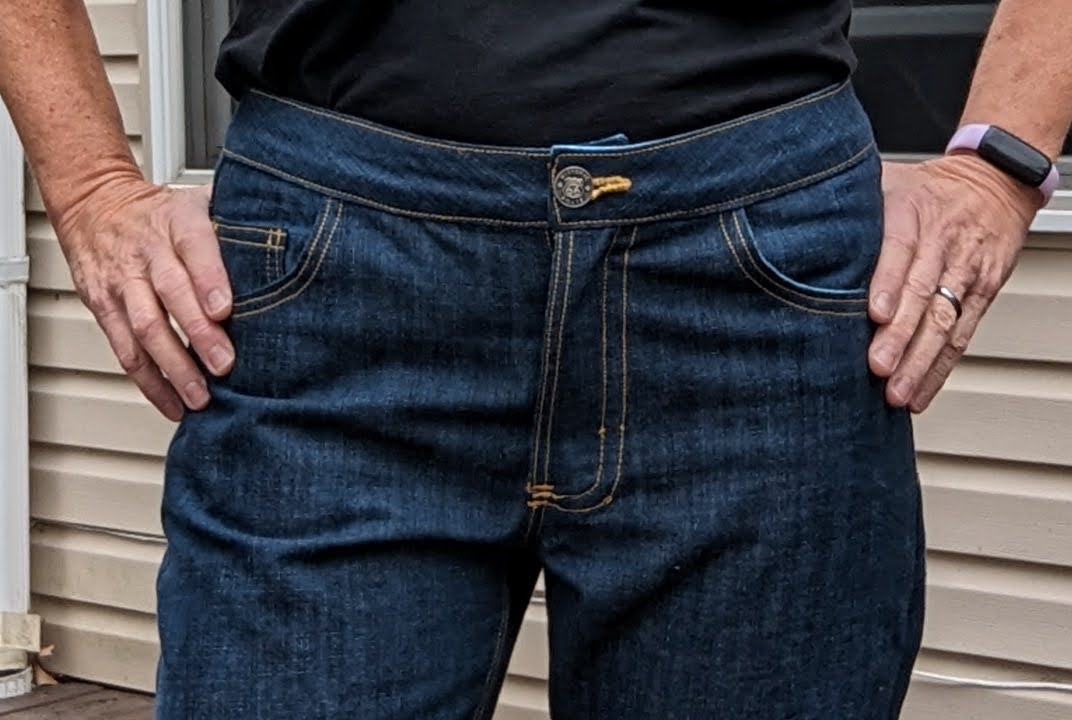
Comparison of Front Torsos
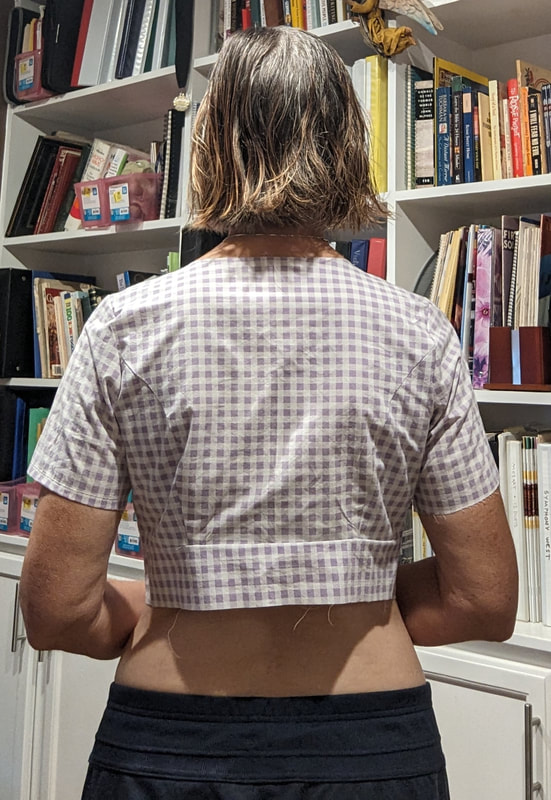
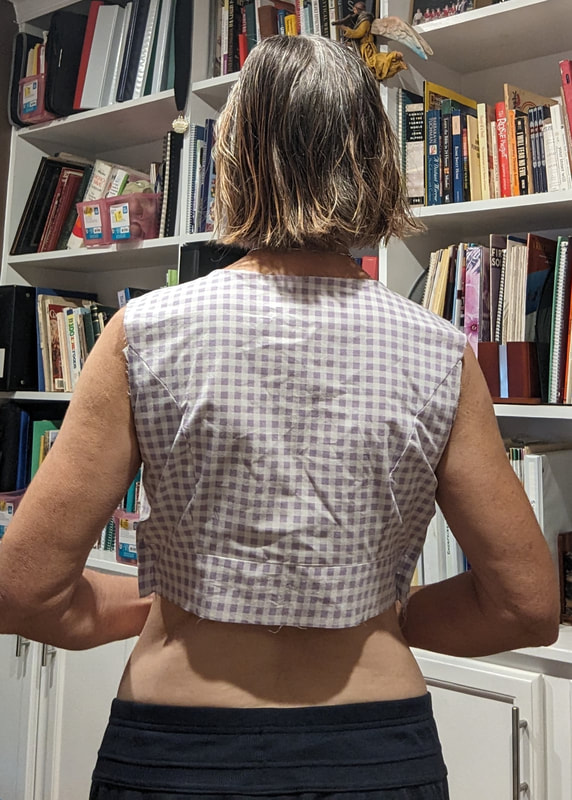
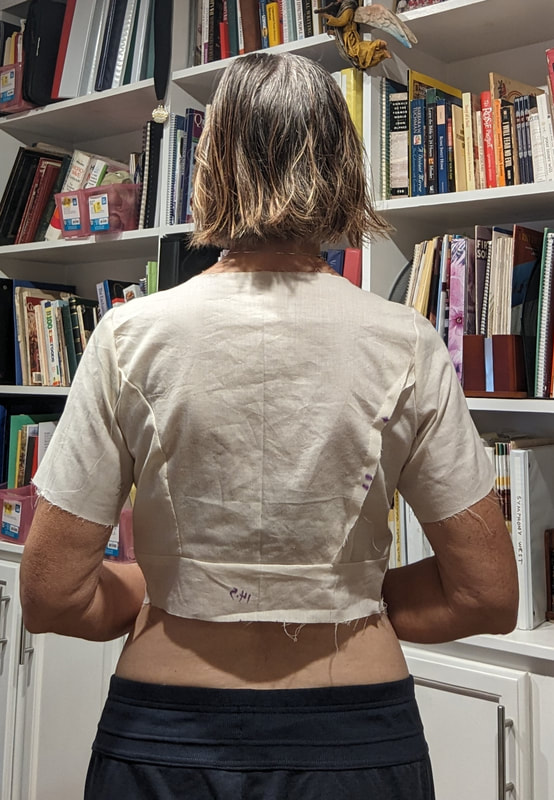
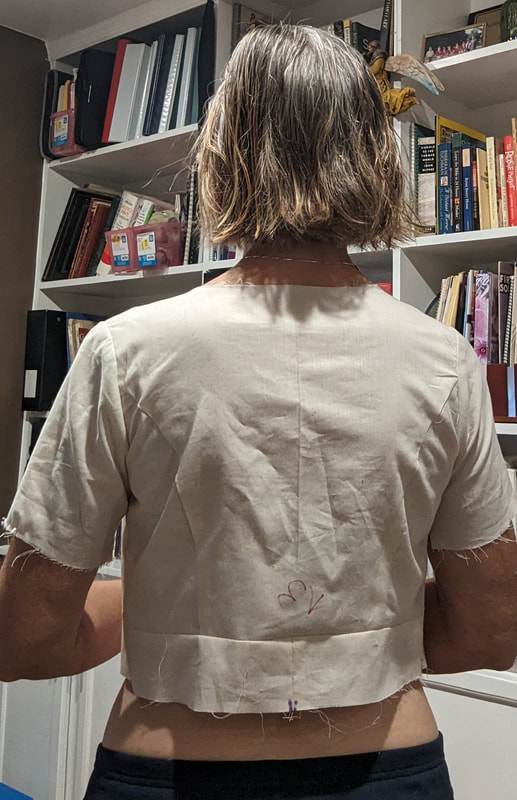
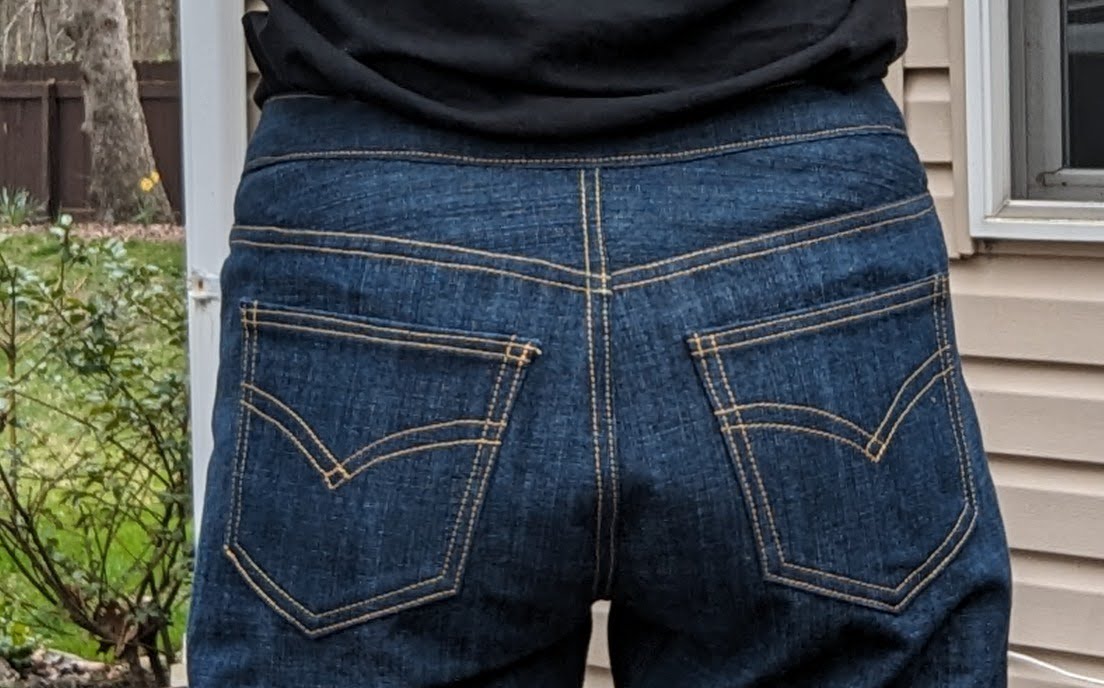
Comparison of Back Torsos
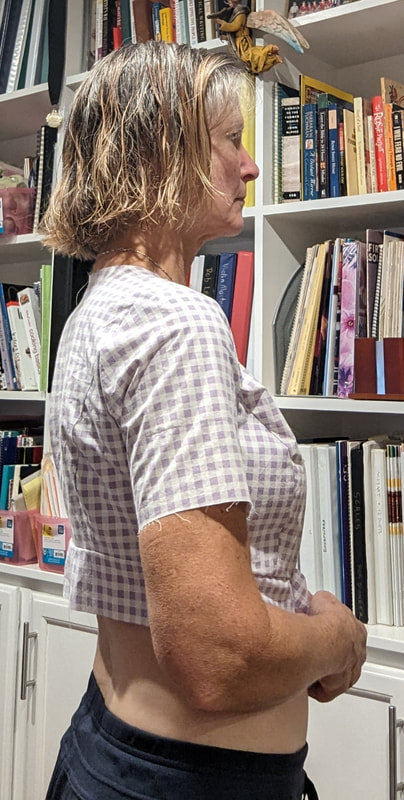
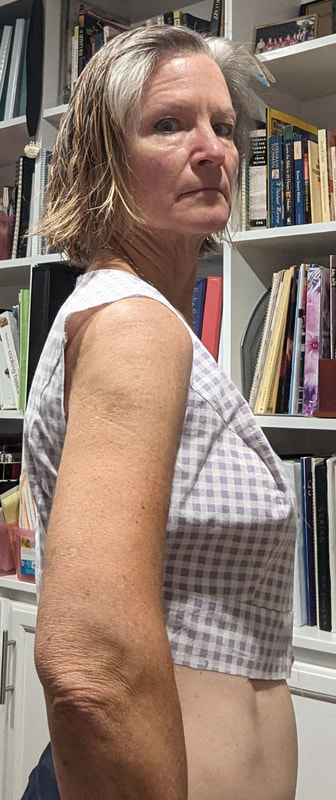
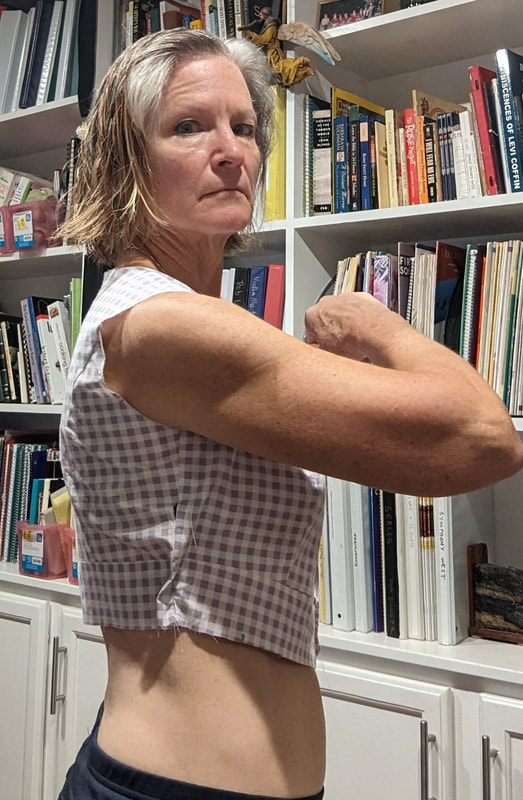
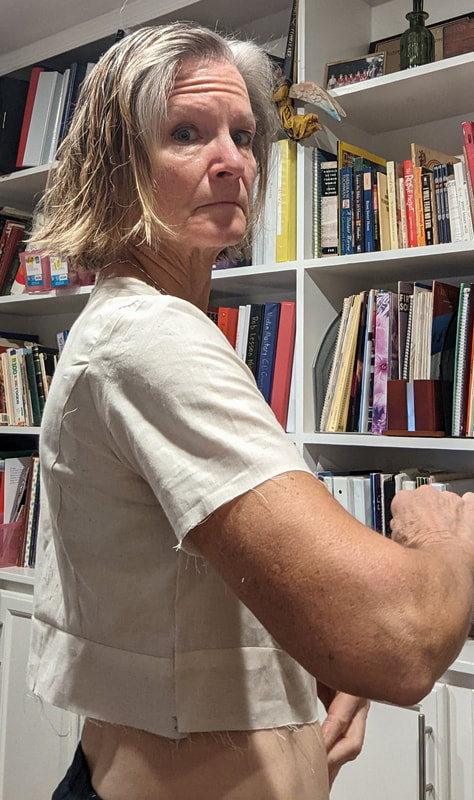
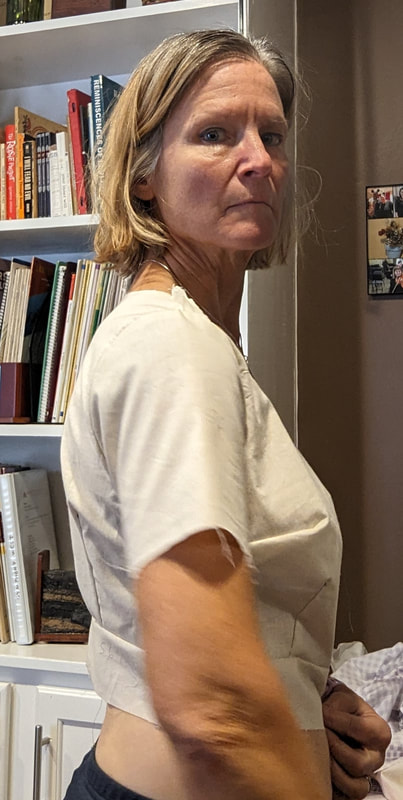
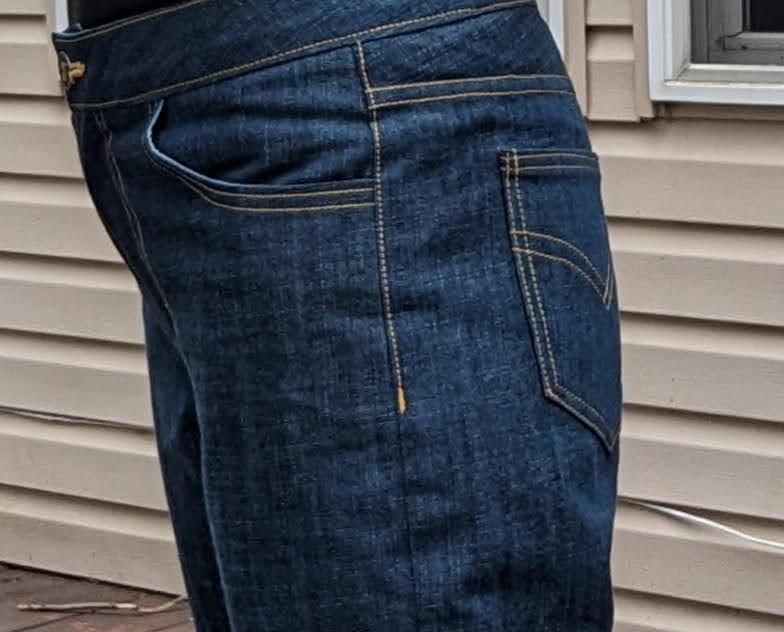
Comparison of Side Torsos
On Review of the Fit
I think I will go back to the C/D cup, size 4. The changes I will start with are:
I think I will go back to the C/D cup, size 4. The changes I will start with are:
- Grade to a 6 at the waist and hips
- Lower BP 1 inch
- Lengthen torso 1 inch and maybe add another 1/2 to 1 inch length on back torso at the shoulder blade level. No, I had better wait until I make the forward shoulder adustment
- Make a forward shoulder adjustment
Change of Plan
I saw a video where someone explained how princess seams are darts. So I decided to sew the darted version to see exactly how the darts were designed and I figured they'd be easier to adjust.
So I sewed a C/D bust, size 4 grading to 6 at the waist. I sewed size 6 sleeves into the size 4 armholes. I did lengthen the bodice 1" but I didn't lower the bust point yet. I did move the shoulder seam at the shoulder 1/2" forward.
So I sewed a C/D bust, size 4 grading to 6 at the waist. I sewed size 6 sleeves into the size 4 armholes. I did lengthen the bodice 1" but I didn't lower the bust point yet. I did move the shoulder seam at the shoulder 1/2" forward.
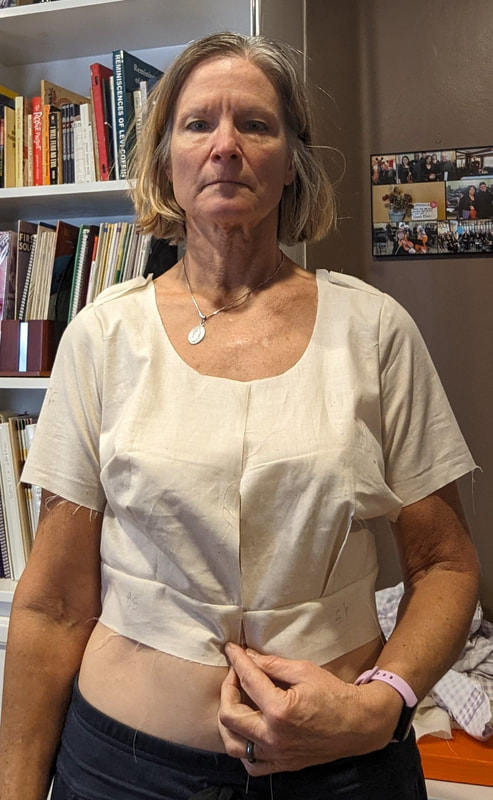
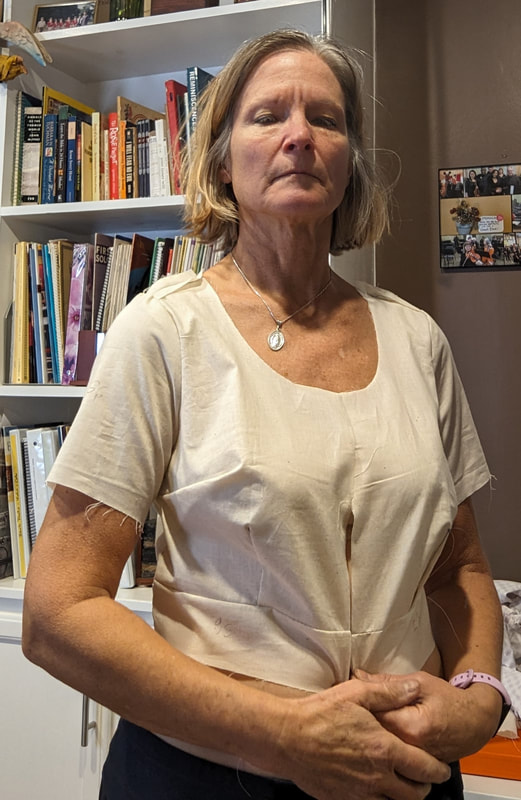
Fit: I don't know. Feels more comfortable, but doesn't look very fitted! The bust dart is too low and needs to move an inch toward the center front. (I only sewed one bust dart up.) The back still hikes up. The armpits are too tight. Also, the front waist darts need to be moved an inch toward the center front. I think the front shoulder adjustment helped.
Also, don't know what the fuck is happening in the back. The back waistband is smaller than the back so I "eased" it in on this mockup.
Next:
Also, don't know what the fuck is happening in the back. The back waistband is smaller than the back so I "eased" it in on this mockup.
Next:
- Move the front bodice darts (bust darts down 1/2" and toward CF 3/4"; waist darts 3/4" to 1" toward center)
- Adjust sleeve head for the front shoulder adjustment (forgot and did on fly while sewing)
- Lower armhole and adjust sleeve as necessary (can't remember)
- Add 1" length to CB and taper to side seams. Or maybe wait until I have the bodice fitting okay (maybe tightness somewhere is pulling everything toward front and lifting up back?)

 RSS Feed