| Reusserland |
|
|
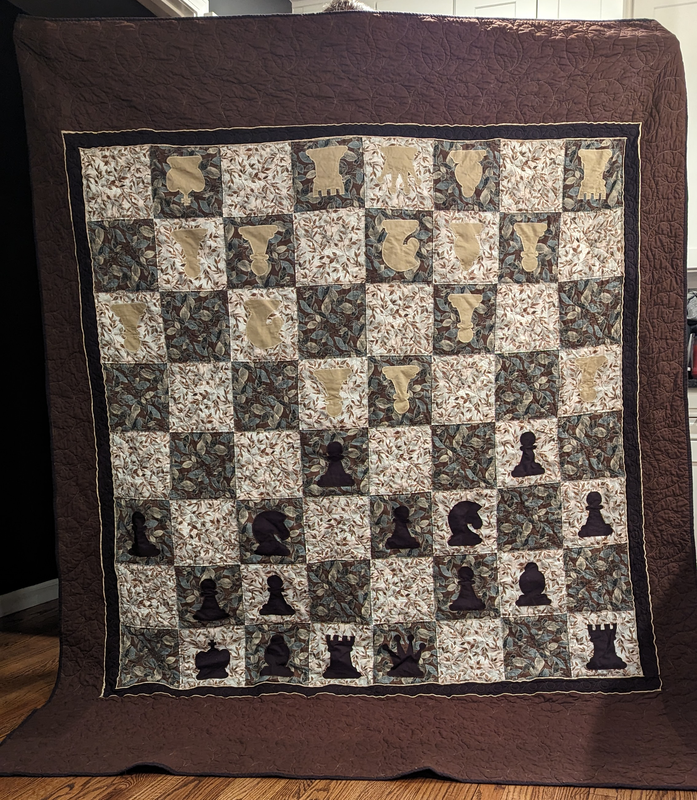
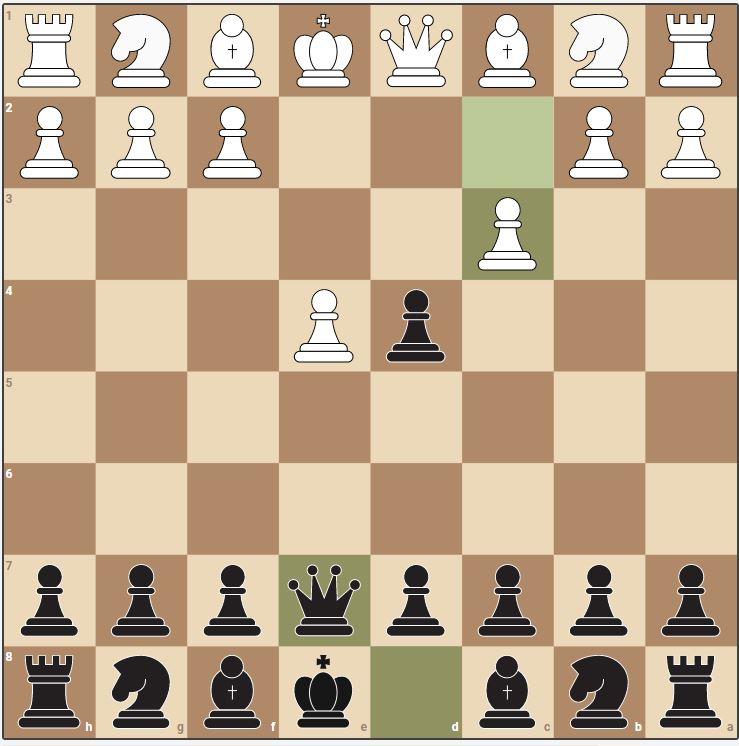
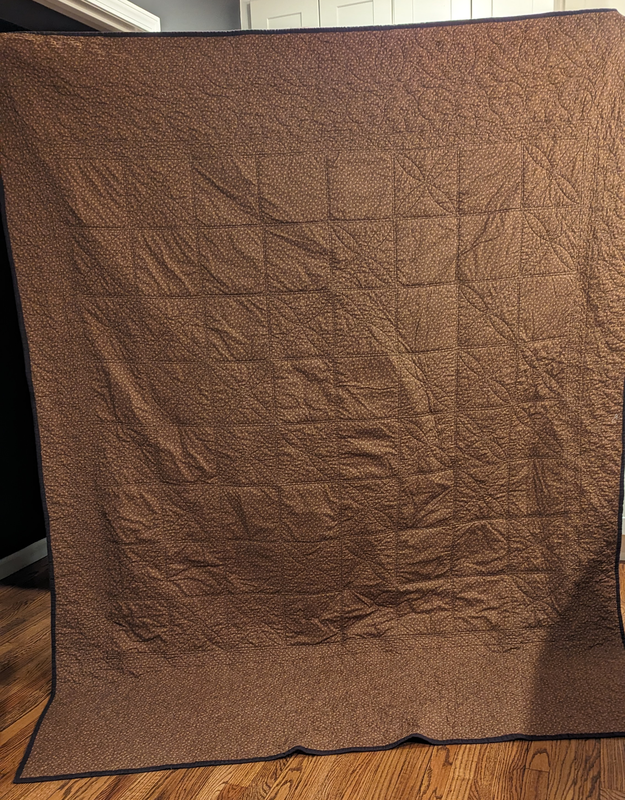
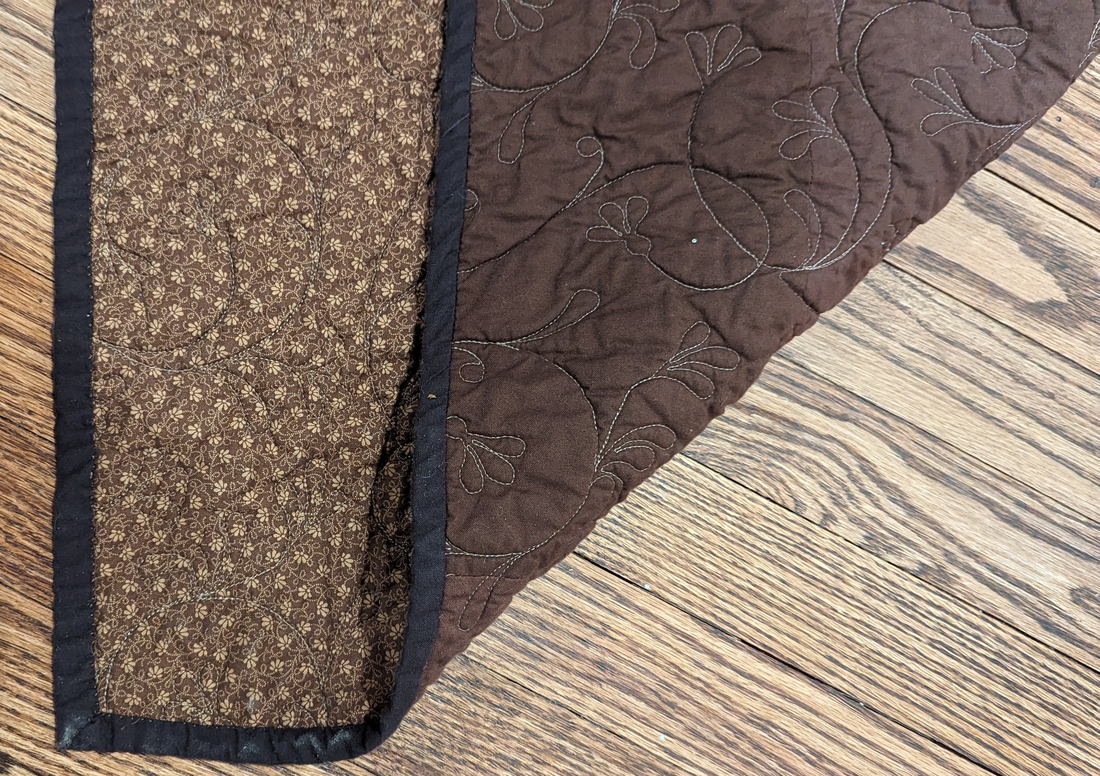
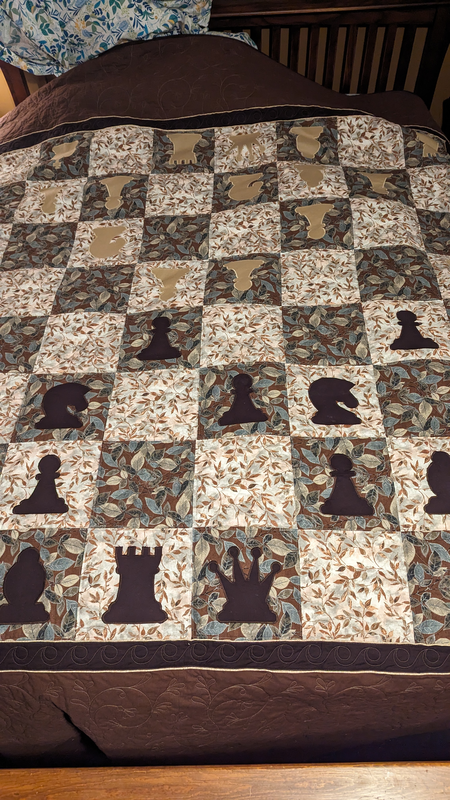
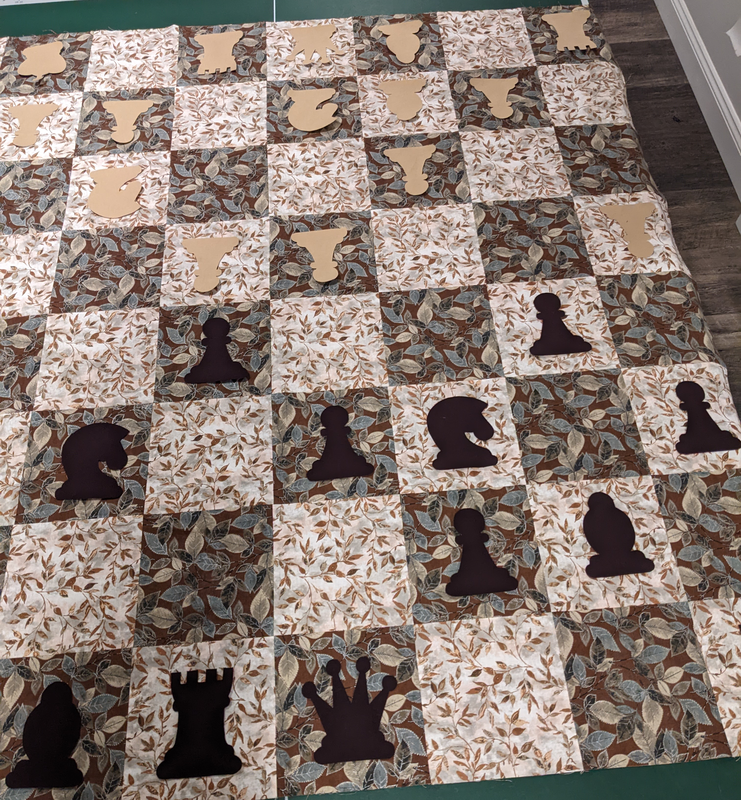
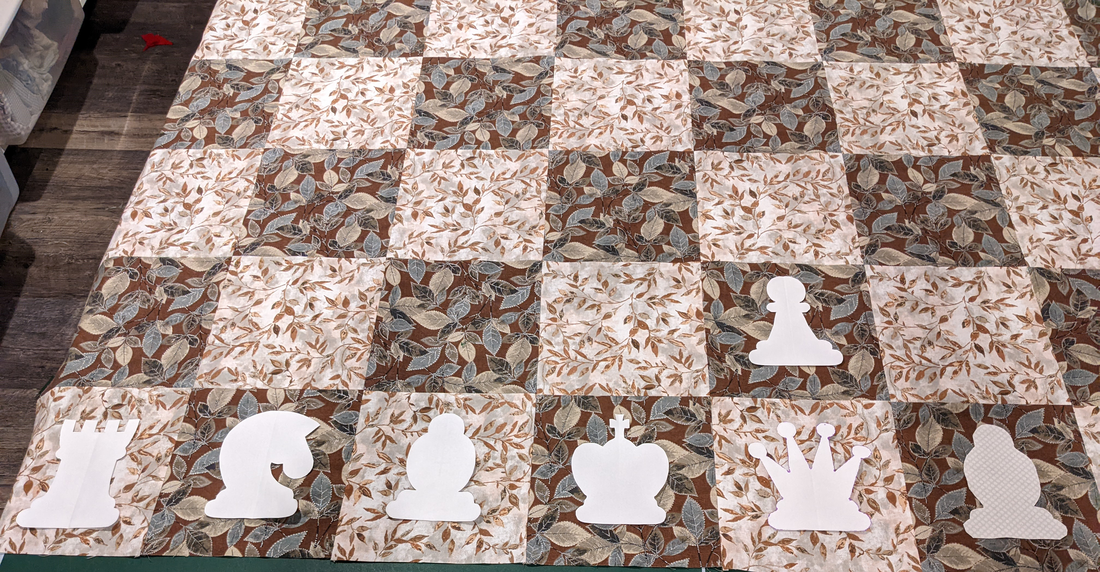
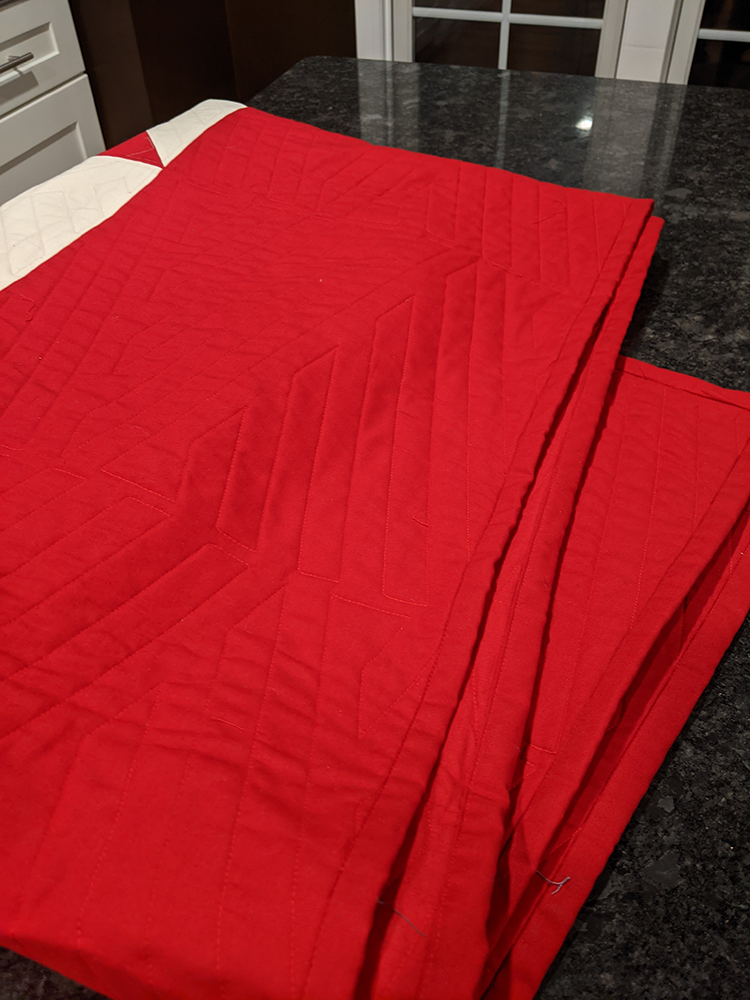
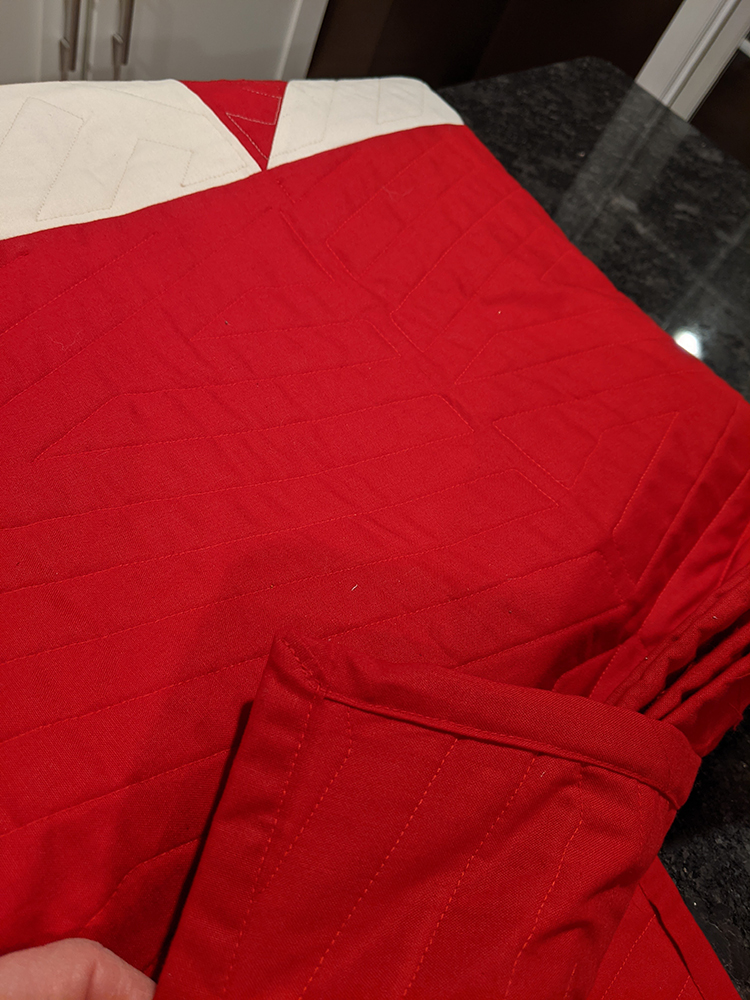
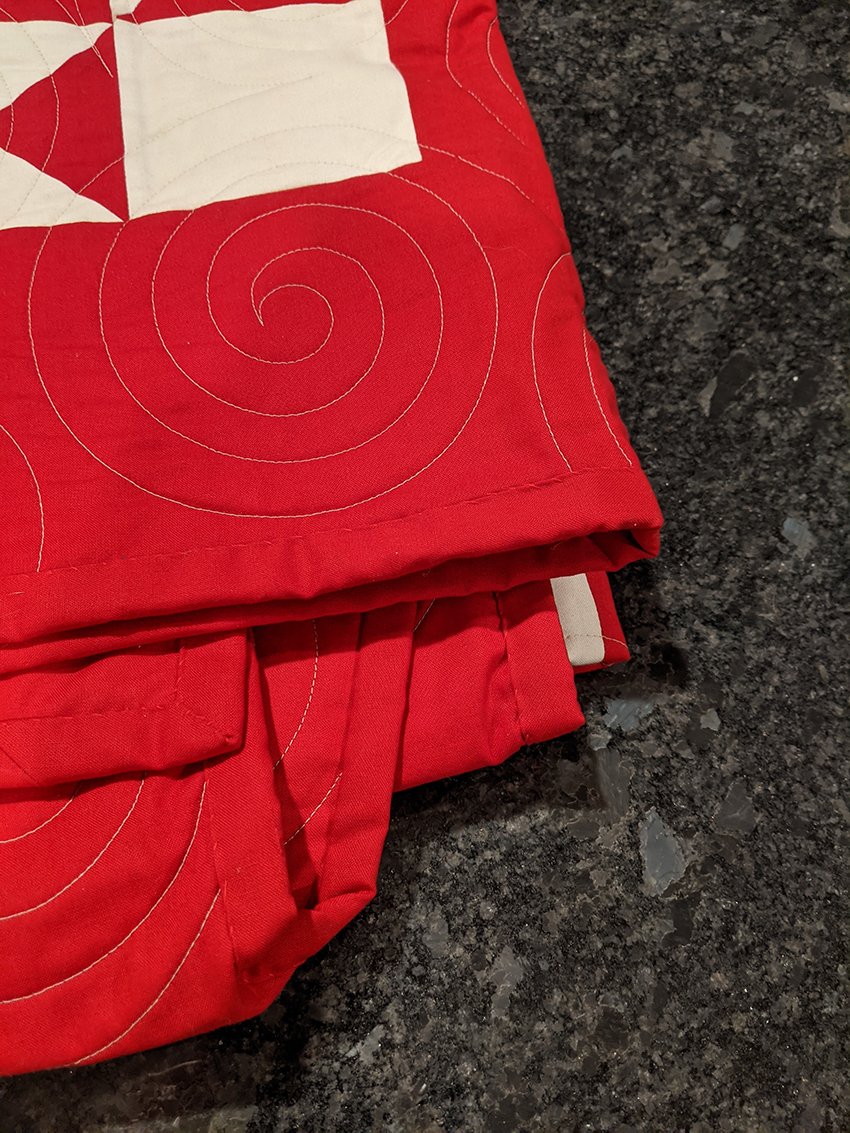
I'm pretty pleased with this quilt. I do wish I had noticed, or people had told me before I'd adhered the applique pieces onto the backing for the second time (because I had changed the color of the light pieces) that the pieces should all be oriented the same way. It's so obvious now. It is that way on the online versions of chess (pictured below), which is where I got my original design ideas for the shape of the pieces. Oh well. That's how it goes. Here's the back. I love the fabric and the quilting, which was done again by Suzanne at the Quilting Bee. She's an artist. The outside area has the same pattern I used on my daughter's quilt. Then there is a different pattern on the border that frames the board. She traced around every square, and she quilted all the open squares with that cool pattern. I think it's beautiful. Here's a close-up. Here's a view of some of the sample applique stiches I tried. Different stitches, different colors, different weights of thread. By accident, I have a better idea of how long it took me to bind the quilt. This one is larger than I've done before. It fits our bed which is a queen. (Below is the quilt over our lumpy blankets.) It took 8 hours!
0 Comments
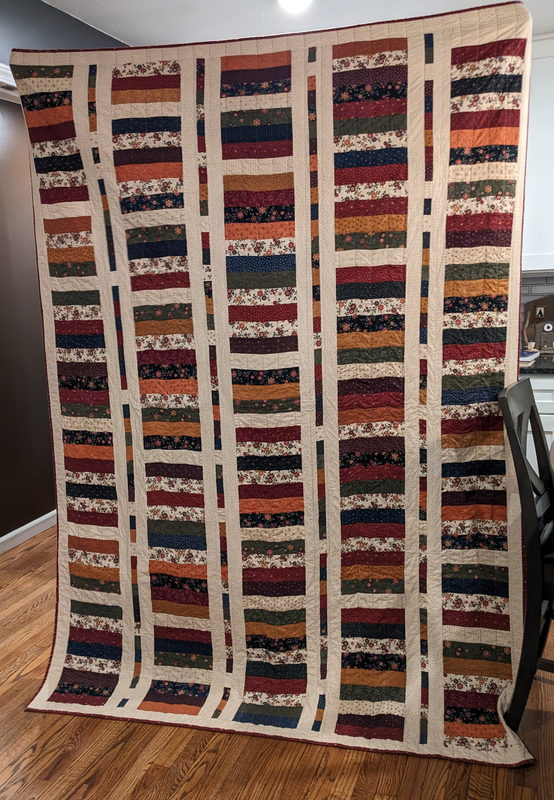
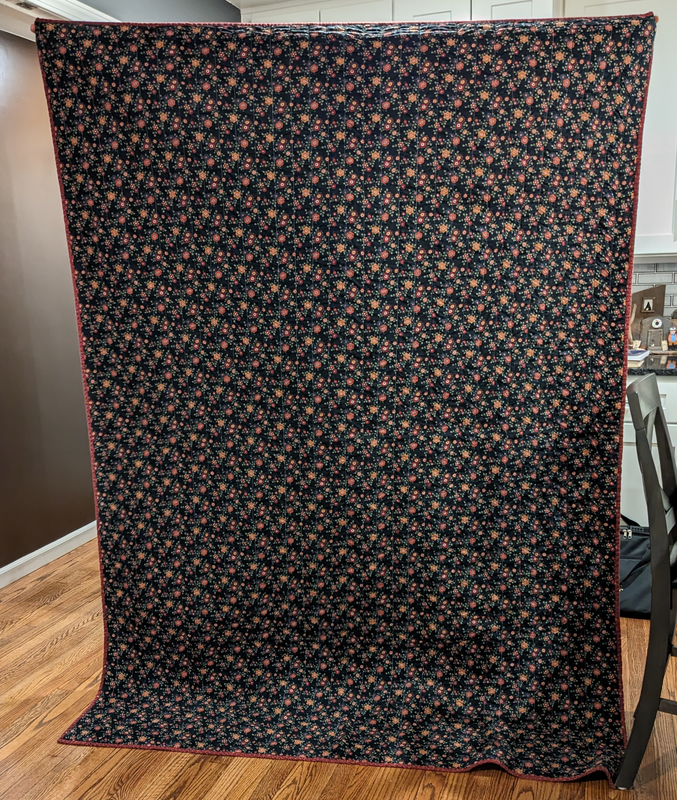
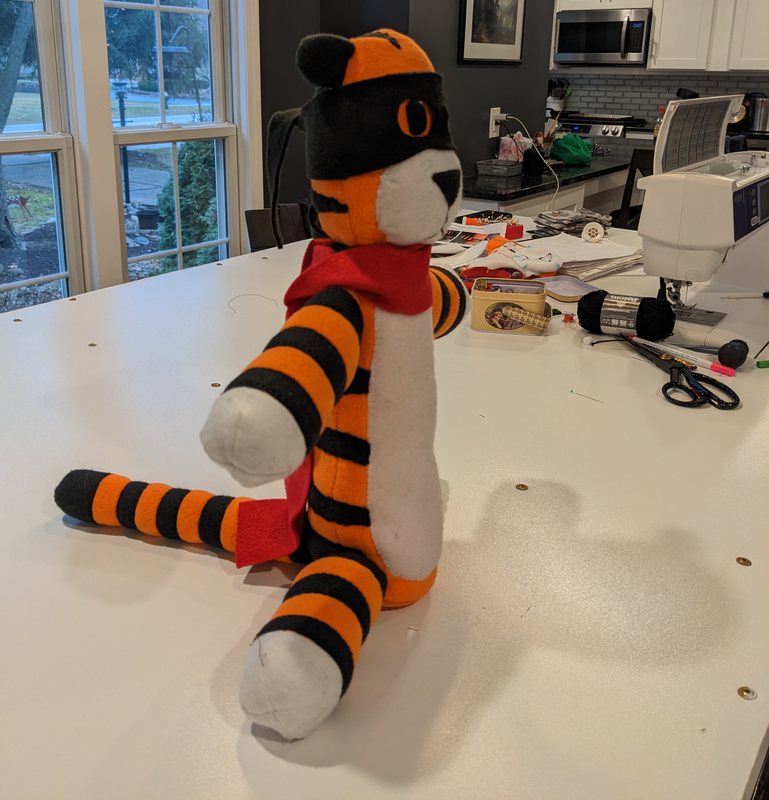
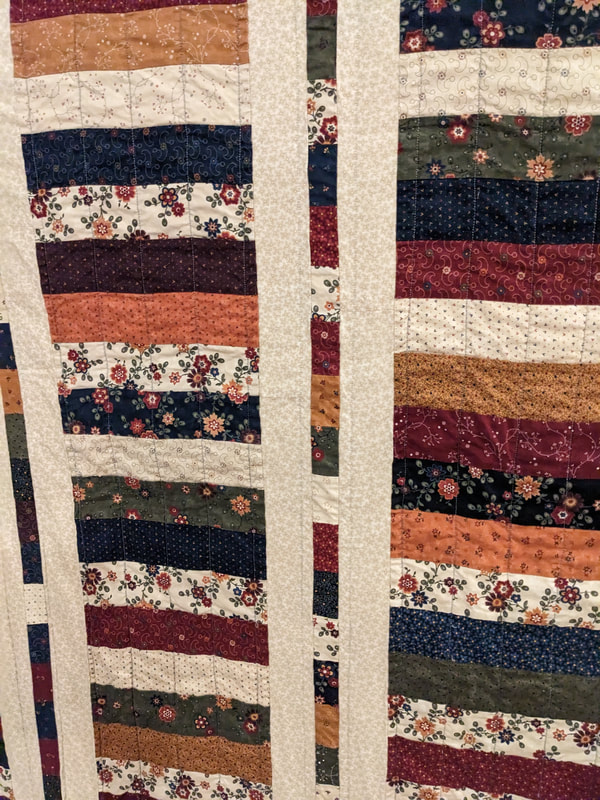
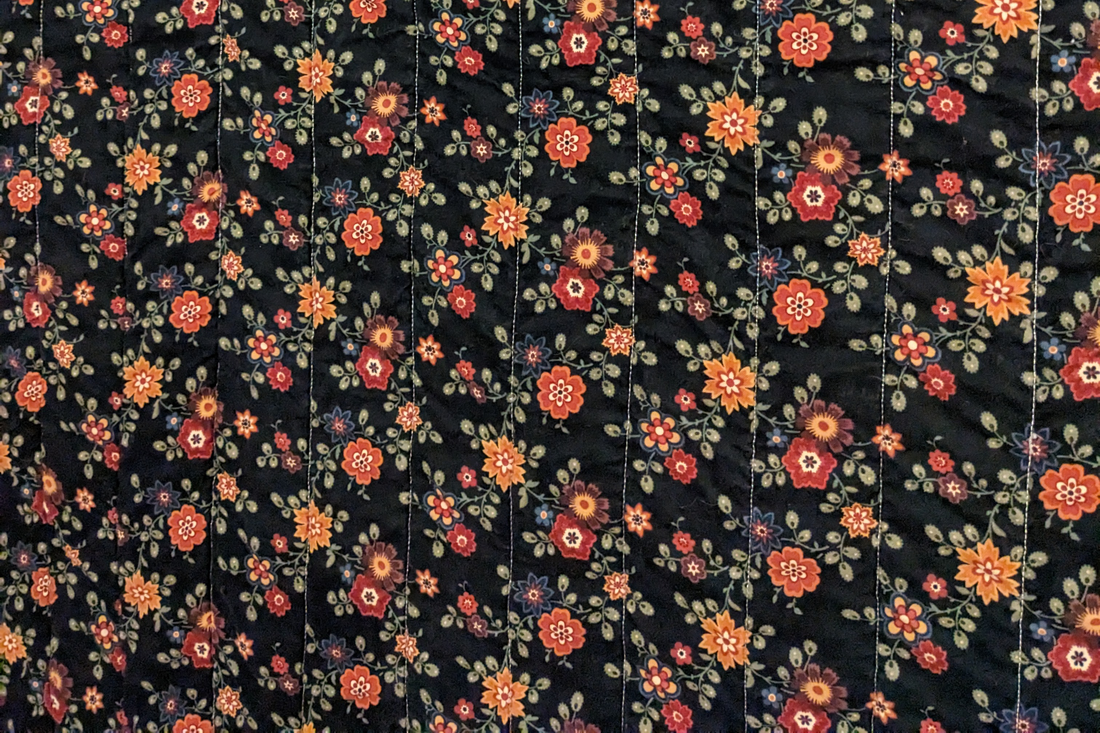
I made this quilt for my mother-in-law Sue for Christmas. She's one of my most favorite people in the whole world. It's a coin quilt with a variation in the sashing. I got the gist of how to make a coin quilt watching a good YouTube video, and I saw the variation idea on Pinterest. The fabric collection is one of the Kansas Troubles collections. This one is called Hope Blooms. I was pretty sure Sue would like these colors and patterns! Here is the back. I got the idea to make this in October or November. Whatever it was, it was late in terms of making it in time for Christmas, especially considering the longarmer I use has a queue months long. I thought I could make a coin quilt pretty fast, and I thought I could quilt it myself on my regular sewing machine. Somehow. It took me a couple weeks to find and assemble the fabrics. It took me about a week to cut and sew the front. Then, it turned out that I didn't have enough of the back fabric, an unanticipated glitch, as per usual. (I thought I couldn't really calculate how big the quilt was going to be before I started. I guessed. I guessed wrong.) I searched and found a big enough swatch of the fabric on Etsy. It came. It didn't match somehow. The design was smaller, the colors faded. And it was all vaguely smelly. I realized they'd washed it (after probably digging it out of someone's basement stash). No good. I searched again and found a better source and ordered plenty. When it finally arrived, at least another week had gone by since I'd finished the front. But I pieced the back together, matching the print, and then it was time to figure out how to quilt it. It did not go smoothly. I started by watching a lot of videos: quilting on a regular/standard sewing machine, straight-line quilting, quilting with a ruler, free-motion quilting, top tips when quilting for yourself, top things to avoid when quilting, etc. I decided the quilt would actually look good with straight lines. For sure, the learning curve should be lower and the results more predictable. I set my machine up on our big dining room table--a counter-height slab of granite about 3.5 feet by 5.5 feet. I quilted a test using a table runner I'd pieced in a class. It looked great! It was easy to do. So I started sewing straight lines on the coin quilt and freaking out at the lack of control and the crappy results. It looked bad and I could not think of a way to gain more control. I began to despair. I went looking for other longarmer options. There are some around, but I was embarrassed to call them in early December asking for a job done by Christmas. I started to seriously consider the possibility of giving it after Christmas. My husband came to the rescue and built me this amazing topper that is flush with the bed of my machine. I thought I took pictures, but I can't find them. Here is one with Hobbes on top; he's sitting on the table topper. You can see how it's flush with my machine near the scissors and yarn. Well, with that invention, it was possible to continue. I tore out a number of rows of stitches and started again. This time I could control the lines because the weight of the fabric was supported. It still wasn't easy. But it was possible. In the end, it wasn't perfect, but it was pretty good. Front close-up. Back close-up. She loves it!
UPDATE. I wasn't happy with the color of the pieces. I finally decided on a couple colors I like much better than white and black. The white and black did have the same subtle design on them, a same-color raised circle, that I really liked. Oh well. Since I couldn't have both, I chose to go with the colors I preferred.
Also, my husband pressed me to ask Thomas again about the position of the pieces. My husband said that the game-start arrangement of all the pieces on the first two rows was boring. So I asked Thomas and he agreed and gave me this opening, the "Ruy Lopez," aka "the Spanish." I agree that it looks much more interesting! Oh, also, I didn't use Heat and Bond on the new pieces. I took a class a local shop, Pins and Needles, on applique and they have another product that is much better. I think they call it "Soft Fuse." It's just as easy to use and just as adherent, but it's is much lighter. It was a bit of a PIA to remove the black and white pieces, but it's done, and I am so happy I changed the bonding medium. Front. Back. Closeup of quilt backing, pleased recipient, and The White Ingrate. Quilting pattern was called "Persian," I think. I really love it. Thanks, Quilting Bee!
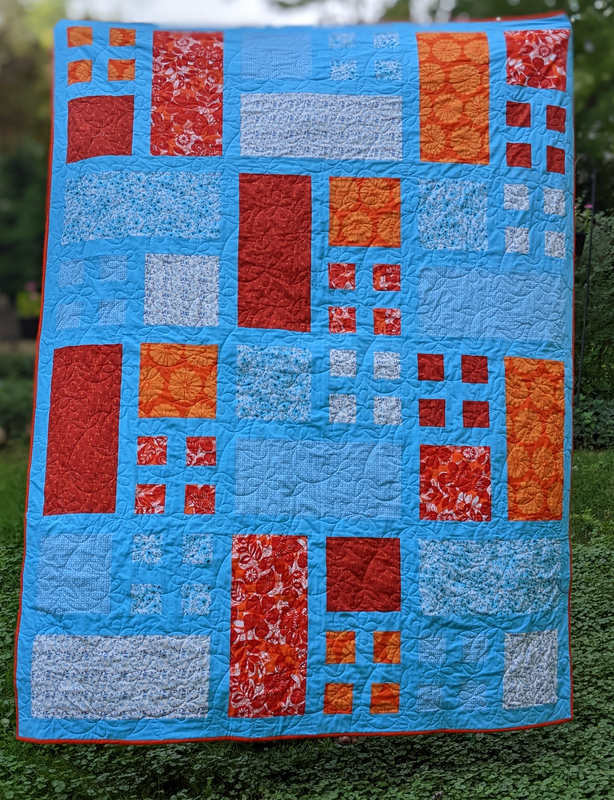
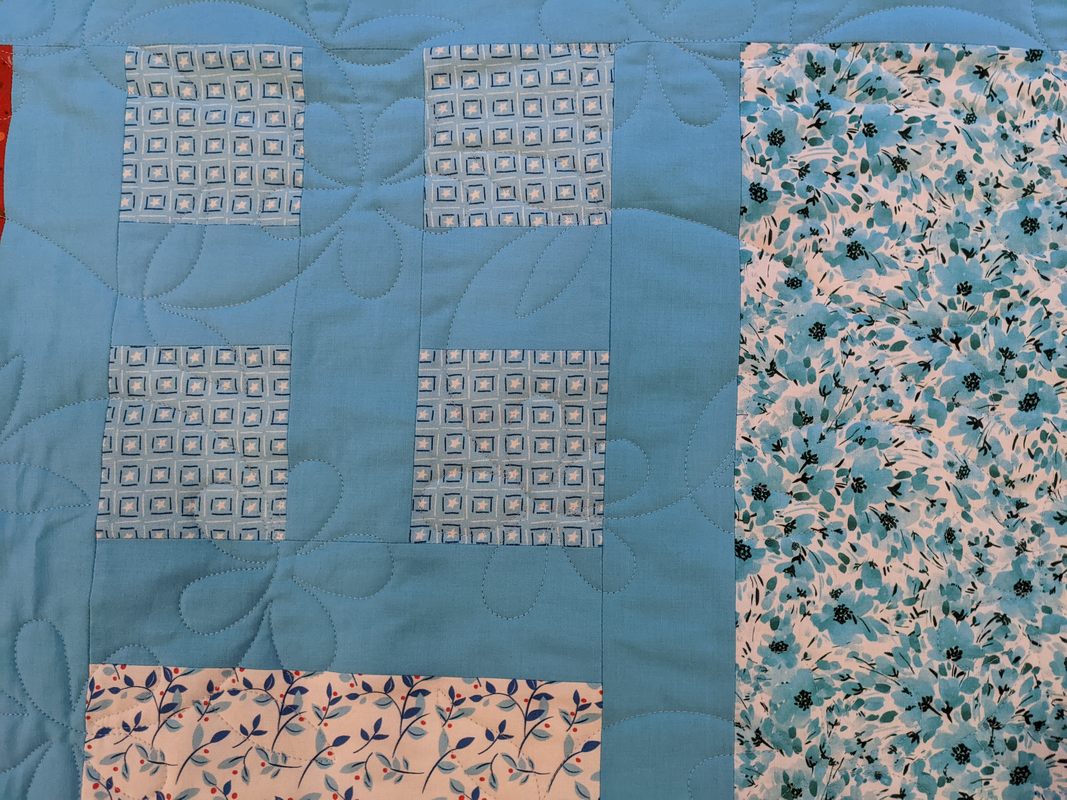
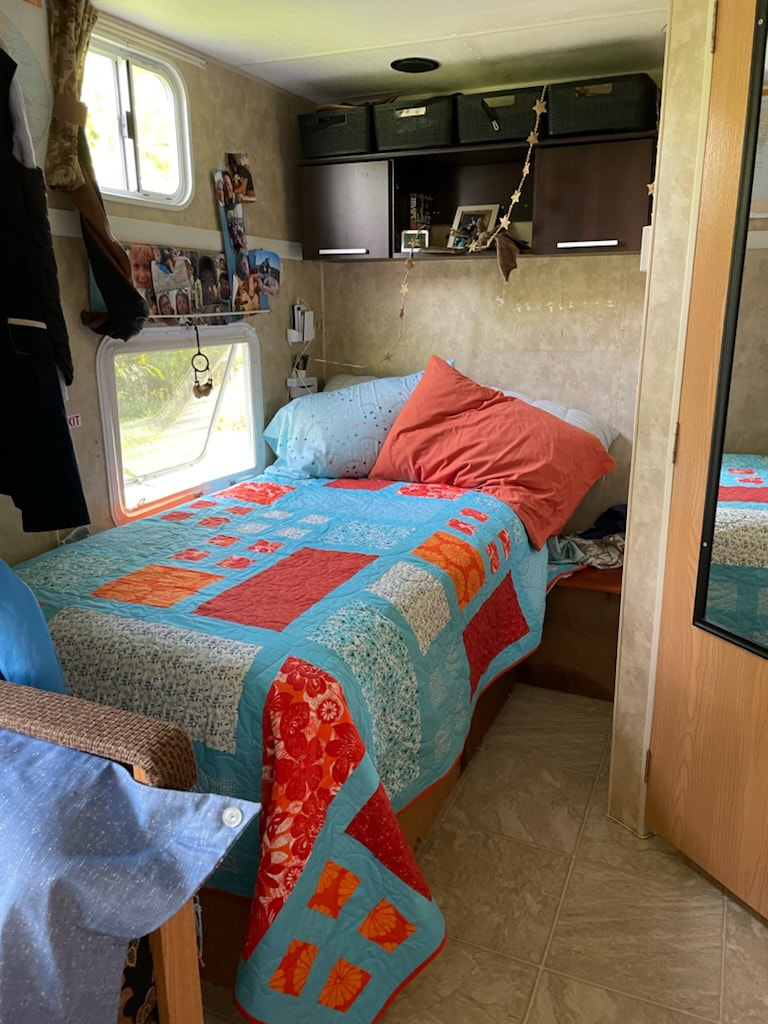
Moira's quilt is finished. I'm very happy with how it turned out. Colors are not perfect—the blues recede so much and the oranges are so overpowering. But it's still pretty. And they are the colors she wanted. I got the quilt back from the quilt shop that did the quilting last Tuesday. As soon as I got it back, I put the binding on. I referred to a good video by Just Get It Done Quilts. On earlier quilts, I used a wider binding because the fabrics on the top and bottom did not always go 100% to the edges. A wider binding gave more flexibility to make sure everything was covered. This time, I used 2.5-inch binding as this tutorial shows, which results in about a 1-inch border. Because you fold it in half so it's 1.25 inches wide, then you sew the open edge to the edge of the quilt, and then you fold it over and sew it down. I sewed the first seam by machine and then hand-stitched the second to the back of the quilt (I think I did this backwards on my first two quilts.) Bummer is that, even though I thought I had full coverage of the top quilt edge to edge, there were two small spots the binding did not cover on the front, argh, and I had to repair those. One I just hand-stitched over but the other looked crappy when I did that. So I sewed on a patch of blue. It is not perfect, sigh, but it looks okay, as if it were an old quilt that got repaired. Suzanne at the quilt shop suggested a couple of flowery designs and I chose this one. I think it was a good choice. Here it is in her camper! She's going to redo the color scheme on the inside to match the quilt! Link to the post with quilt as a work in progress.
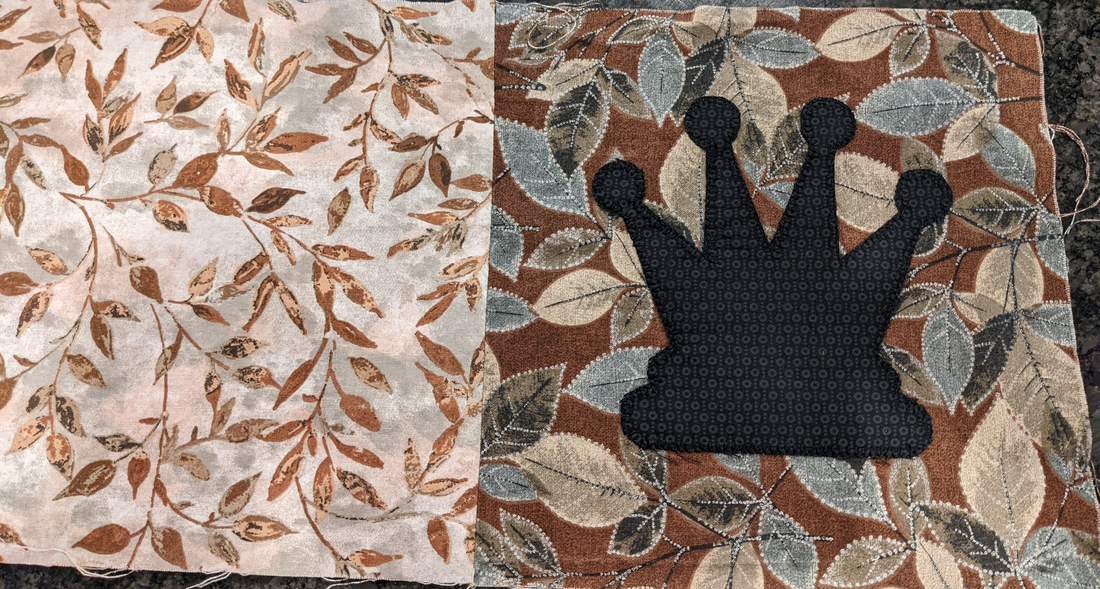
For the pieces, using heat and bond will be perfect. I sewed a nice blanket-like stitch all the way around the most intricate piece and it was fine. It looks really good. I bought "heavy duty" heat and bond because I'm a spaz and I didn't take my time. The result is an applique that is too stiff, even after I washed it. So I already ordered normal heat and bond. Now of course, I didn't really think this whole quilt through, as per usual. What I just realized is that because I've already completed the board, I will have to sew around each applique piece while dealing with a huge piece of fabric. I just have a regular sewing machine. It's going to be a bear...
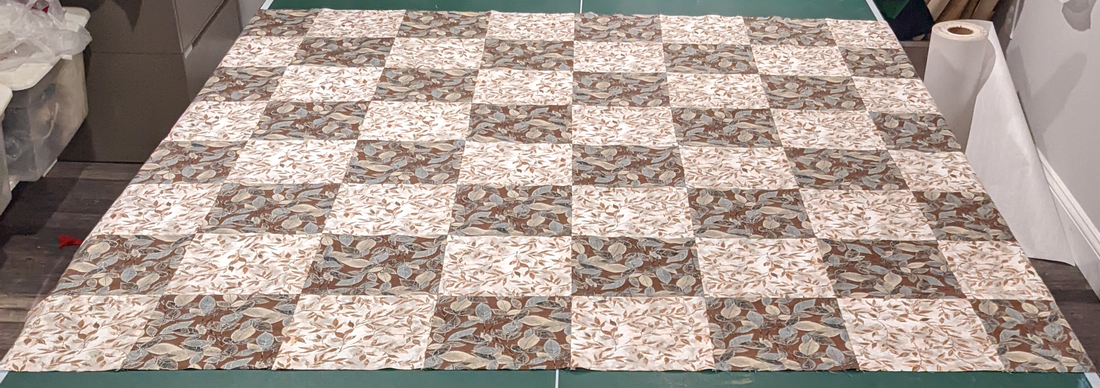
My son loves chess...a lot...and I got the idea to make him a quilt that looks like a chess board. I finished the board part. Next will come a 1- or 2-inch solid border in black or brown around the board and then another wider solid border to make it the 72" x 92" final size. Then a binding.
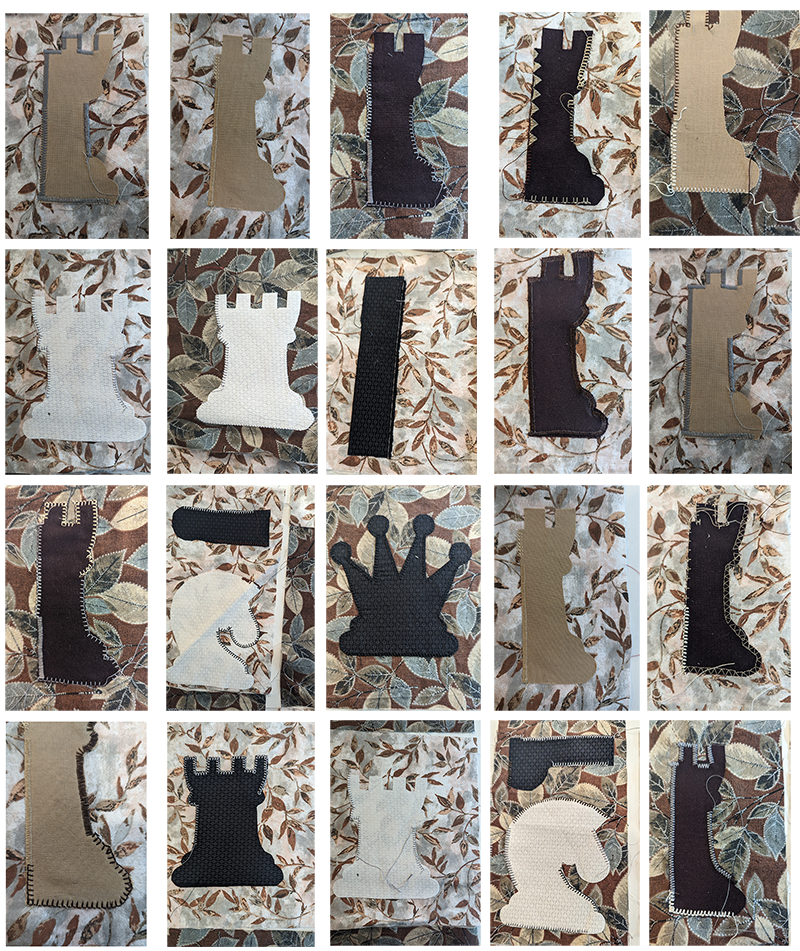
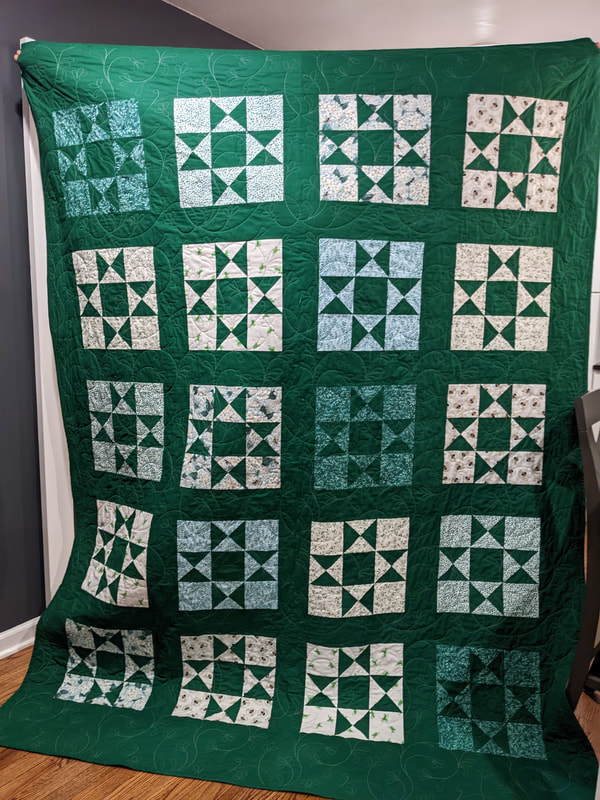
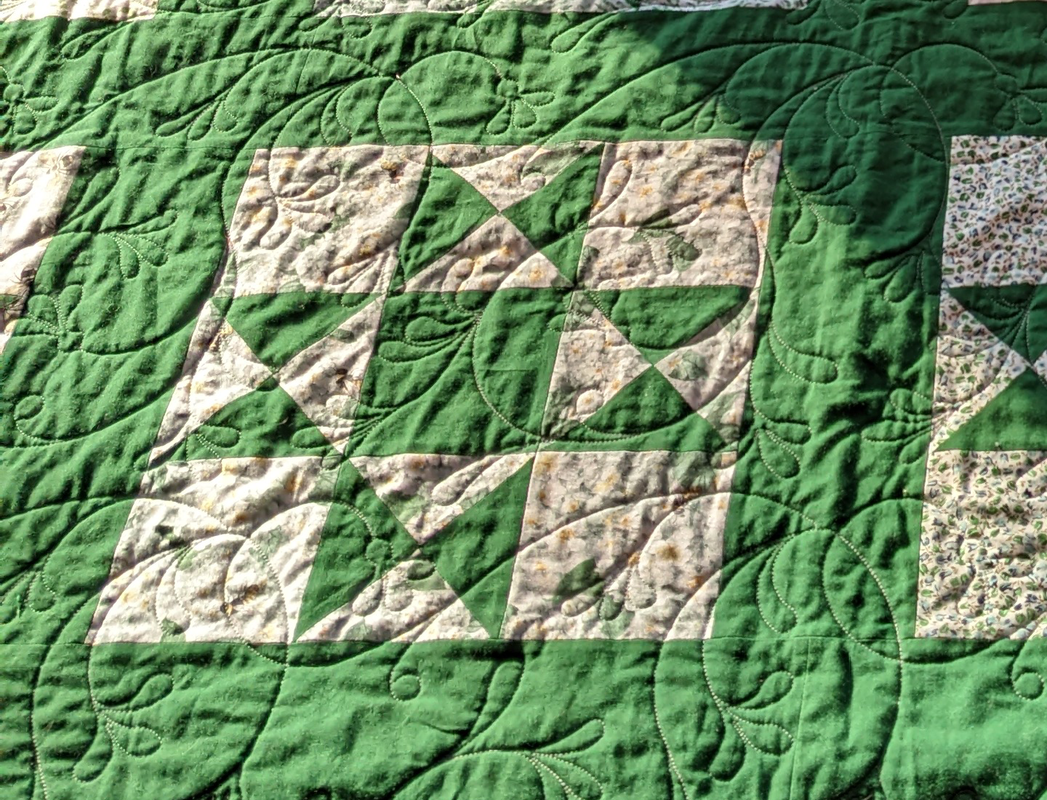
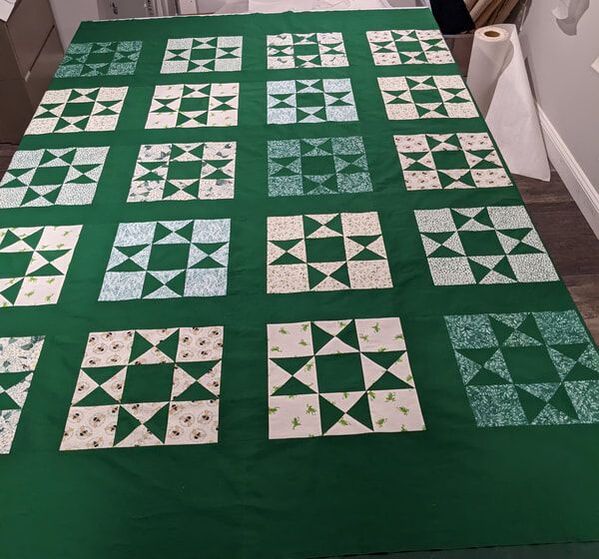
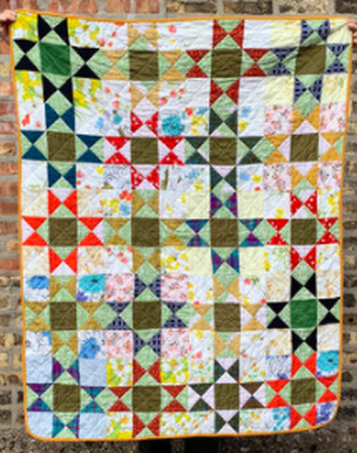
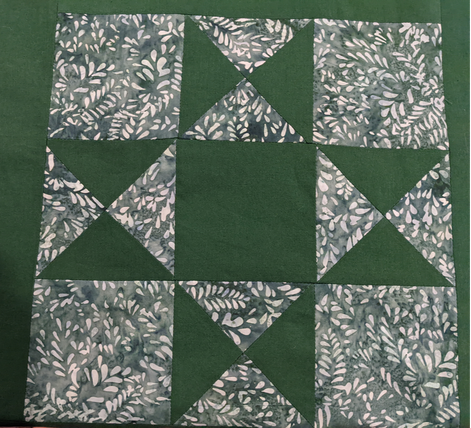
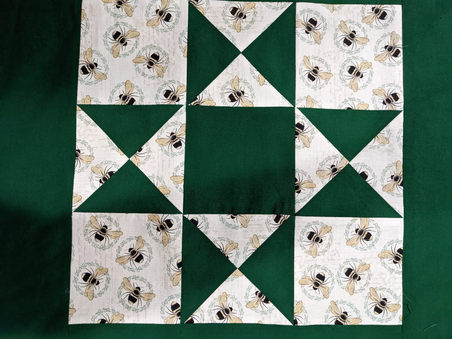
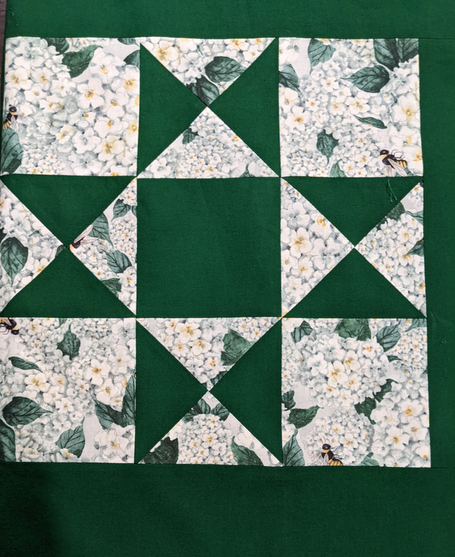
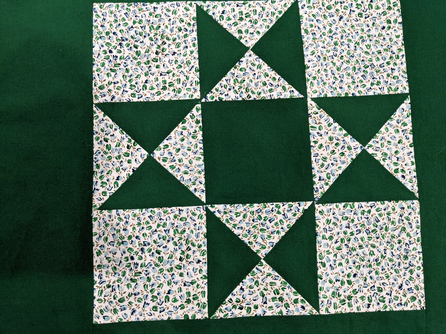
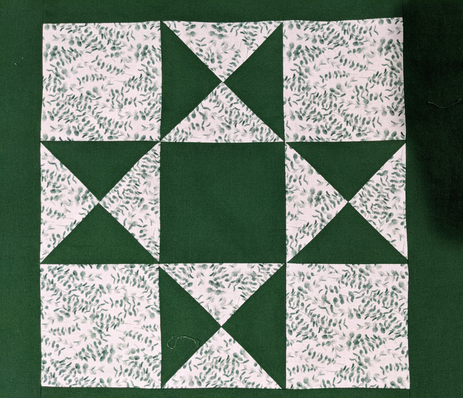
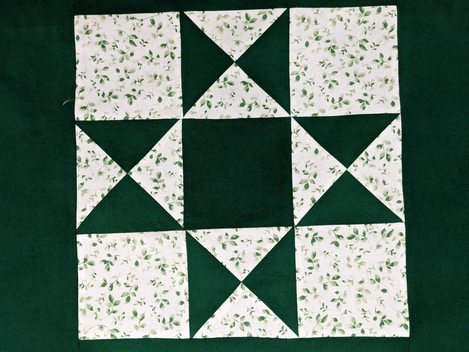
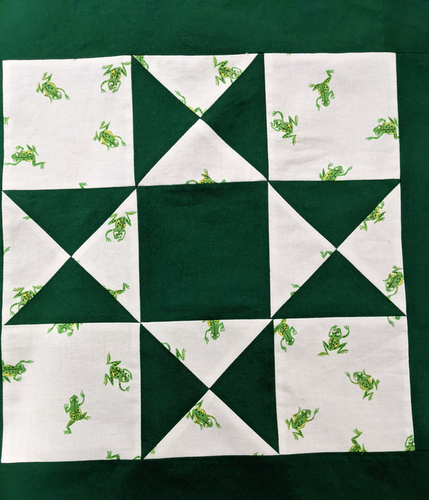
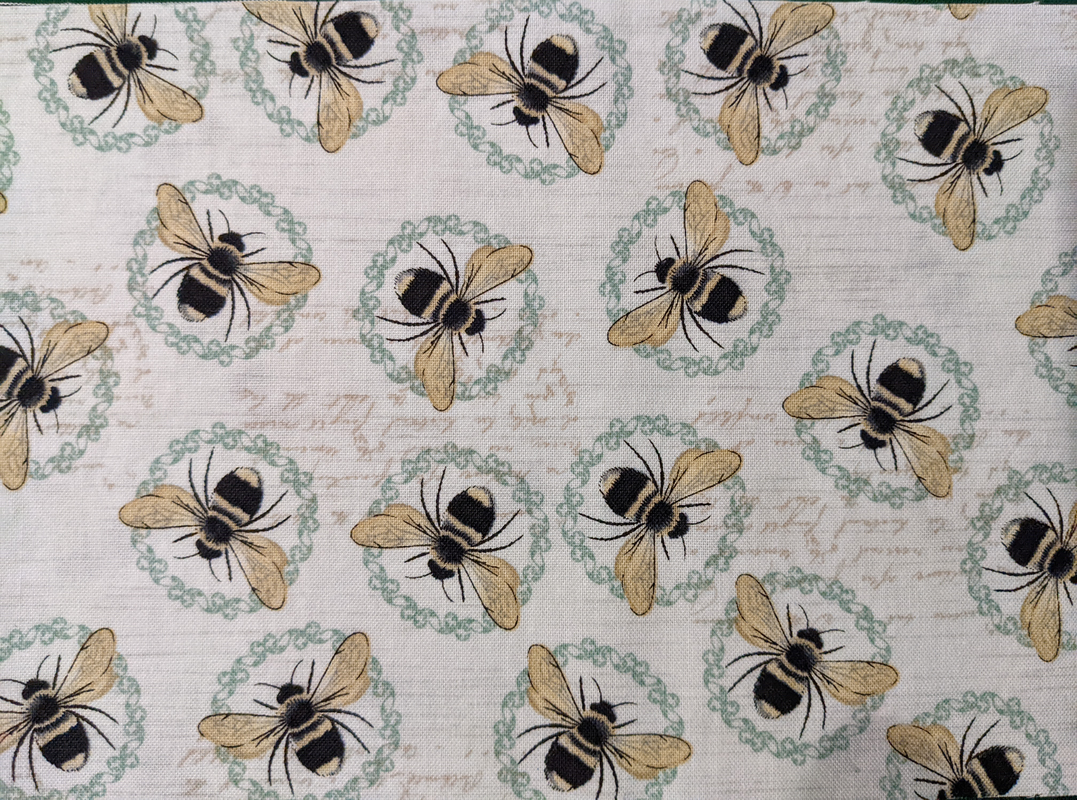
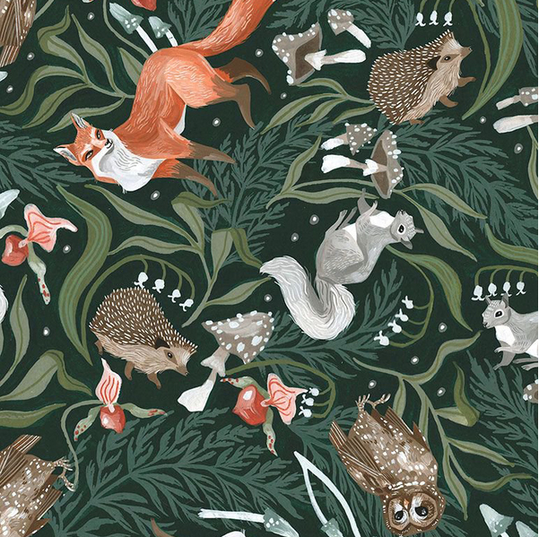
The board went together very easily. I tried to concentrate and go slowly when I sewed the seams so they were as even as I could make them. There are a few unperfectly matched corners, but they will stay. The only tedious part was opening all the seams and ironing. Now I'm on to the pieces. And I'm a little stuck. I don't want the edges to fray and I want the pieces to be perfectly shaped. If I turn the edge under or sew a back to a front and turn, they pieces will have misshapen bits. I've tested a few and it's impossible given the shapes. For me anyway. So I will try heat bond and adhering directly to the fabric. With this method, I'm worried about how to finish the edges. Won't even a blanket stitch allow for fraying? And a blanket stitch is going to be a bitch on some parts of these pieces if I use my machine. My sister suggested doing what I can on the machine and hand-stitching the other bits. That's a good idea, I think. Here is what the pieces look like. These are my templates. I need to now find colors I like for the pieces and borders. I finished the top for my daughter's quilt! I am pretty pleased with it. I did a lot better matching the points of the stars than my first time around. One thing I did differently is I made the pieces for the quarter square triangles bigger than recommended so that when it was time to trim them down, I had more room to play with. It was very helpful!!! When I had just 0.25 inches of clearance, I inevitably ended up with some squares that just couldn't be the perfectly centered into the 4-inch final size that I needed. With 0.5 inches of extra, it worked out much better. Now, I'm not saying that by the time I got to trimming the squares to their final 12-inch size that I didn't have some aggravating shortages here and there, 'cause I did. But all in all, even those were small enough that I could work with them and just have slightly less fabric on one side of the 0.25-inch seam. The second thing I did differently that helped with the matching is that I was a lot more careful about the matching! I saw a nice YouTube video by Quilt Addicts Anonymous with helpful tips and one was a way to use pins to help match points. When I ran the idea of a quilt past Thome, she said she'd also like an Ohio star quilt, and the color she'd like it to be was green. She's a nature lover, so I decided to make it out of a mix of nature fabrics. Originally, I thought I could mix it up a lot, with the light and dark squares being all different prints, like this one below. Isn't it lovely? (I copied it from Pinterest...sorry, not sure whose it is...) But, in the end, I felt I wasn't experienced enough (and the variety of fabrics I was seeing wasn't sufficient) that I decided to anchor the prints with a single solid for the stars and sashing. I had a dark batik in play for a bit during the planning stages, but in the end I didn't like the extra busy-ness it added (or the stiff feel of it for that matter). When I ran a couple design ideas by Thome, she preferred this dark overall look, so I went with the solid green. I used a total of 7 fabrics. I named them all so I could keep them straight during the playing-around-with-placement stage and the sewing phase. They were all the ones that worked together of those I had collected over several months. Ideally, I might have liked more, or different ones, but this is what I could find that matched the theme and color ideas I was going for. The Batik Square (not the same batik fabric I had been considering as the dark anchor color)... The Bee Square... The Hydrangea Square... The Tiny Flowers Square... The Blue Square (because it has a blue tint)... The Leaves Square... The Frogs Square... Now I just need the quilt backing, and I can get it to the quilter's and into her long queue!!! But I am a little stuck. I will have to find a suitable fabric. I had bought reams of the bee fabric, originally intending that it would be the backing. There are now two problems, though, well, maybe three.
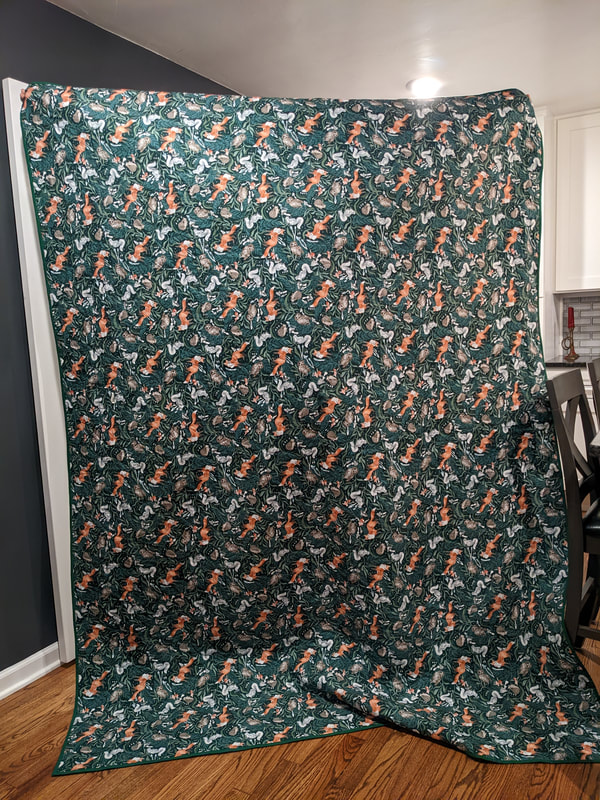
I found the fabric I will use for the backing! I found it online at Hawthorne Supply Co. The only bummer is that it will take a week or two to get here. :-( So I won't be able to get the quilt sandwich to the quilter's for a while. Update: I finished the back! I made a seam down the middle and matched the print perfectly using the same technique as with my sister's quilt. Unfortunately, the repeat was over 4 inches horizontally, and I didn't have enough width to give the longarmer the 4 extra inches she needs on each side. I was short about 3.5 inches. I had enough extra from what I trimmed for the center matching to add 2 inches to either side of the back. That print didn't match at all of course, so I'm hoping whatever of that bit is needed when the quilting is done isn't much and ideally will be buried in the binding.
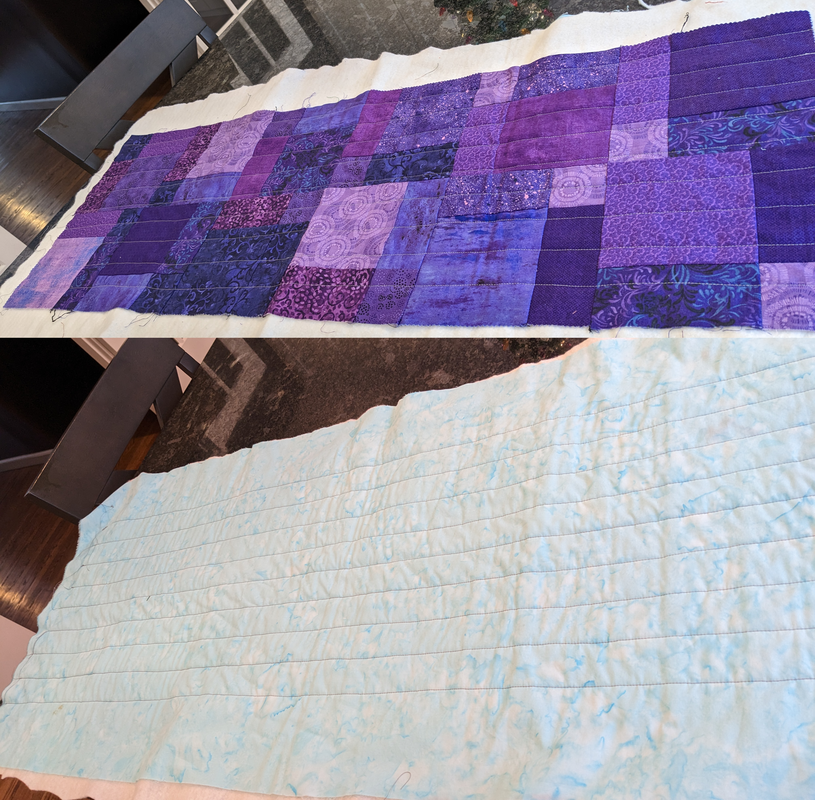
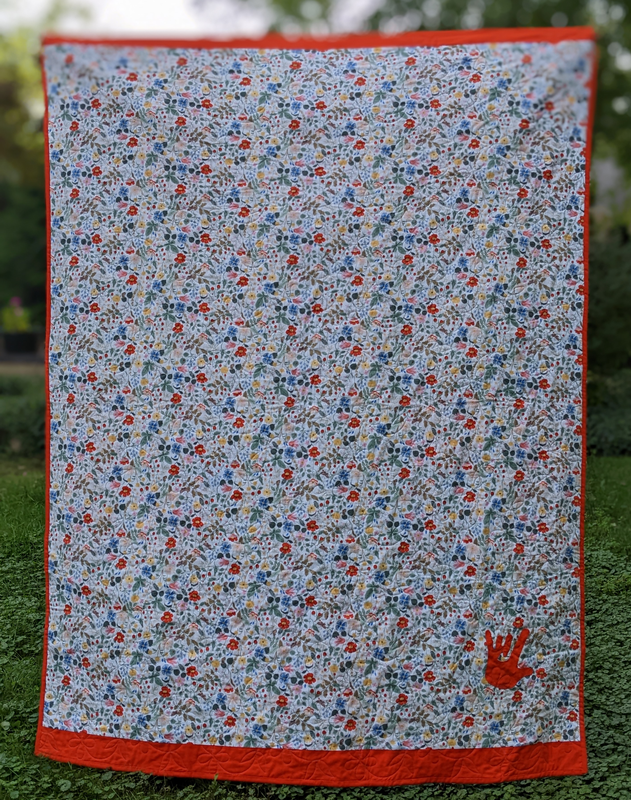
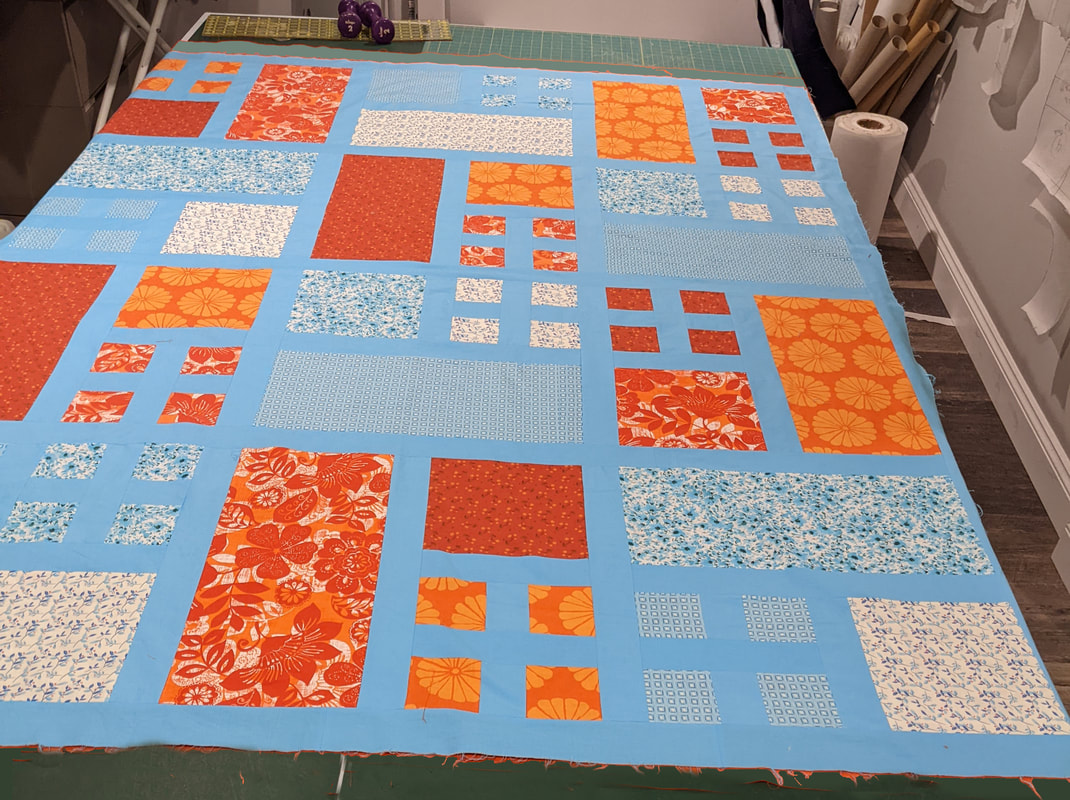
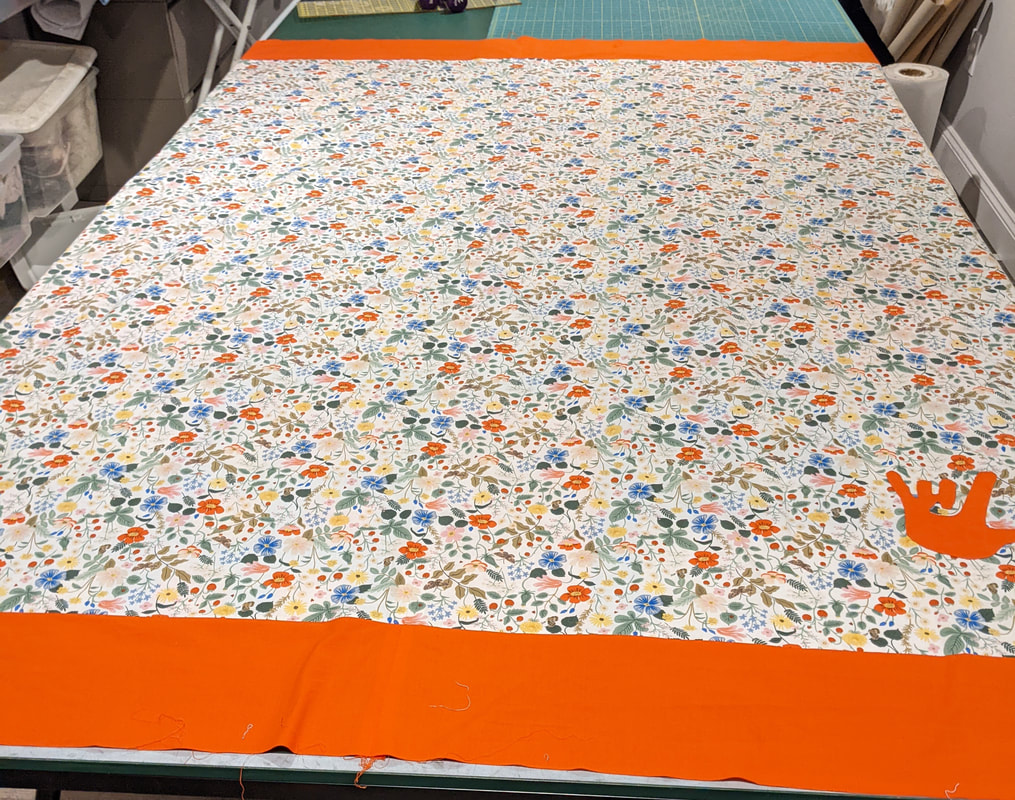
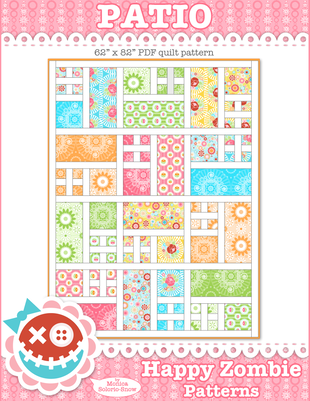
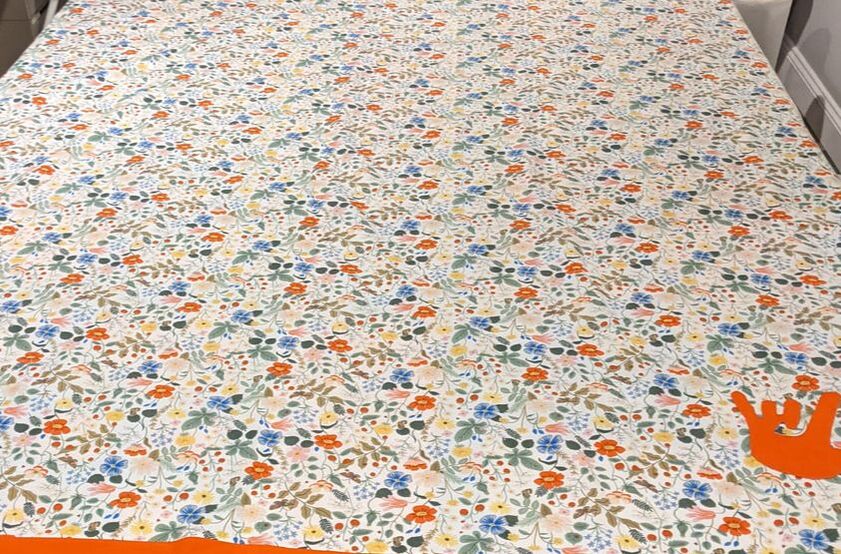
I got it all done and took it to the quilter's today!!! She can't get to it before OCTOBER. I'm glad she's doing great business. She's very good and she's only 15 minutes away from me. I finished my third quilt, one I made for my sister Moira. She has a vintage camper she restored all by herself. She painted the outside blue and orange, and she's decorated the inside with the same color scheme. I am pretty happy with how it turned out, not completely happy because of how bold the orange is and how recessive the blues are on the front, but in the end, I think it is pretty. I hope she likes it! It is at the quilter's now, and I won't get it back for 2 months. When I do, I will bind it in the same orange solid fabric that borders the top and bottom of the back. The front: The back (the applique is a hand saying "I love you" in American Sign Language; Moira was an interpreter before she retired): Okay, so once I got going, the quilt was easy to put together. But, oh my, I had a hard time getting started! I have been wanting to make a quilt for her since I finished my RV quilts last March, but I finally started construction in June. The first issue was the pattern. My sister had sent me a picture of something she liked early on, and it was a pretty 16-patch variation that looked vintage and sweet. I had that idea in my head when I started gathering fabrics, but she did not sign off on it, and I wouldn't start on it until I was sure that she was sure. She kept looking, I kept looking, and life got in the way and took up of lot of both our time. Eventually, she settled on one image, and I looked around and actually found the quilt pattern. It is called the Patio quilt by Happy Zombie: I bought it, and it was very easy to follow. Next, I needed to decide on the fabrics I would use. This process turned out to be lengthy and stressful and a monumental learning experience.
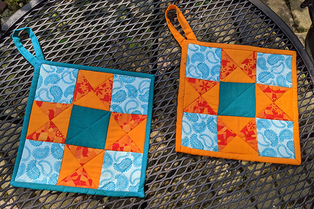
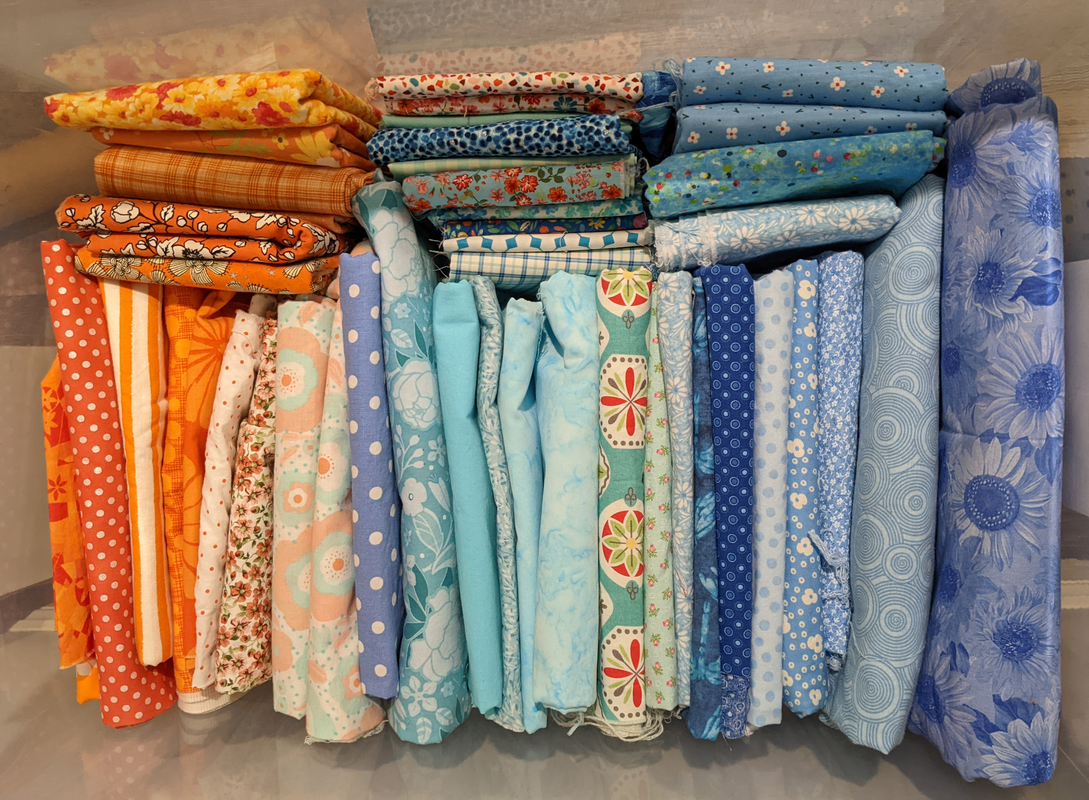
I had already skirted with color disaster once before when I made her a couple pot holders with some fabrics I thought were the right colors. She liked the gift, but she told me the teal was not the right color. So when I started fabric hunting in earnest, I knew teal was out. But boy there are a lot, lot, lot of blues. I wonder if specific hues go in and out of fashion, too, because teal was everywhere and the blue I wanted was almost impossible to find. Not that I realized that at first. While I filtered out teals as I was looking, I bought many blue fabrics before I ever compared them against her camper paint job. I think it was only when I had piles and piles of blue fabrics that did not all coordinate with each other that I figured I had better actually look at her camper to see if anything matched. I had one robin-egg-blue solid that I had gotten from Missouri Star (online!) that matched the blue on her camper exterior well, while almost nothing else in my collection did. One, possibly two fabrics. All of the orange fabrics I had collected worked, fortunately. Now, in spite of my best intentions, I had a huge pile of quilting fabrics I would not be using for this project. The reason it happened was only partly because I had been unclear about the blue I needed. The other problem was that I had started to gather fabrics back when I thought I might be making the 16 patch...which of course would require many different fabrics. Lesson learned. Hopefully. When finally armed with a swatch for the correct blue, I returned to the stores and could find nothing. Reluctant to return to the crap shoot of online stores, I was stuck until I remembered the brick-and-mortar store where I had gotten my first two quilts quilted, the Quilting Bee in Lakewood, Ohio. I went there and found one fabric I liked. I took it home, compared it with two other blue fabrics and the oranges, and decided it would work great. But when I returned to the store, I learned I had bought the last fat quarter in the store. That fabric was out.
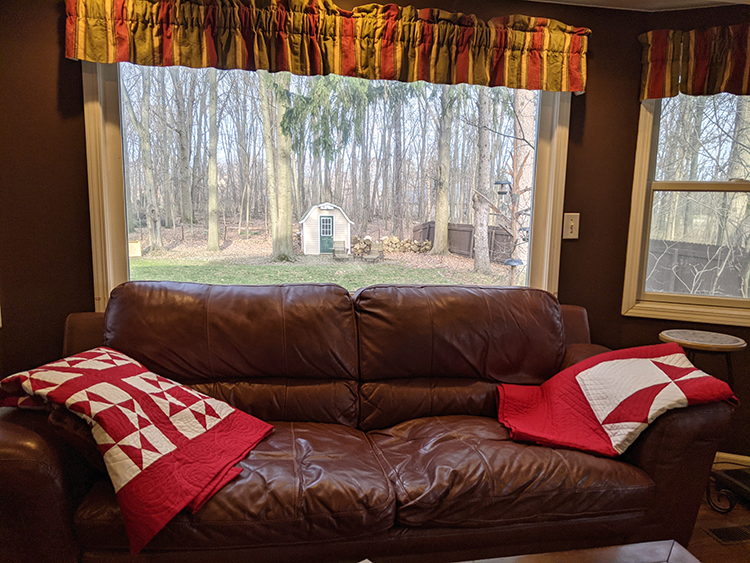
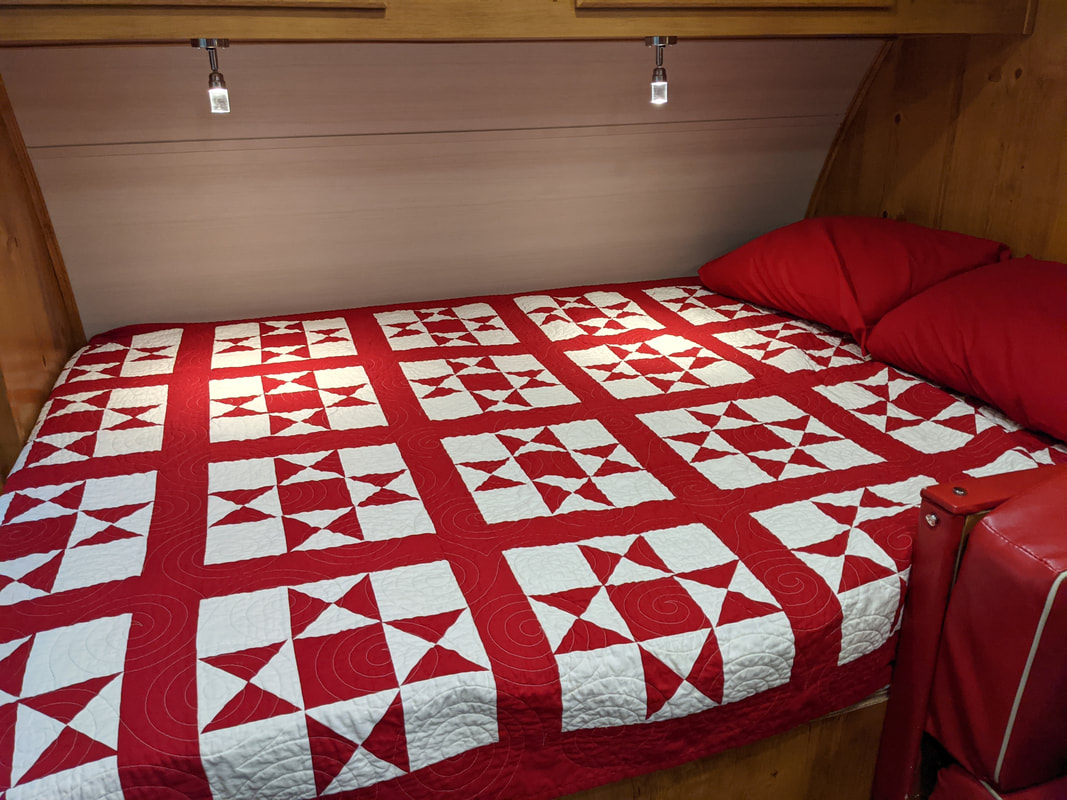
I began to comb the store. The owners dug through their shelves and kept bringing me possibilities. In the end, I found two other blue and white candidates and two very different floral options, both beautiful but neither the right "blue." The owners suggested it could still look good to deviate from the exact blue I was looking for, and I decided to give it a shot. I took all the fat quarters home and laid everything out. In the end, I chose the two blue fabrics that were closest to the target blue for the quilt front. The other two florals were so beautiful and I tried hard to imagine them working. But they just wouldn't; too risky. I could not get one of those out of my head, though. It so was beautiful, and I thought my sister would love it. So I decided I would make it the quilt back. I was so happy when I thought I could use that fabric! I raced back to the store...only to find they had just under 4 yards left, a half a yard at least shy of what I needed! OMG. I bought it anyway. I used this tutorial to match the print of the backing fabric using a glue stick. I had to lose just a little yardage on one of the pieces to match the pattern when piecing, and then I got the idea to use the orange (from the stash, hahaha) as a border. I suppose I might have liked a full floral back, but I smile and feel joy every time I look at this. My first 2 quilts are done! I finished binding the second one last night. I bound my quilt—the one with many Ohio stars—by sewing the binding on the reverse by machine and hand-stitching it onto the front. I bound my husband's completely on the machine, starting by sewing the binding onto the front and stitching in the ditch on the front to affix the reverse. It is easier to bind completely on the machine...but it's still a little tricky. It is tricky to stitch in the ditch on the top of the quilt and catch the binding on the reverse side in exactly the right place, i.e., actually catch the binding and catch it at the same distance from the edge of the folded-over binding. There was only one tiny spot where my stitching didn't catch--yay!--but there were a couple long stretches...inches and inches...where I had not sewed the hem on the front at exactly 0.5 inch (I like this better than 0.25), so on the reverse the binding was wider. I did try to counteract this when I pinned the binding down, but I wasn't perfect...apparently. I did find it a lot easier to press the binding after I had sewed it on to the first side, then fold and press it on the other side before stitching. I guess it wouldn't have helped any with the hand-stitching finish but it was 100% required with the machine binding. Stitching in the ditch and expecting to catch the binding in the right place would have been madness without pressing. I enjoyed hand-stitching the quilt. I did it at night while watching Columbo episodes with my husband. It took 2 nights and about 6 hours I would say. Yikes that's a lot of TV. Actually, the first night he went to bed after 1 episode and I stayed up sewing and watching I don't know, Home Town probably. Here is the front of my husband's quilt. Here is the back with the machine finished binding. Here is mine with the hand-stitched binding on the front. In the camper! My First Quilts...Final ThoughtsI am pretty damned pleased with these quilts. I had a lot of fun making them, and I am very excited to start another quilt. The fabric choices are overwhelming and this will be my sticking point. But I do want to get going soon.
Aside from needing to be more precise with the machine-bound binding, the one disappointing discovery I made about my technique has to do with the overlapping of seams from the pieced stars. I tried not to overlap but there are a lot of intersections and it was too much for my brain to figure out on my own. I should have really studied some YouTube videos and got the principle down or followed some pattern that explained that bit. After quilting and pressing there are some very hard corners, quite noticeable and not at all nice. Scott says "it's on the front, not the side against your skin, so it shouldn't matter." I hope that is so. I hope they will soften with washings. At any rate, I had a blast making these. To think a few years ago I couldn't picture myself being able to take the time to piece a quilt top together. It's not bad at all. |
AuthorI am a wife and mother. I am retired: yay! Archives
June 2024
Categories
All
|
 RSS Feed